by Alana | Dec 6, 2018 | Information
I want to start this off by saying that I’m not opposed at all to taking photos with my phone. My phone is full of photos and memories – I’d rather take it with my phone than not at all. However, something I hear sometimes is that people think that because our phones can take photos (remember back in the day when they didn’t?!!), there’s not much point in taking photos with our cameras, or hiring someone to take photos with theirs. Before I move on from this too, I also want to point out that a lot of people think that it’s the CAMERA that takes good photos, without realising or understanding that there is a LOT of learning, creativity and skill that goes into taking quality images and using your camera in full manual as opposed to just clicking away in auto and hoping for the best. But that’s for another blog. The purpose of this blog is to point out the difference between images taken with your phone compared to those taken with a camera. I’ve pulled these examples from my own albums, and none of these I’d intentionally shot for this purpose – but they’re all taken in the same spot, on the same day. One with my phone (just to capture the memory before it disappears), and then with my camera (because I want a better quality memory). Here are some examples:
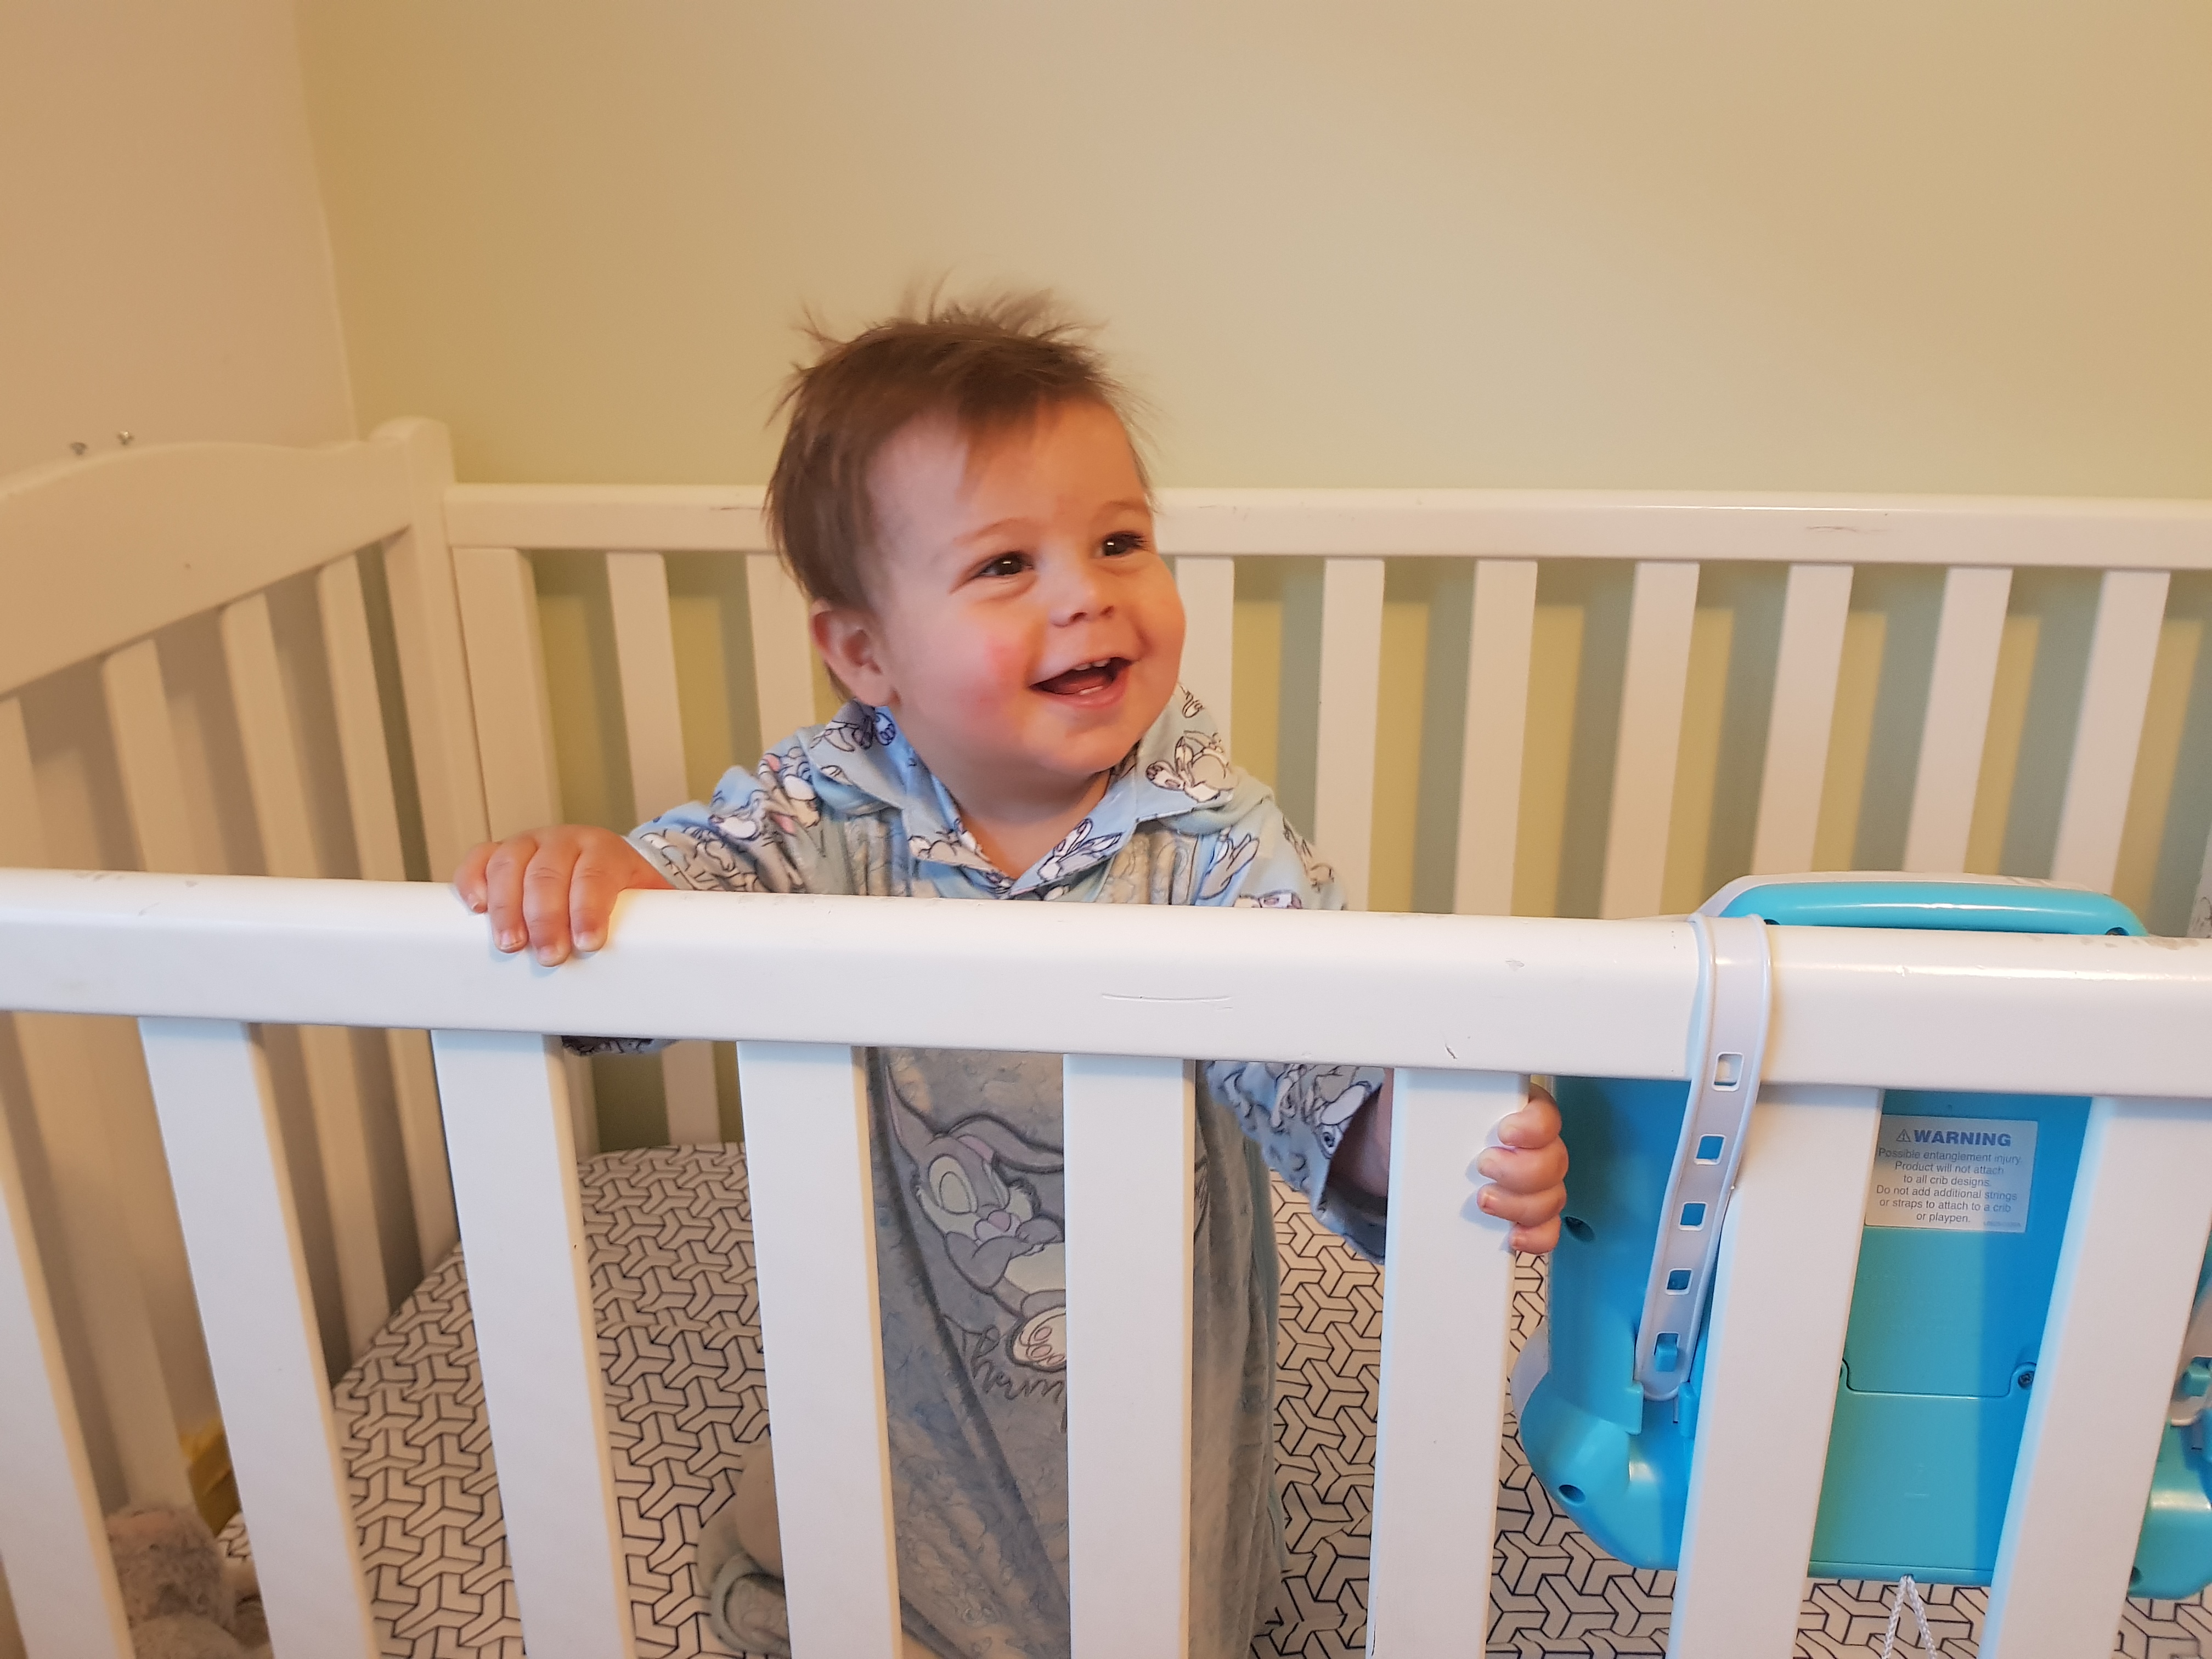
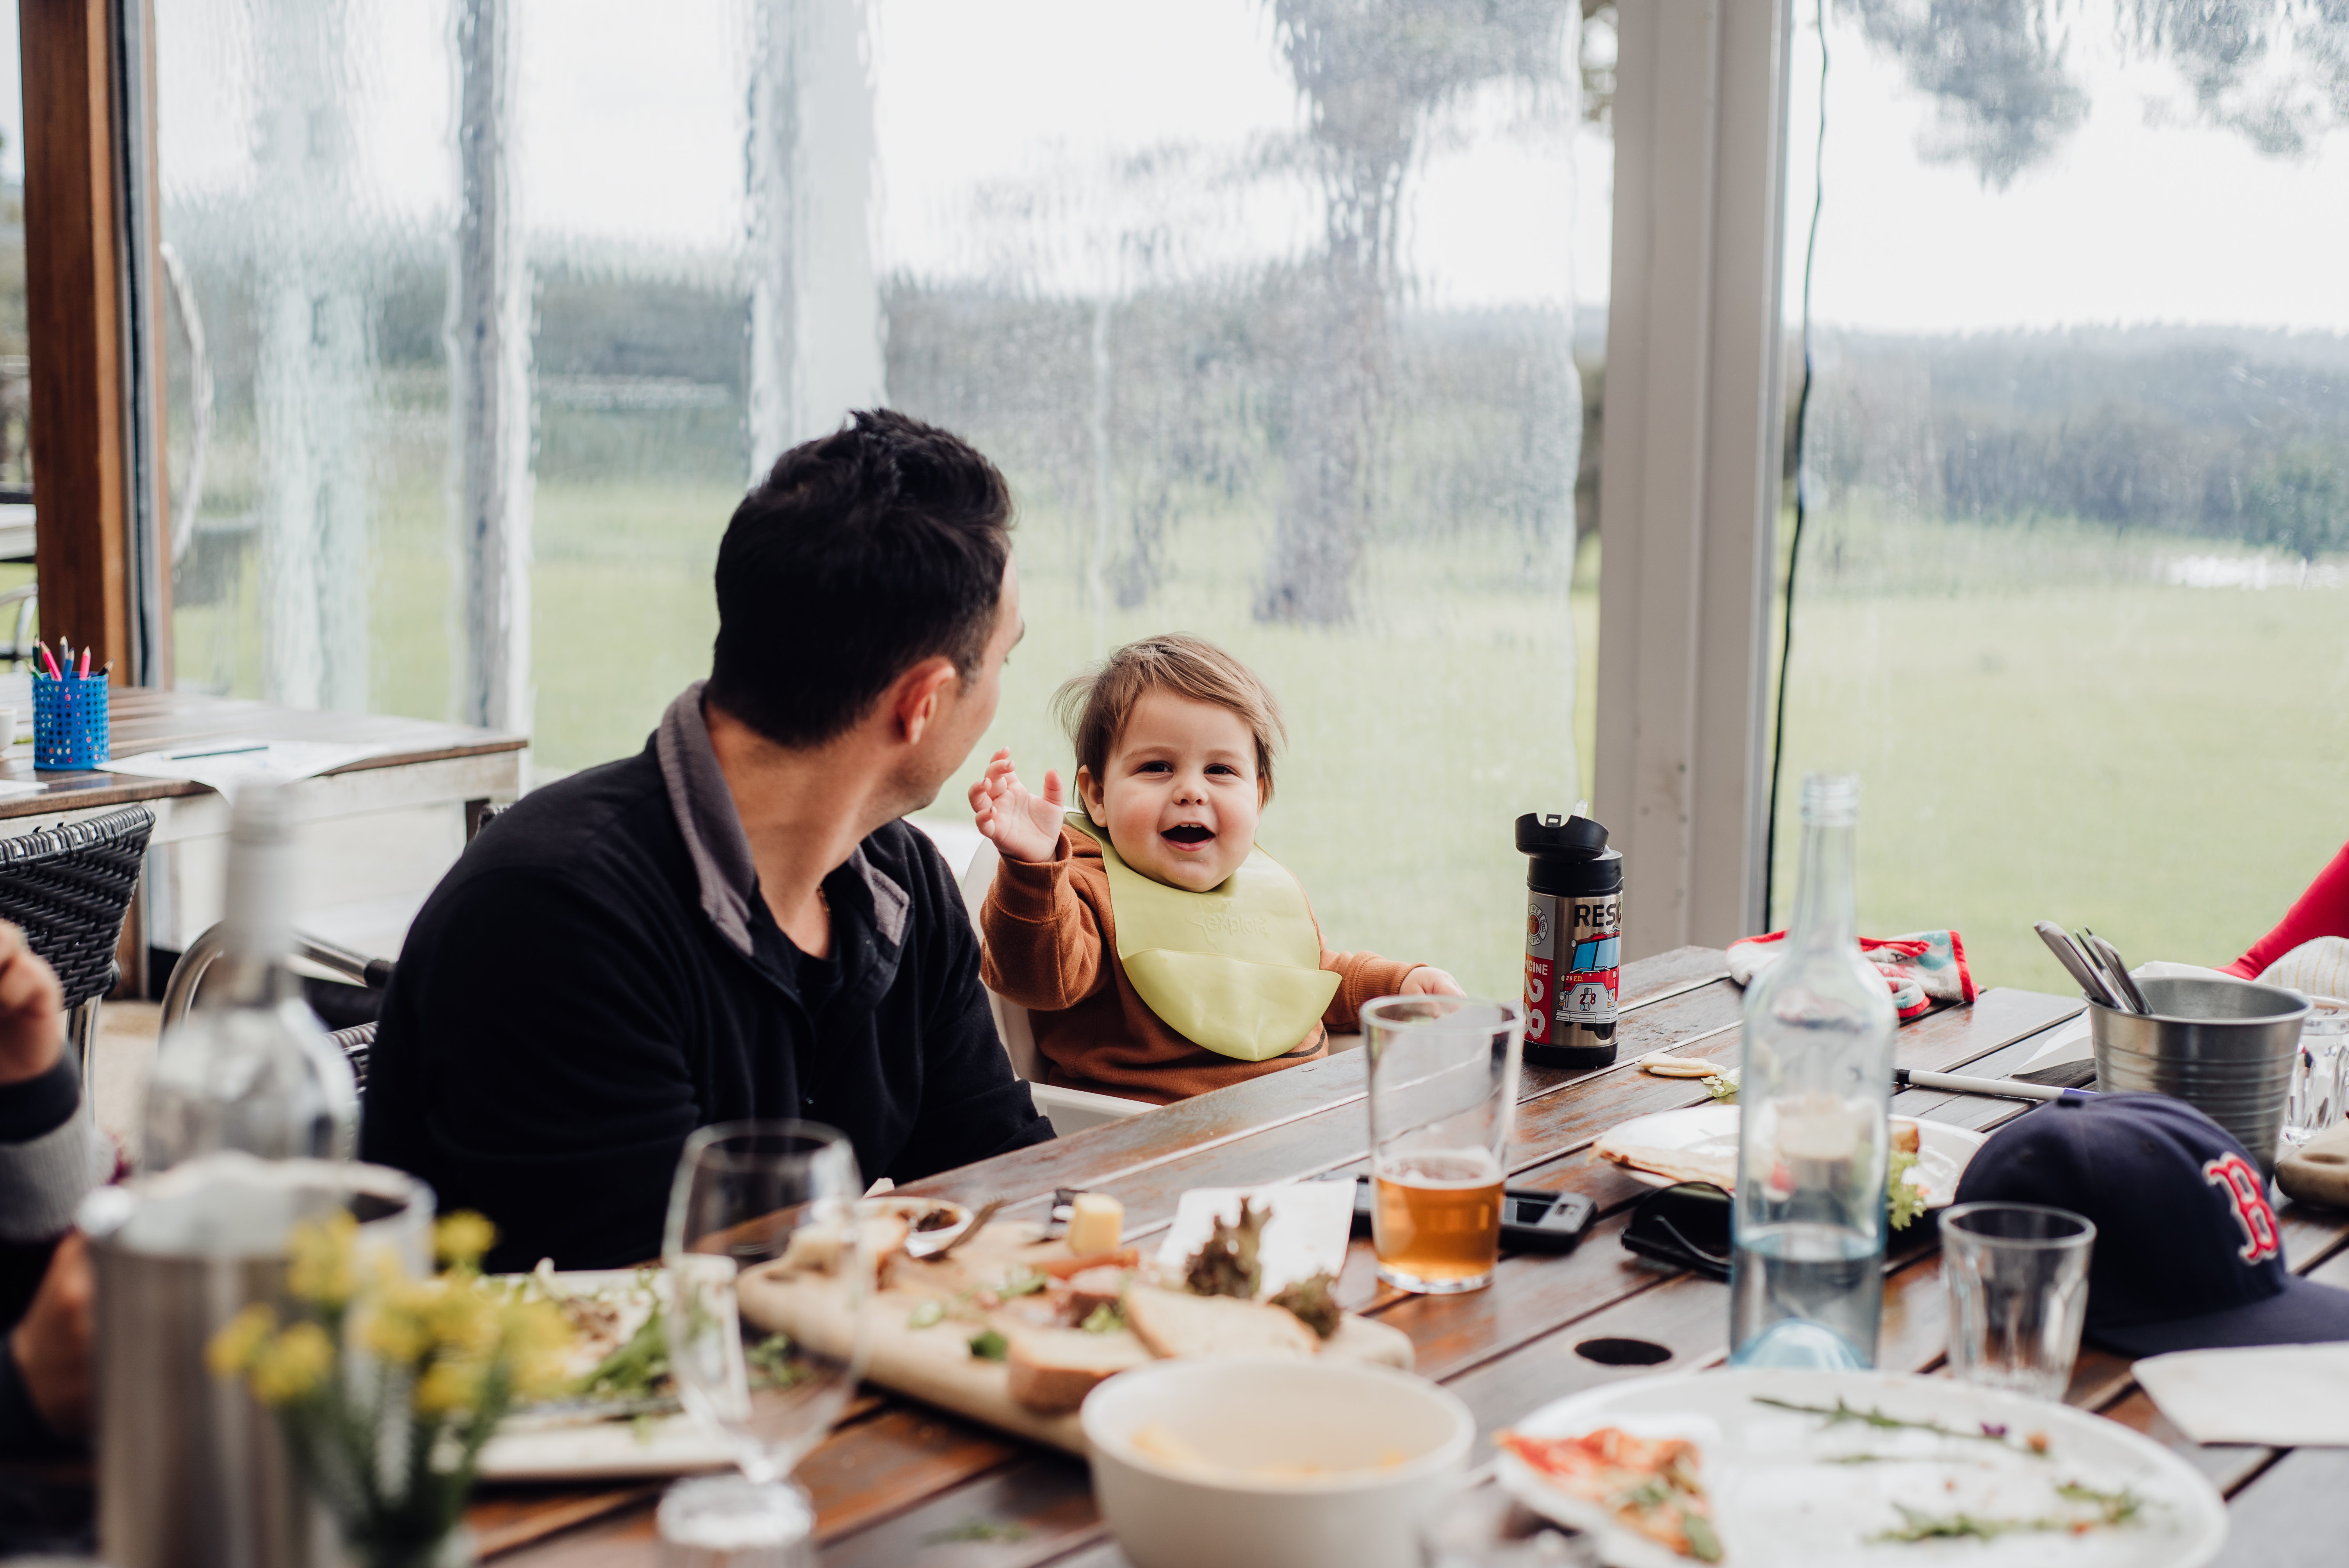
This is of my youngest baby in his cot on his birthday. The first image is taken with my phone as I was also recording us singing to him and wanted to capture his expression. Then of course I picked up the camera to get some additional better quality images.
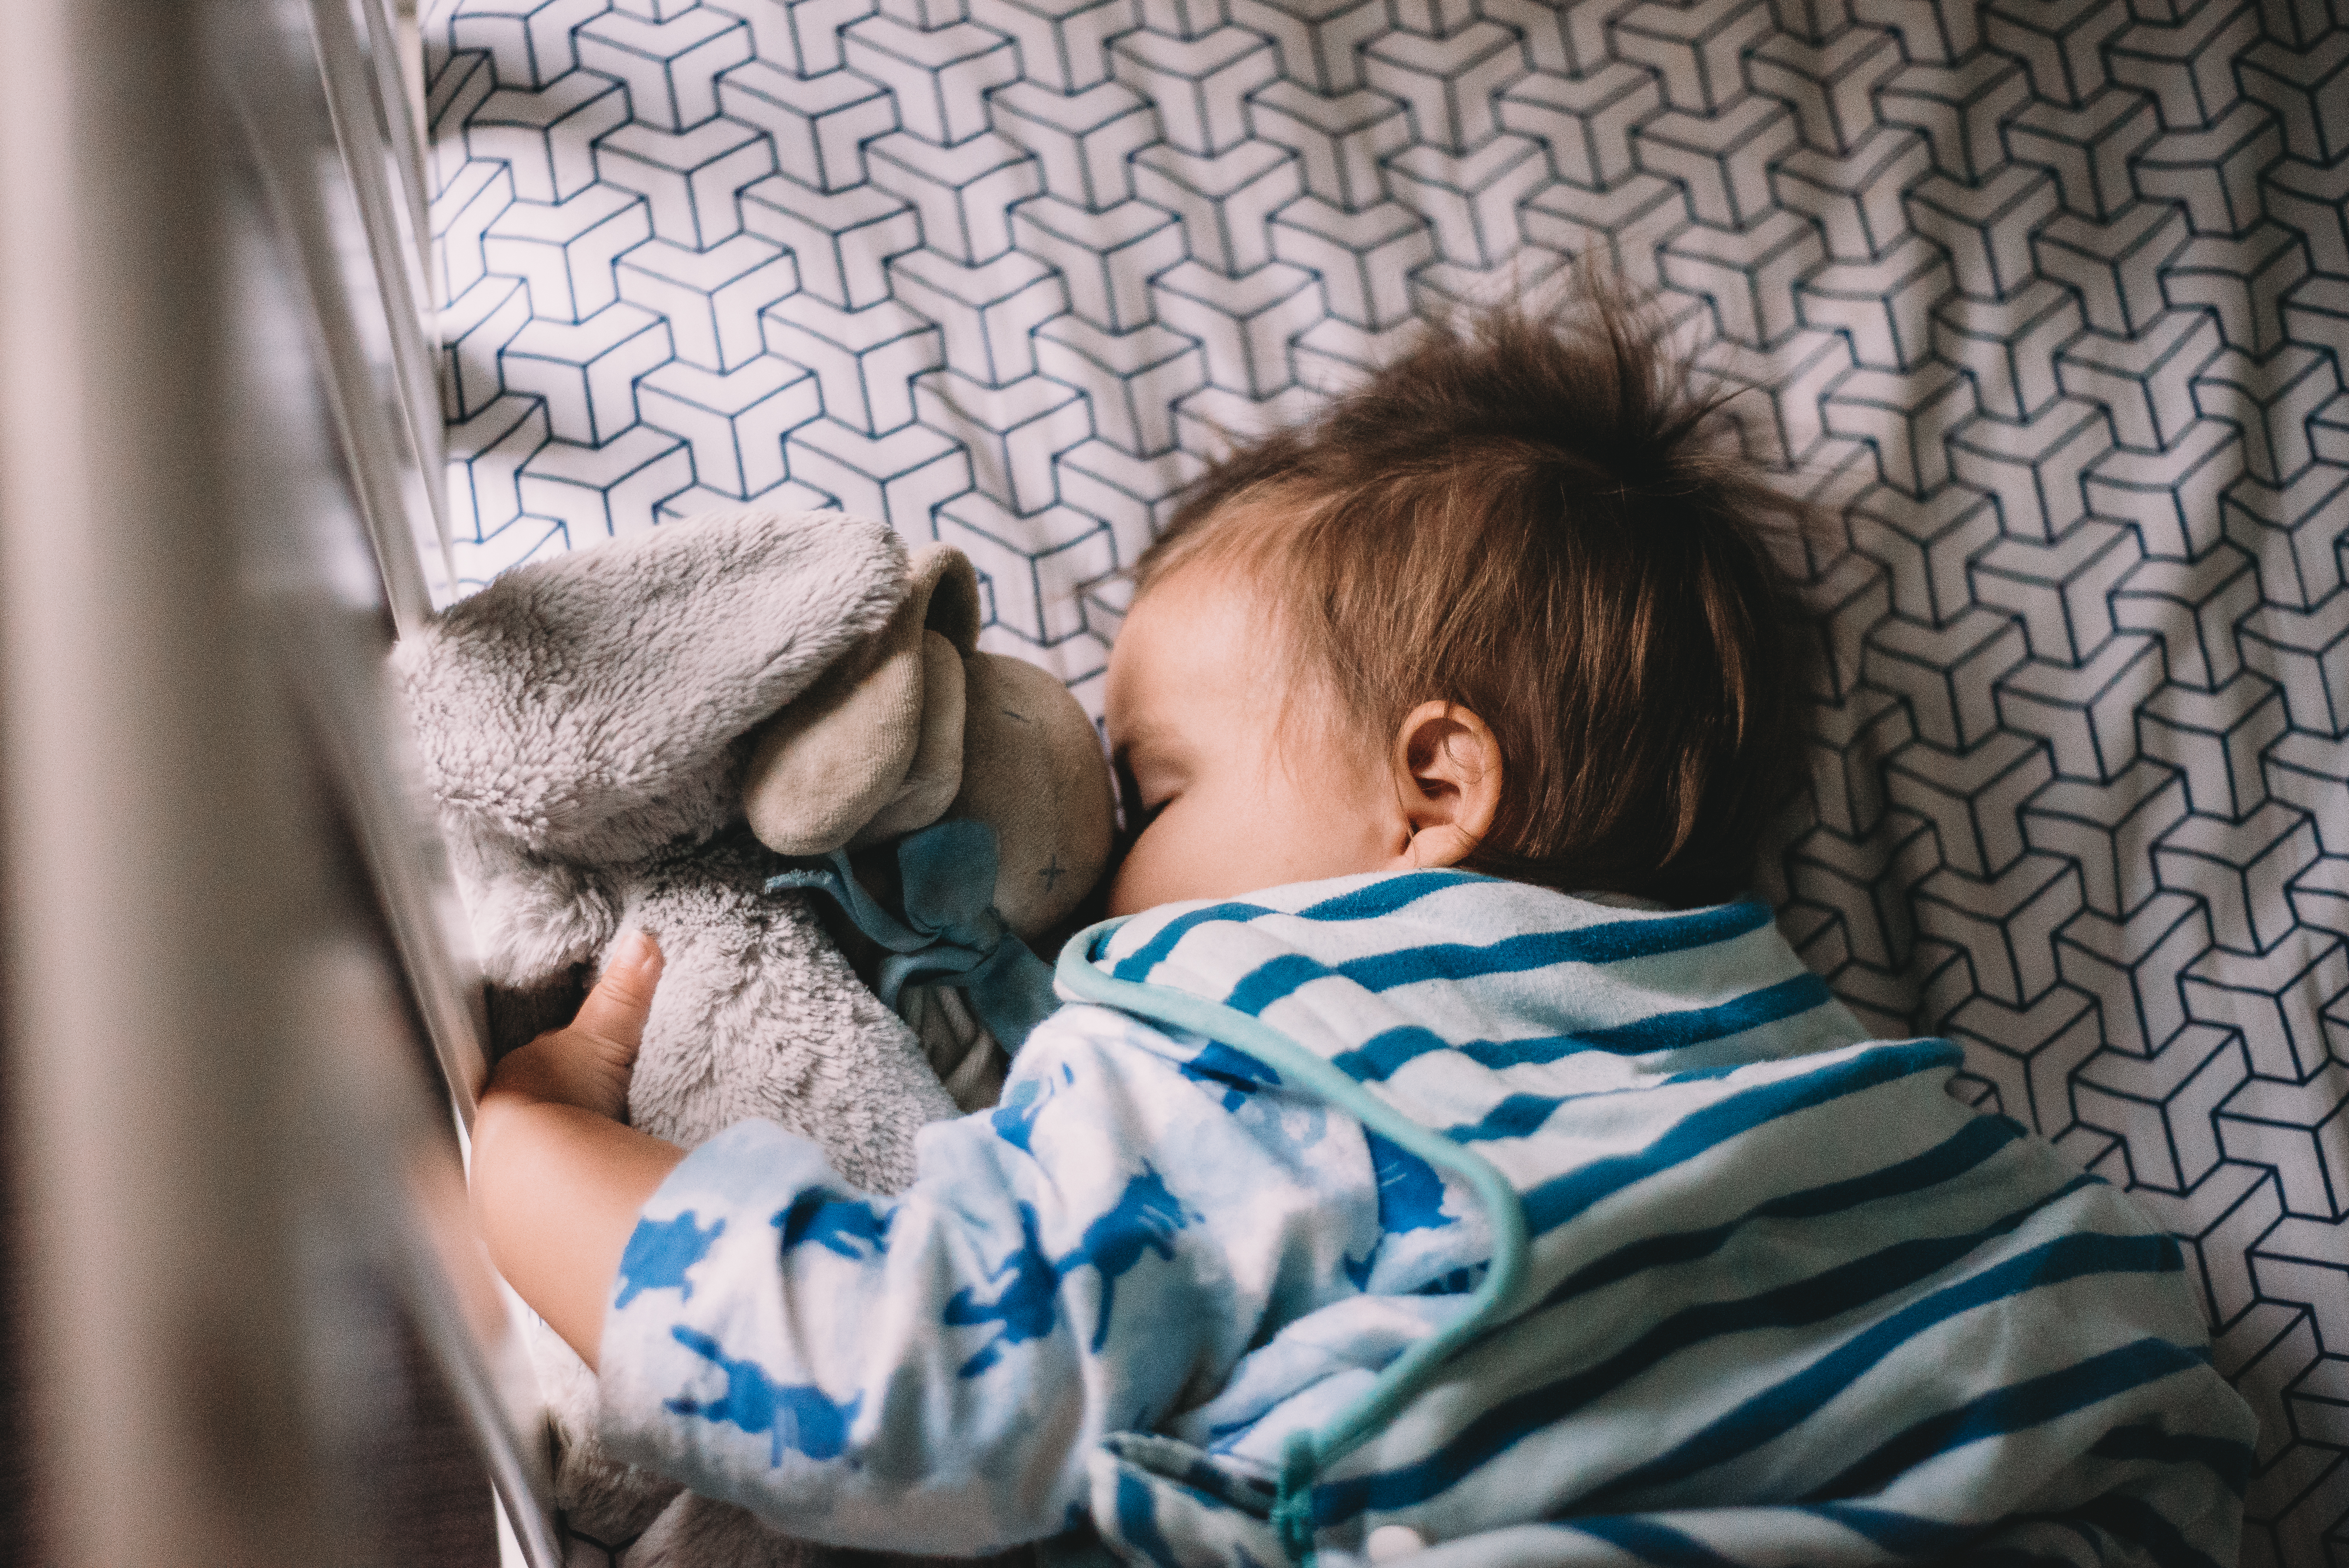
This is my youngest again – asleep in his cot. A quick phone photo as I thought he’d wake up – but then once realising he was deep asleep – pulled out my camera for some nicer shots.
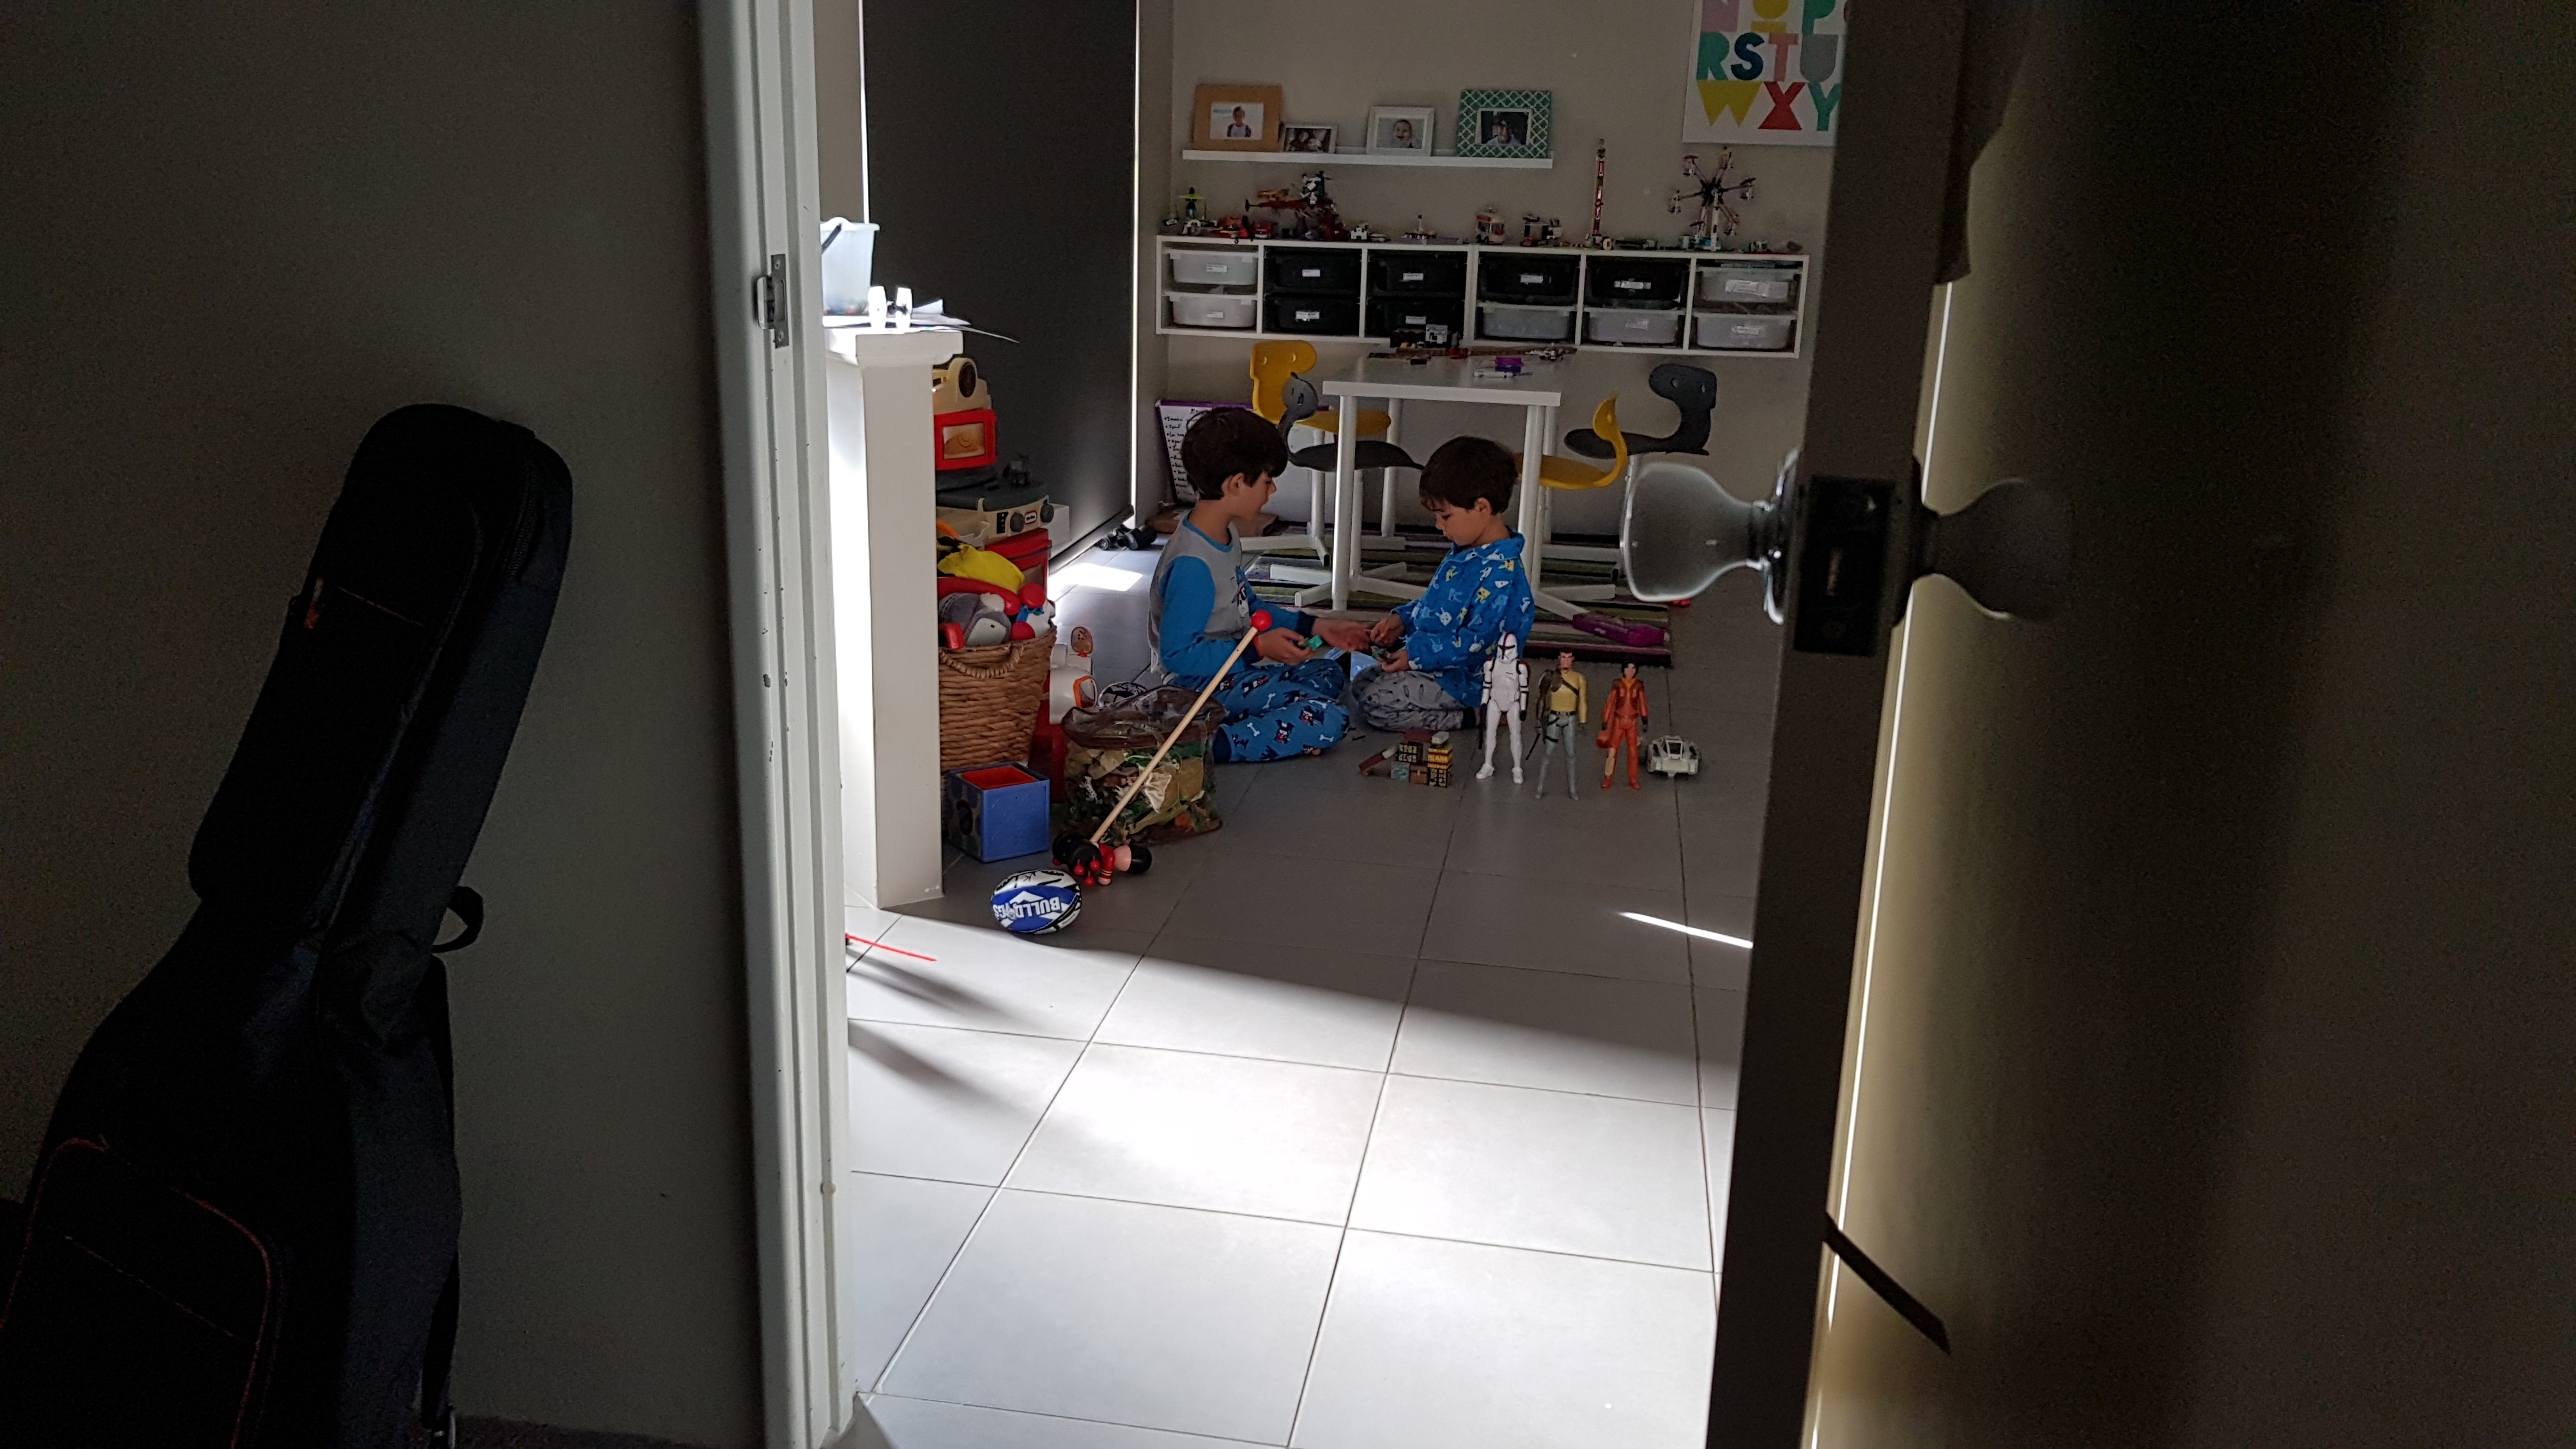
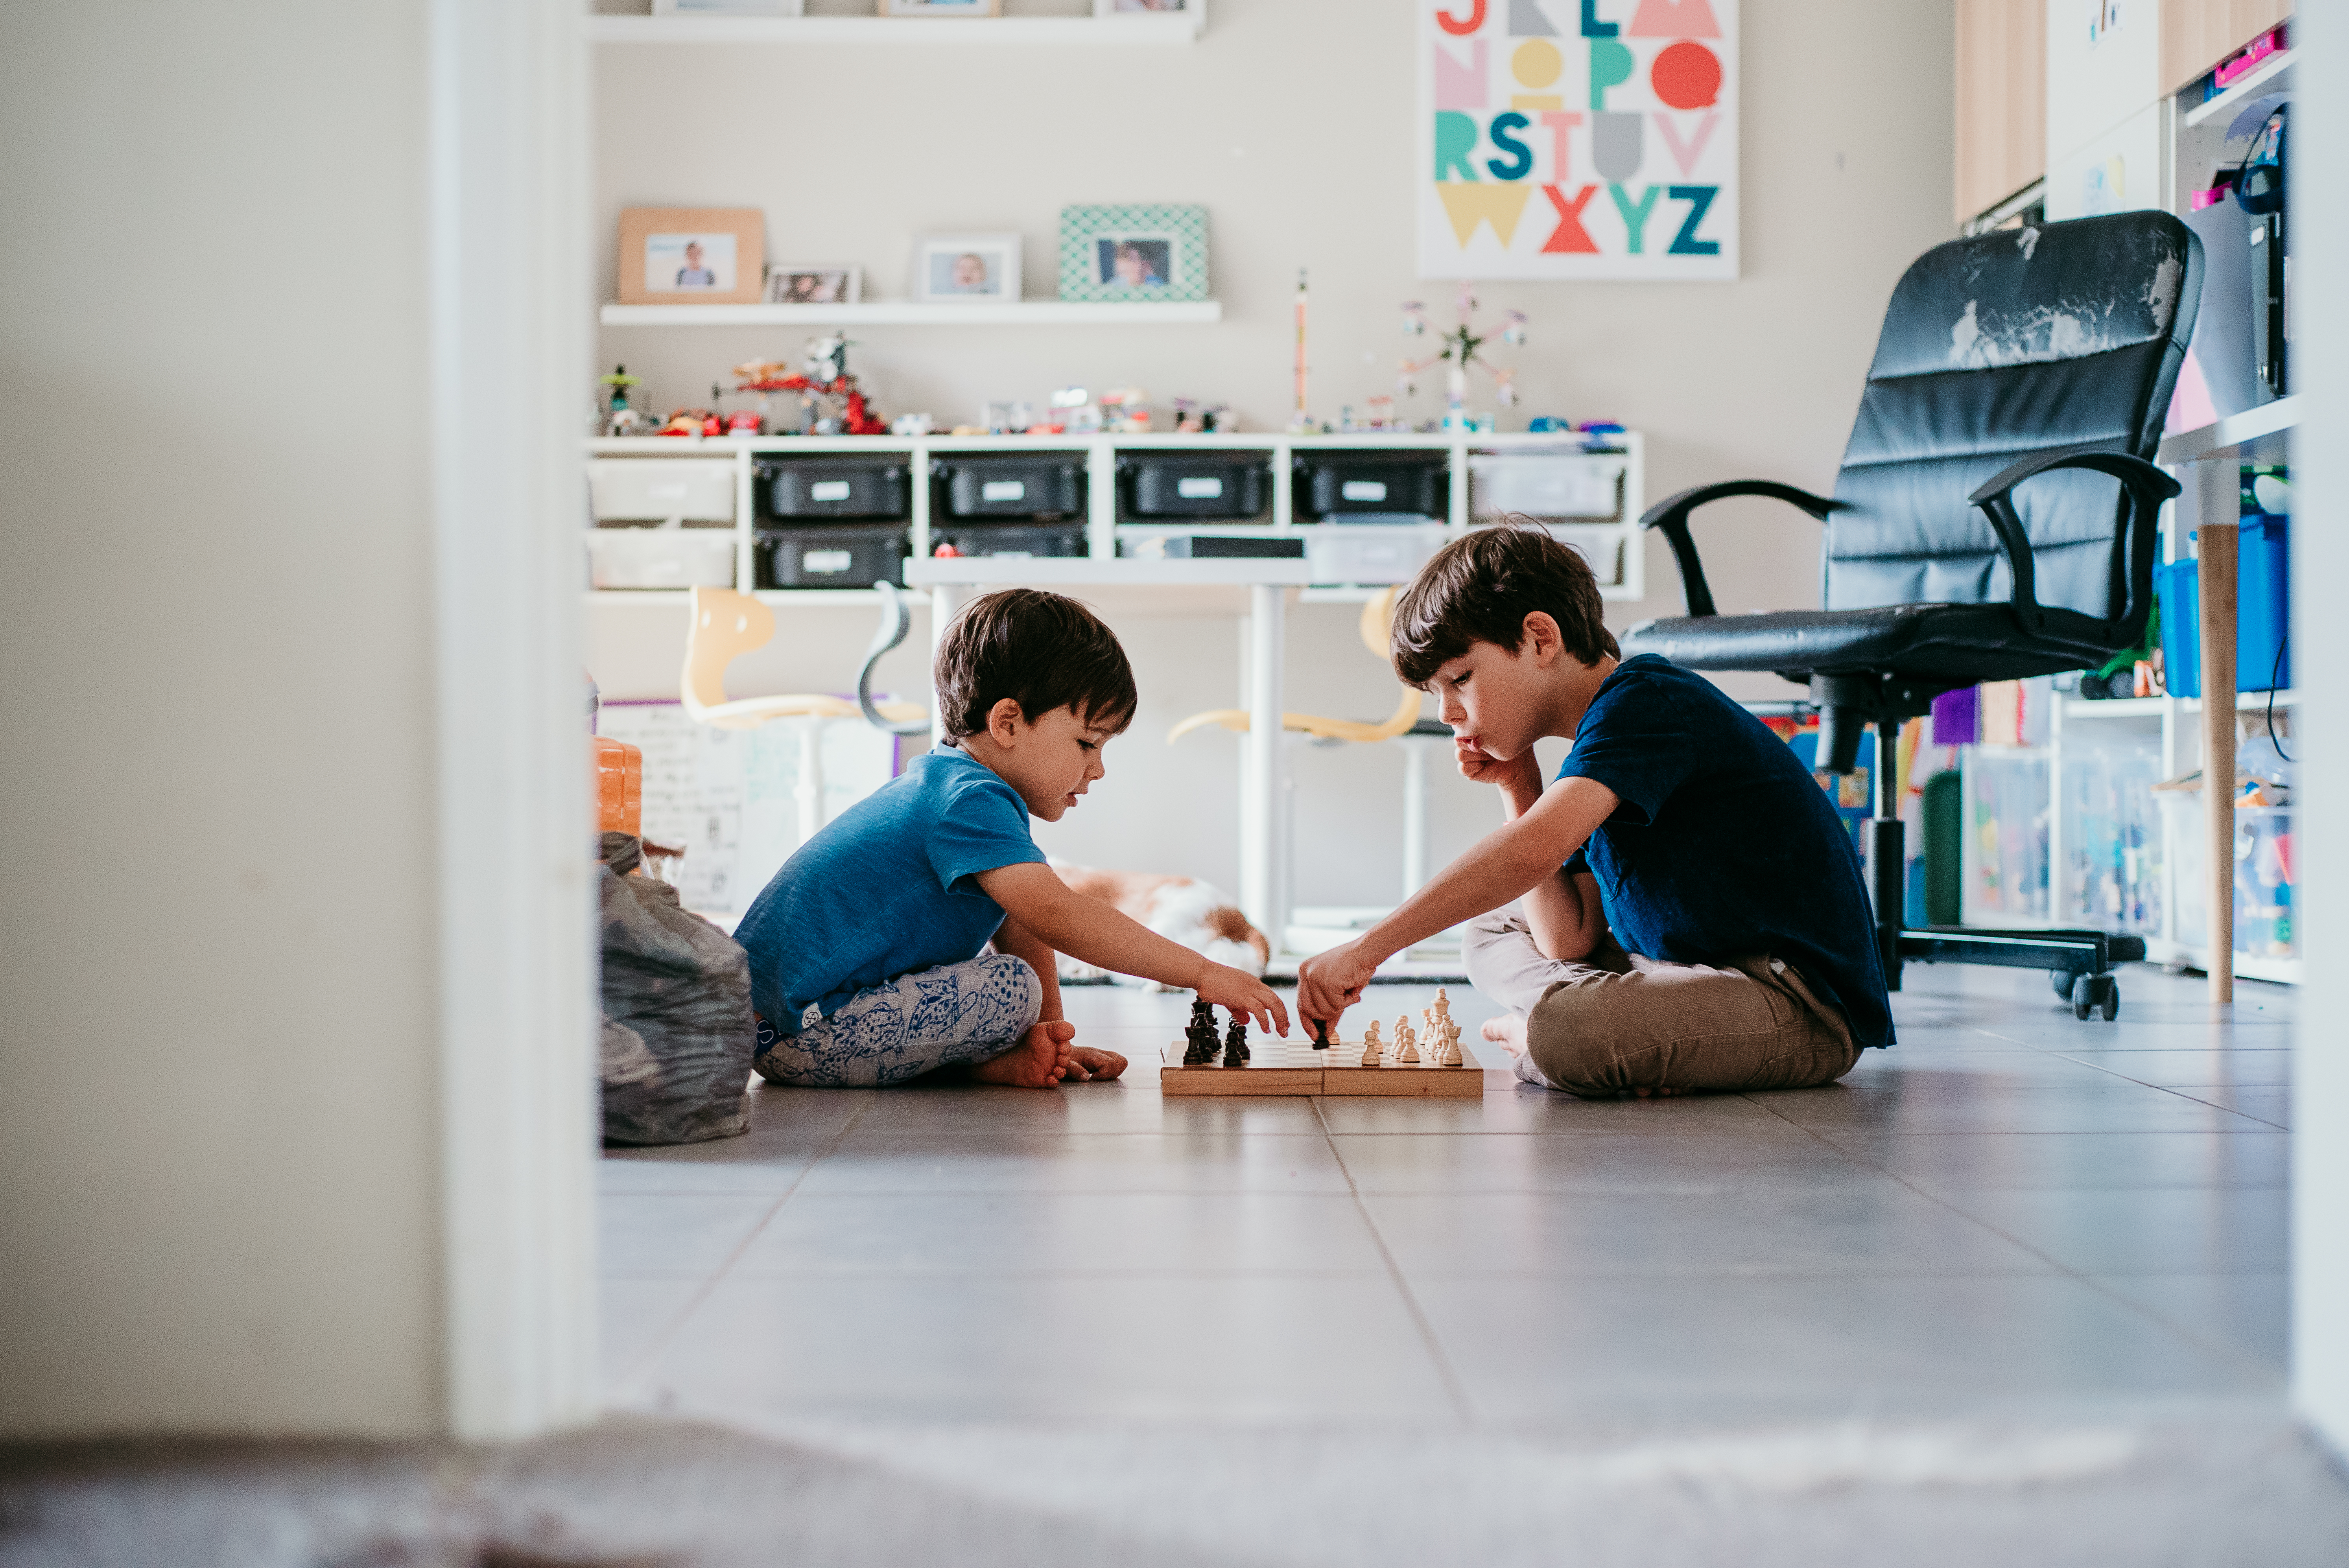
This is of my two boys playing. Quietly. Without fighting! Definitely a moment to record! Who knows how long these moments will last, so the first is taken with my phone (it’s usually on me and the quickest to get to), and the second is taken with my camera once I realised they were still happily absorbed in their game.
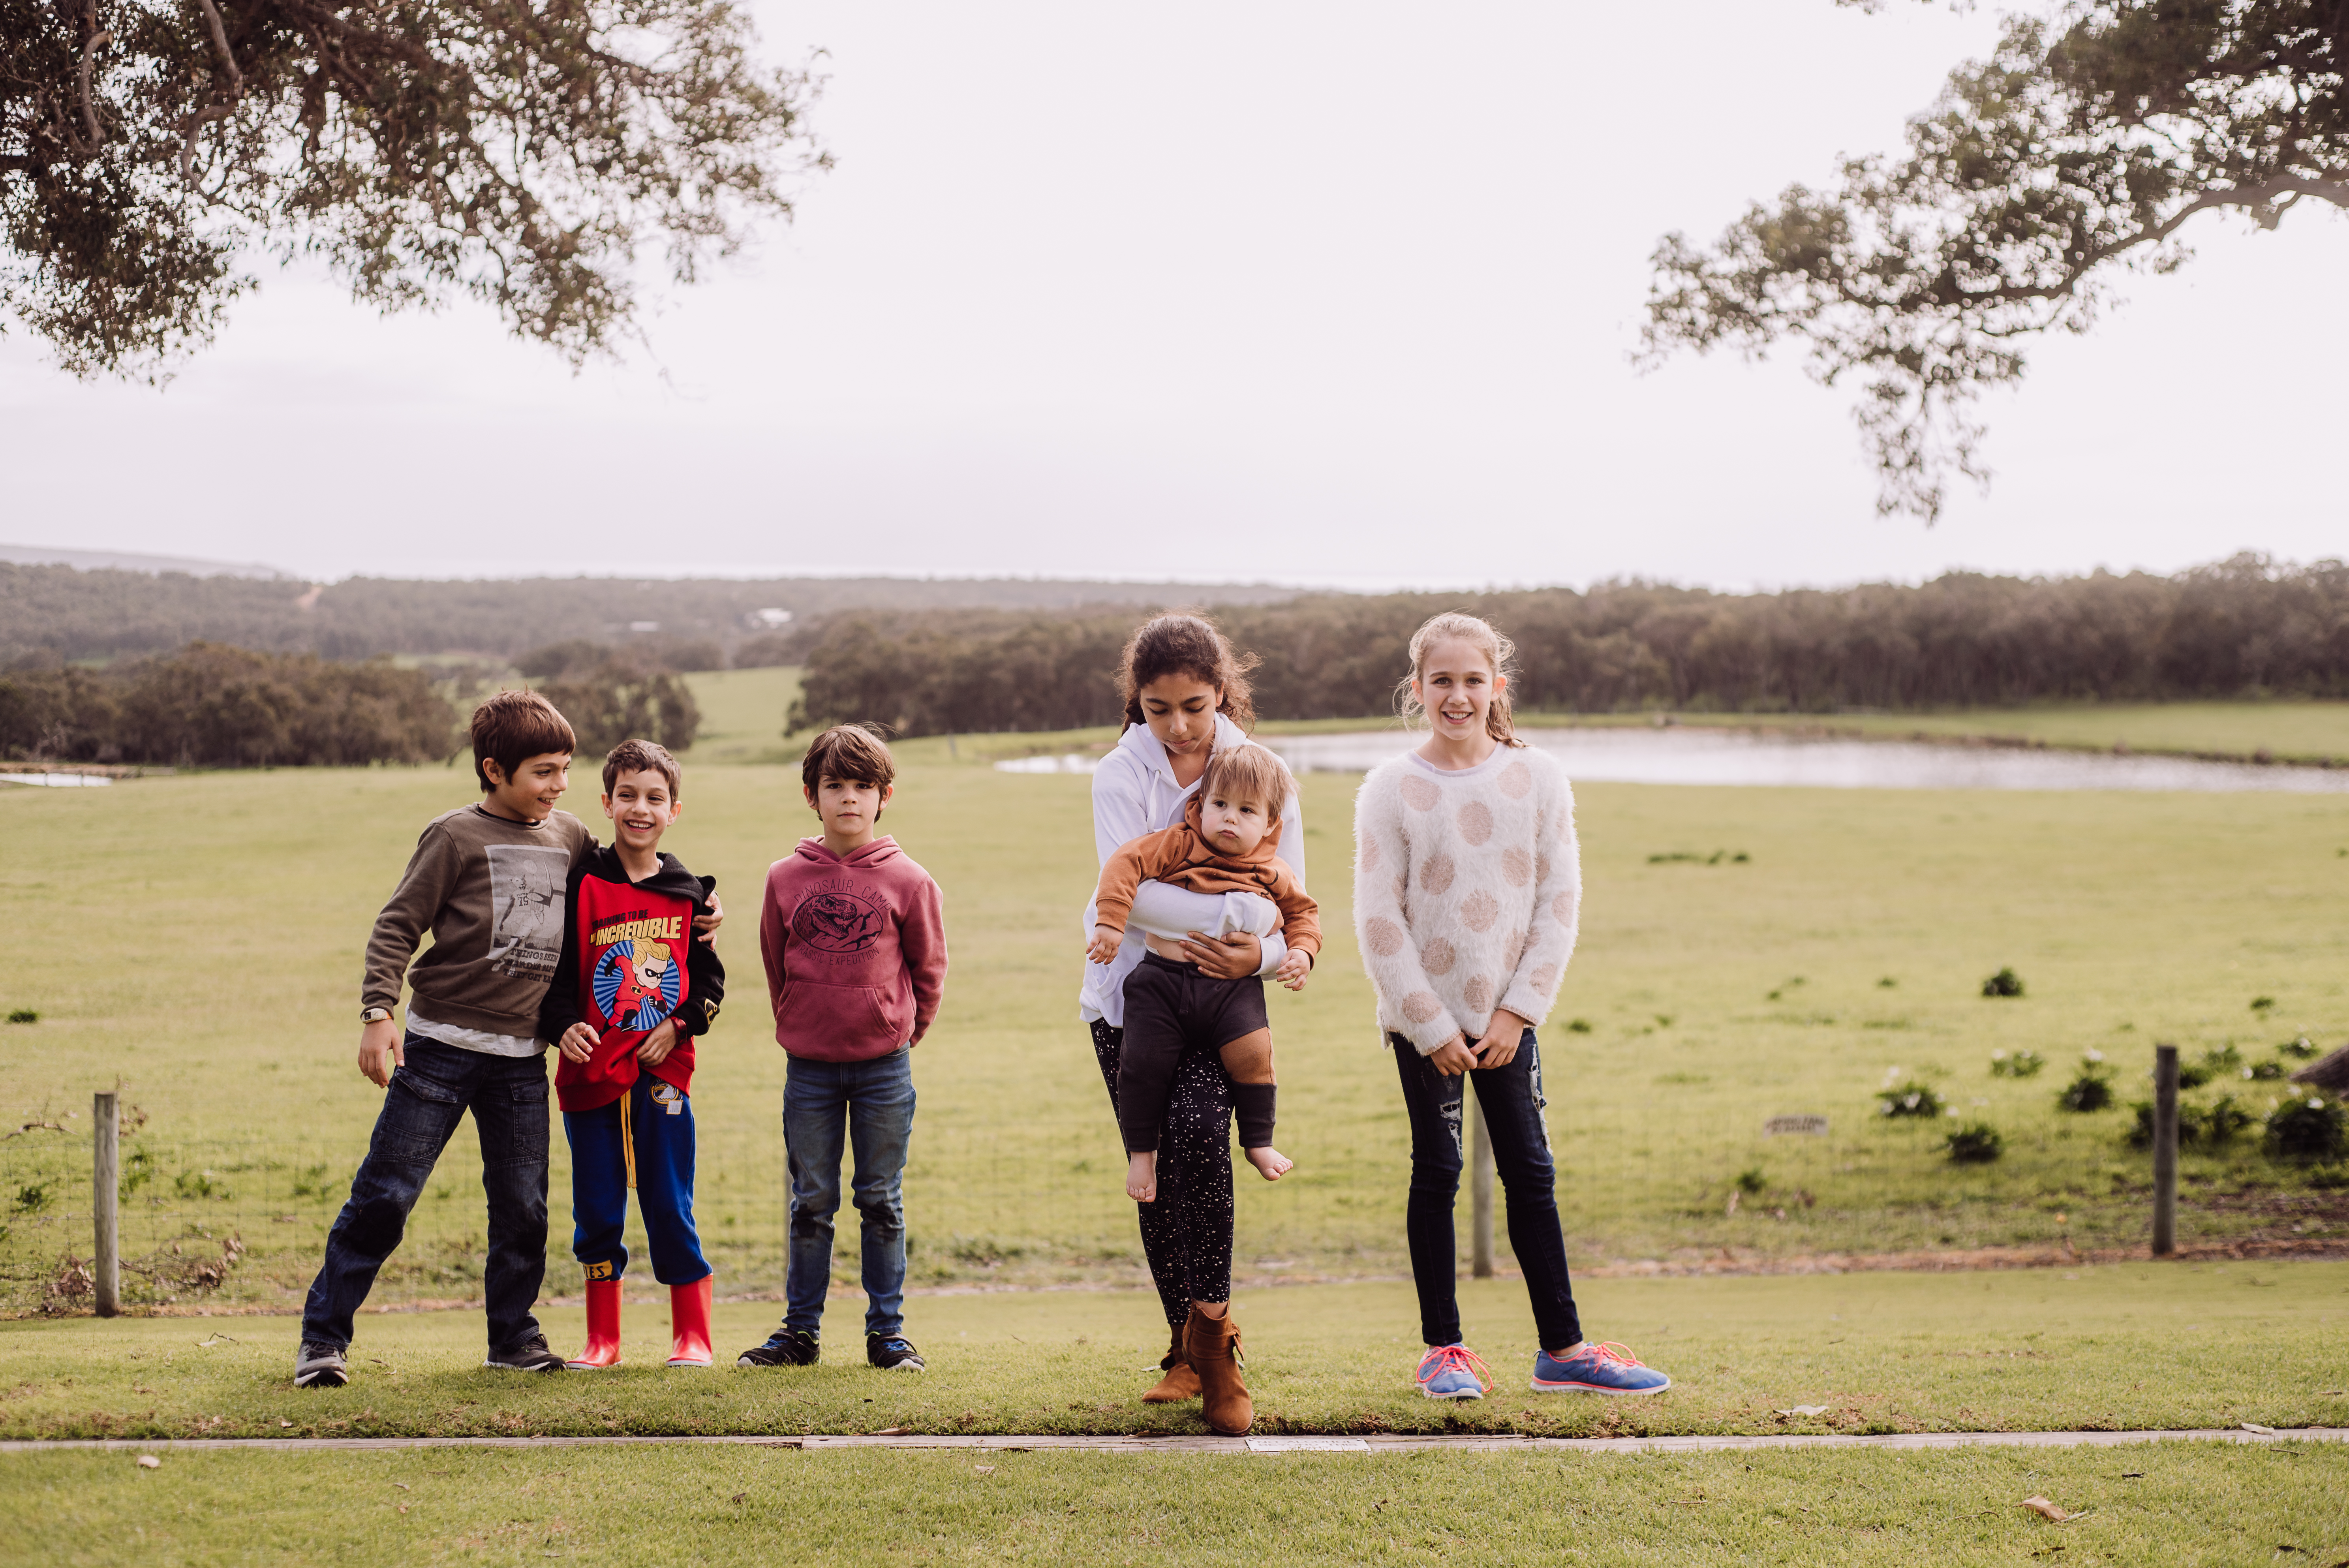
This is taken when our family all went down south. It’s not the same image, but it’s the same location and the same day. The first is taken with my phone, and the second with my camera (although that’s probably pretty obvious!)
This is also taken on holiday and is the exact same location.
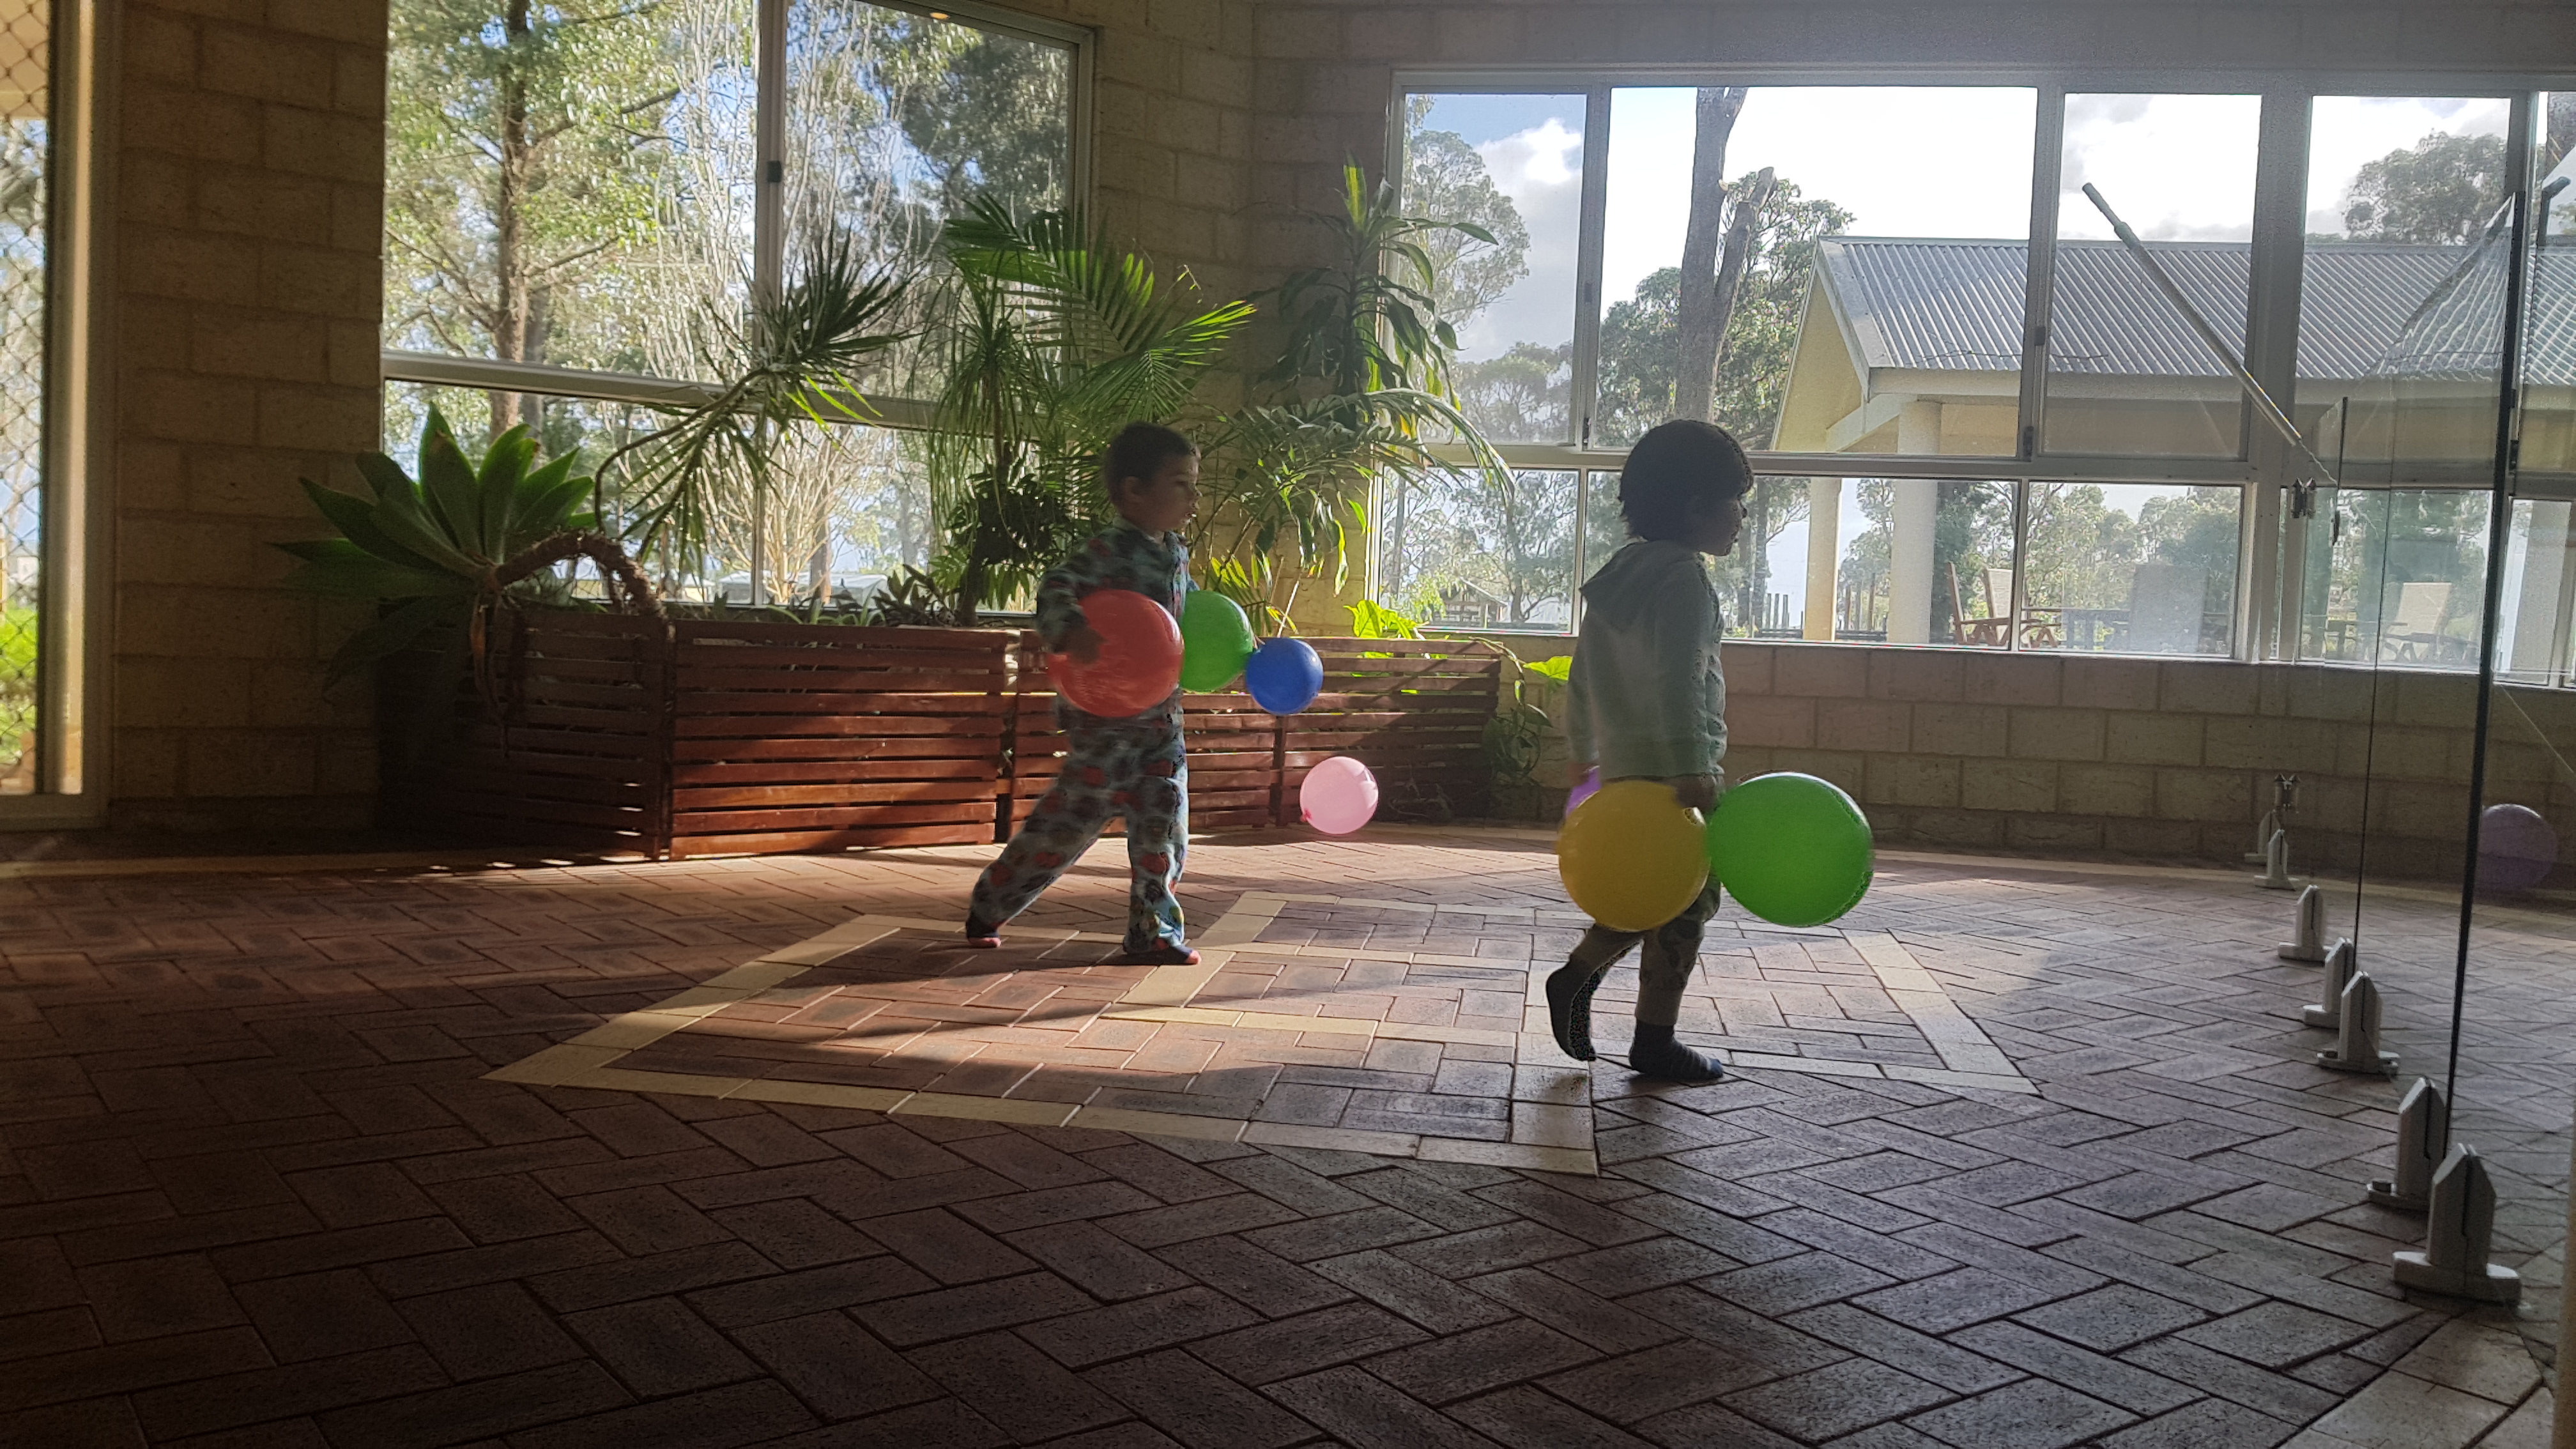
This last one is of my son and his cousin running around with balloons. My phone struggled with the light and with the motion, but knowing how to use the camera meant that I was able to capture the movement, as well as capture the memory.
And there you have it – just a few examples of the difference between the quality of a phone photo vs a camera photo, and why it’s definitely worth it (in my opinion) to take some images with your camera (and learn how to use your camera properly) – or even better – hire me to take some beautiful images for you! The moral of the story is that capturing the image in whichever way possible is always better than NOT capturing it, but that the difference between a phone and a camera is pretty big. Phones are great, and I’m so glad we’re able to take photos with them, but they can never be as beautiful as those images taken with a camera.
If you’d like to book a session for yourself, or gift a voucher to someone you love, Contact me here.
by Alana | Nov 28, 2018 | Family - Lifestyle, Family - Location, Information
Okay, so we all love taking photos of our children – but how do we do that without losing our minds?!! They always say never to work with kids or animals, but there are definitely some approaches that I use during my sessions, and that you can use as well, to capture your kids without everyone losing the plot!
Set Expectations
This is probably the main thing. Over the years I learnt this from my own kids, and especially from my son Kohen who would always be so painful to photograph – we’d constantly be yelling his name and eventually we’d all get frustrated and it just wasn’t a pleasant experience for anyone! And then I let go of the expectation that everyone needed to look at the camera and smile in the perfect way, and I started to actually enjoy just capturing them the way that they were. Yes, I still put them together for a photo, but my expectations are different. I now actually often ask them NOT to look at the camera, and this is actually the best way to get the photos I love as they’ll start interacting with each other, or they’ll focus on something they’re playing with and I’ll be able to grab the expression on their face. So adjust your expectations – realise that a photo doesn’t have to have everyone looking and smiling for it to be beautiful, and that capturing their personalities is just as great. Let go of expecting kids to sit still and focus – they just don’t want to do that!
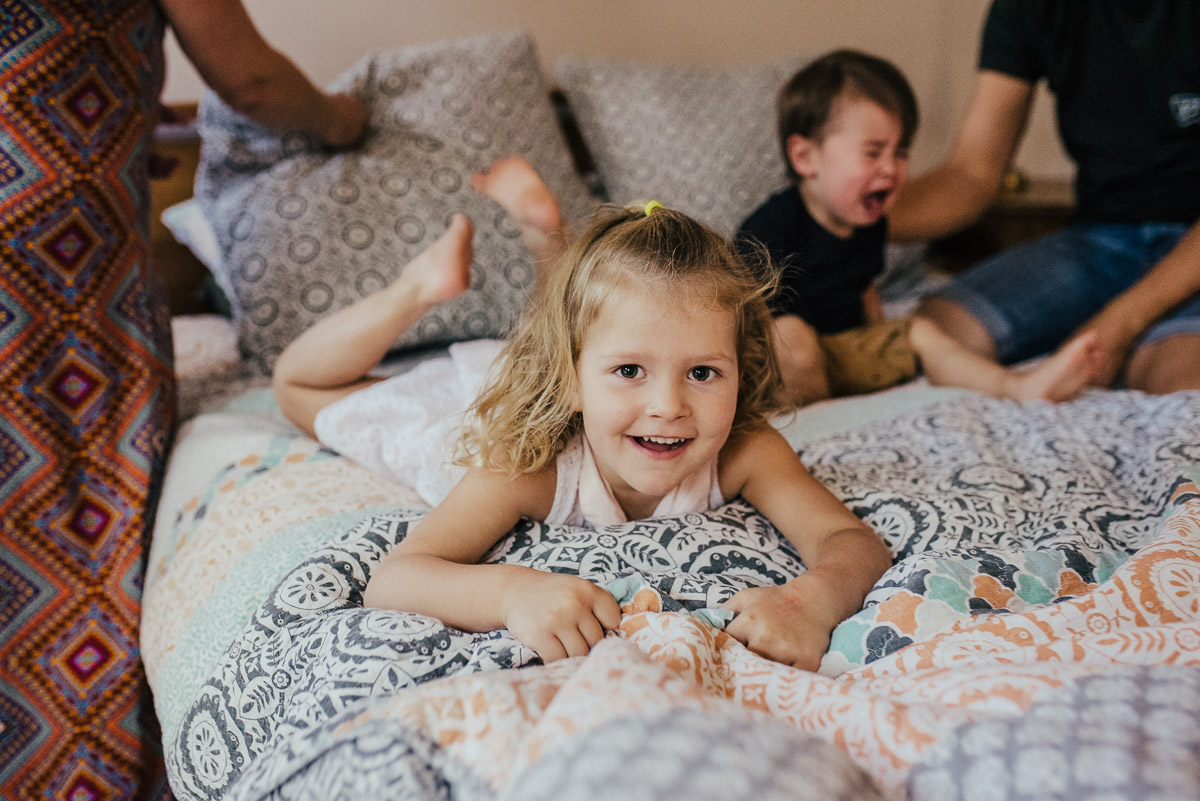
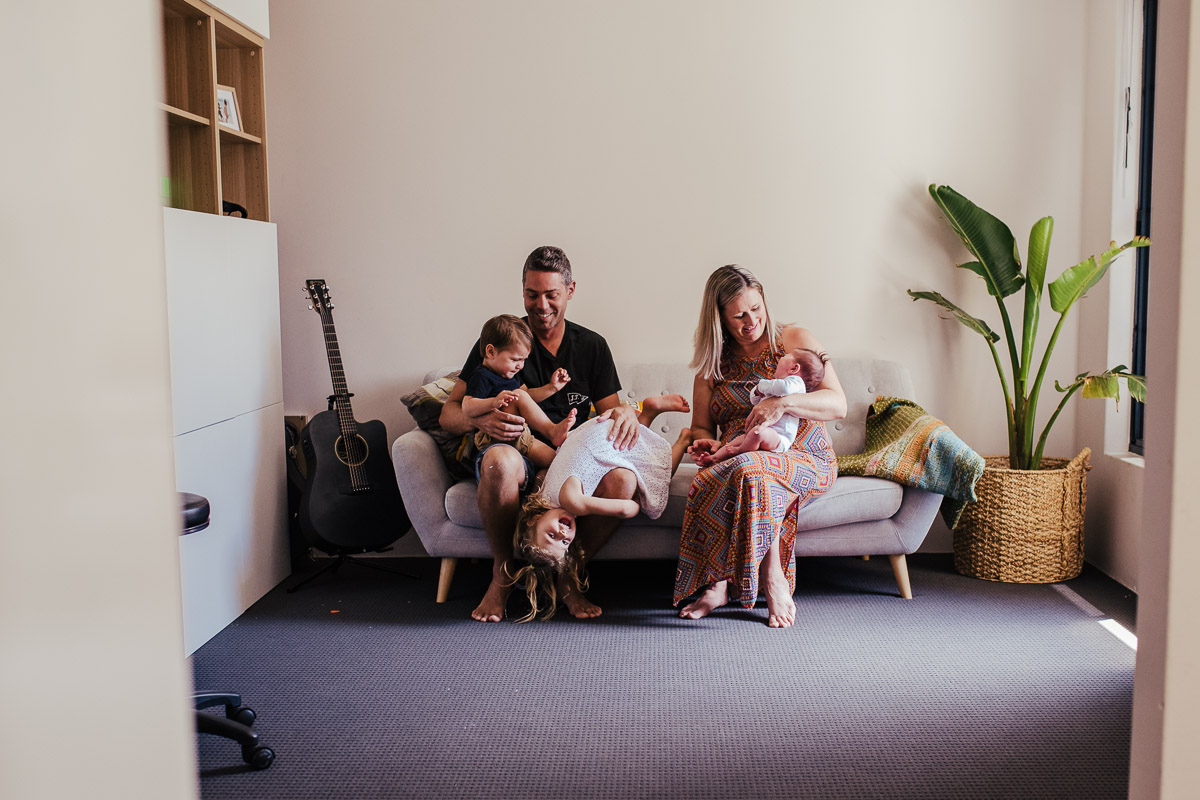
Let Kids Be Kids!
Following on from this, the best way to photograph kids is to let them be kids!!! Let them hang upside down or jump on the bed, let them pull funny faces or express their emotions (even those bad ones!). Similarly, let them rest when they need to, and cuddle if they need comforting. There are multiple benefits to this. Firstly, they’ll be less likely to resist being photographed, as they’re being allowed to have fun. Secondly, this will cause everyone (including parents!) to be less stressed, and thirdly by allowing them to be kids, you’ll let their little personalities come out and this will be captured forever. You’re much more likely to get a genuine smile by letting them be a little childlike compared to forcing them to sit still and smile at the camera.
Tips and Tricks
Having said this, sometimes you really want them to look at the camera, even just for ONE photo. This can be challenging for multiple kids but there ARE some ways you can make it more likely that you’ll grab that photo. Here are some ideas:
- play the ‘frozen’ game where you need to stay still for the count of 10
- show them their photo on the back of the camera, and ask them whether they can give their absolute best smile next time to make an even better photo, then show them the results. Kids like seeing themselves on the back of the camera!
- tell them to imagine that their faces are stuck together – this usually results in smiles as everyone presses together really close
- ask them questions such as ‘who is the naughtiest?’, ‘what’s your favourite toy’, ‘who is funniest – mummy or daddy?’ – or anything age appropriate which allows them to feel like you’re paying attention to them, and takes the focus off the fact that they’re having their photo taken?
- ask them to show you what they’re playing with – e.g. a leaf or flower. Usually this means they’ll hold it up to the camera and they’ll actually look at the camera as well
- ask them to squeeze the person next to them as tight as they can
- tell them that on the count of 5 they’re going to either get tickled, or tickle the person next to them
- be silly, let them be silly, get someone else to be silly directly behind the camera
- say their name or age wrong – this usually encourages them to look at you and smile whilst correcting you
- get down on their level and talk to them WITHOUT the camera in front of your face
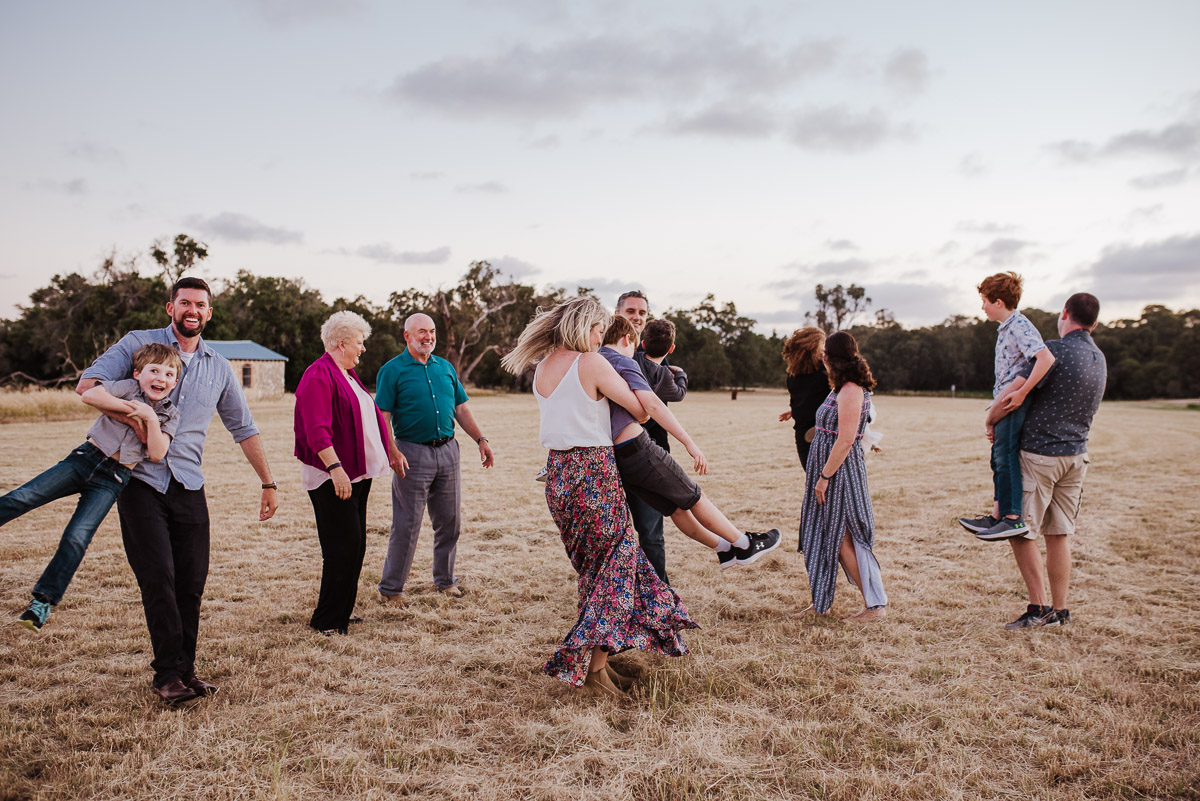
Fun and Games
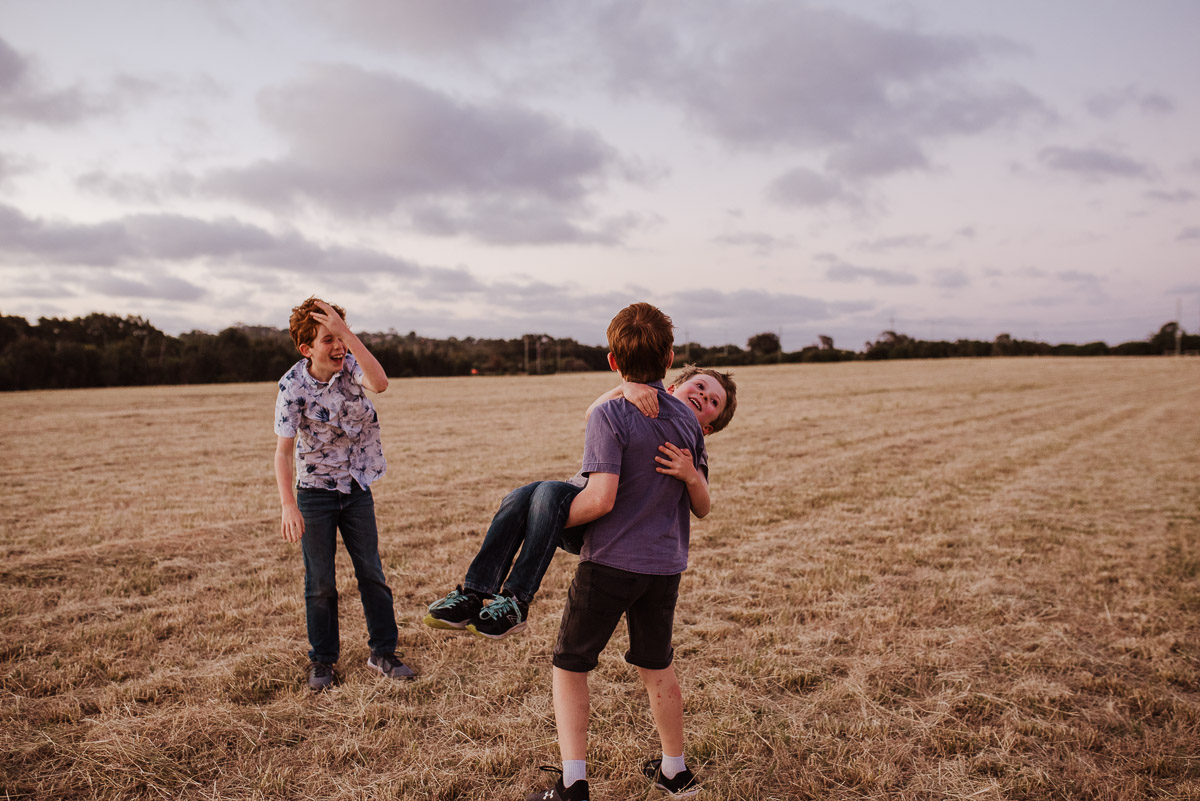
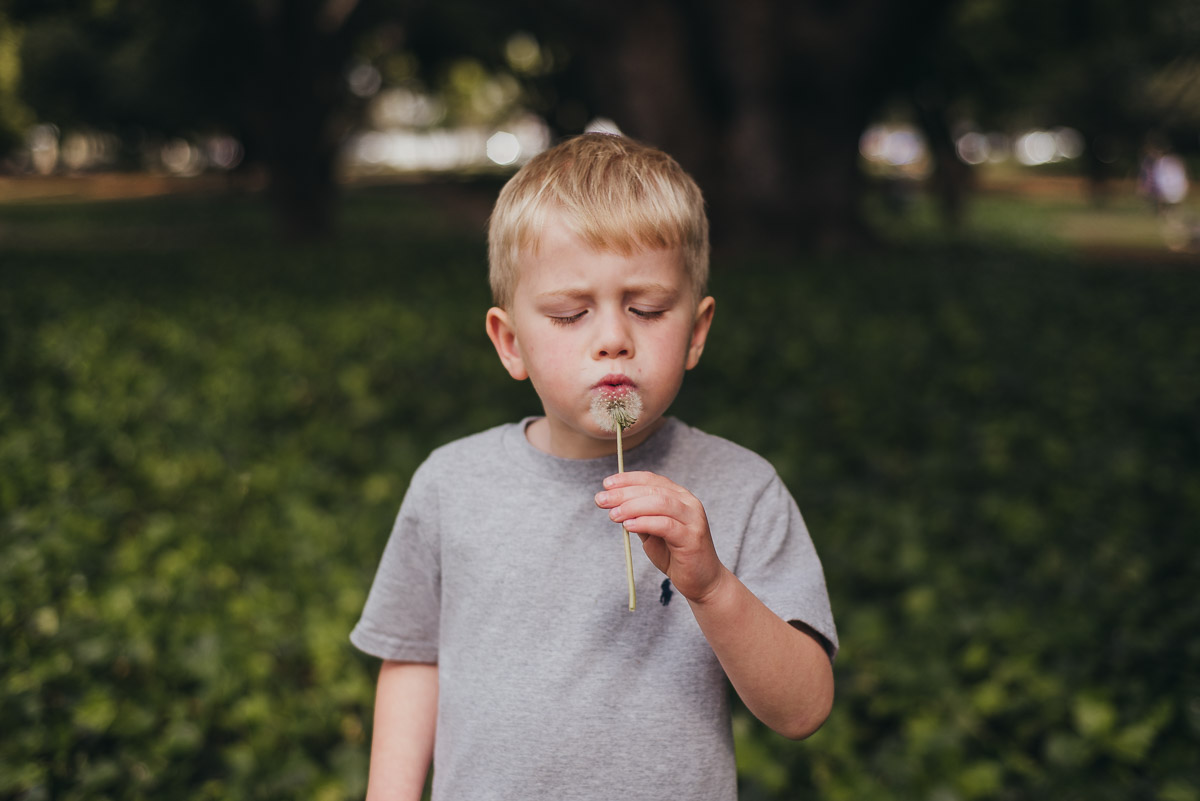
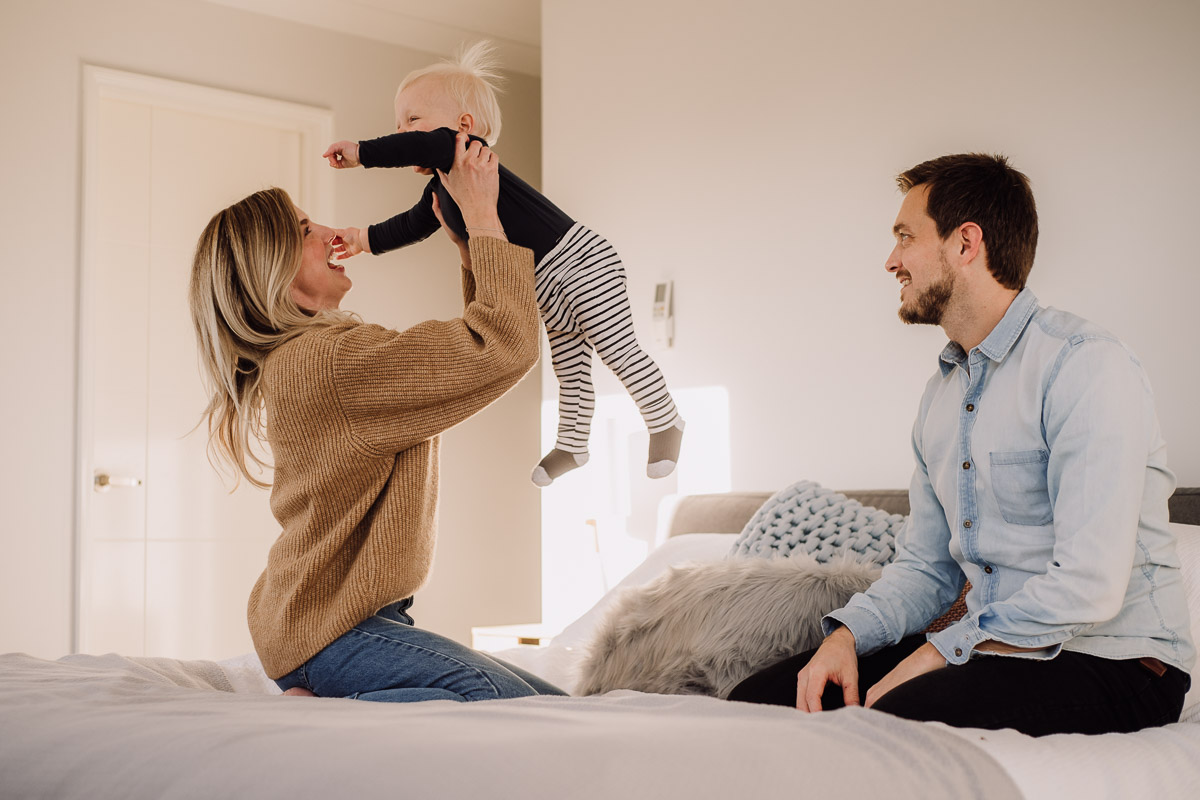
Kids love games, and games are great for adults too! Think tickles, flying in the sky, spinning, follow the leader, jumping, running races, blowing bubbles, piggy back rides, lifting each other up, Simon Says, Chinese Whispers, and other games like this which encourages movement and interaction. This helps to loosen everyone up and bring out those genuine emotions!
Follow their Lead
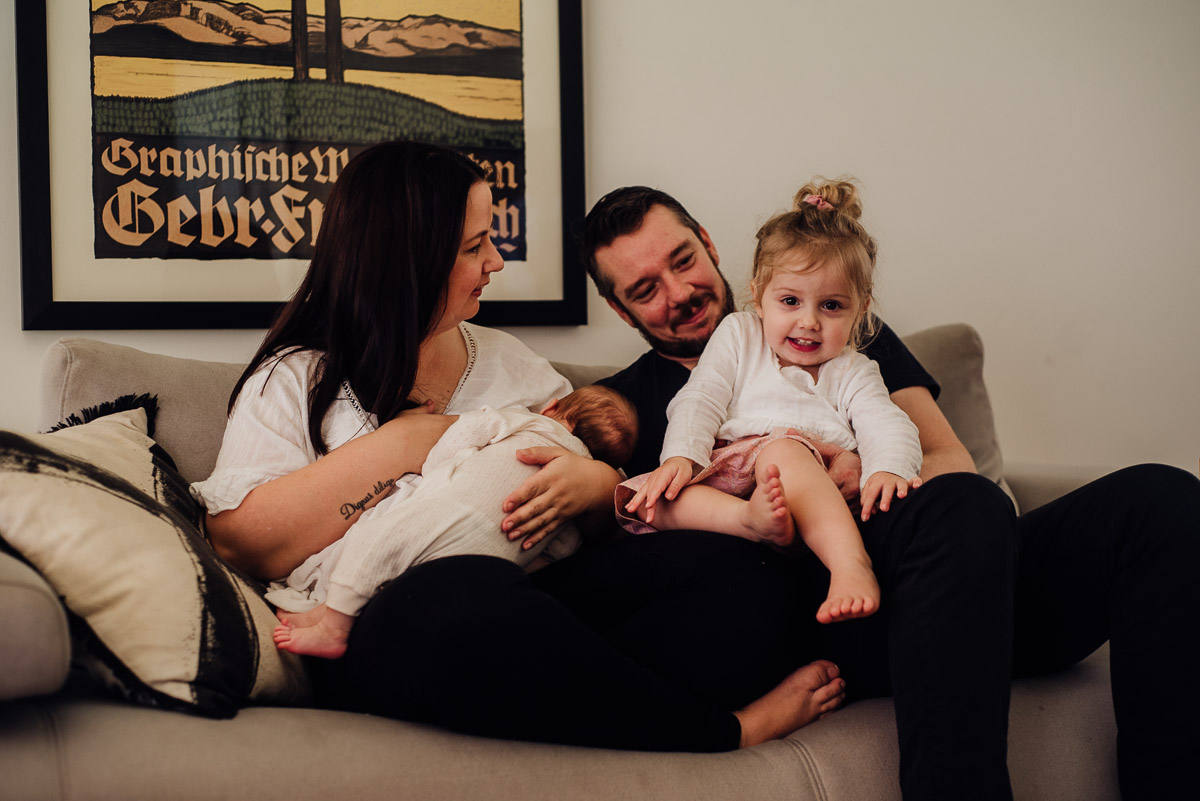
If they’re not in the mood, you really can’t push it. If none of the tricks are working, and it’s just leading to a meltdown, you really just have to let it go. If it’s during a photo session, this just comes back to resetting expectations and realising that those images where you’re comforting your child, or they’re laying with their head buried into your chest, or even screaming in the background, can be beautiful too because it’s just capturing LIFE. REAL LIFE. We can’t predict or control kids moods, but the biggest way to ruin a session is to get angry or stressed about their behaviour. Just go with it. If they need a break, give them one. If they’re happy being photographed, then go with that and take as many as you can get until they lose interest (and they WILL lose interest).
If you’d like to take the pressure off of yourself, and get ME to capture some beautiful images of your kids, Contact me here.
by Alana | Oct 31, 2018 | Family - Lifestyle, Family - Location, Information
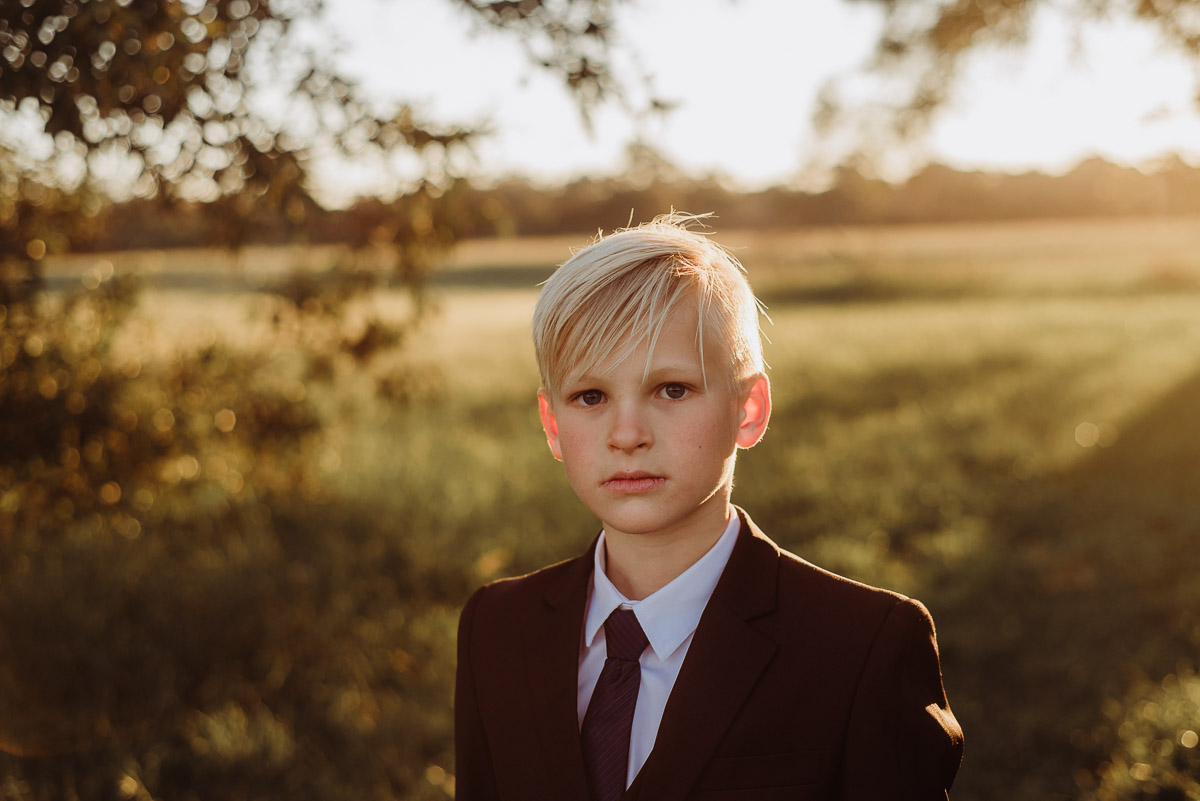
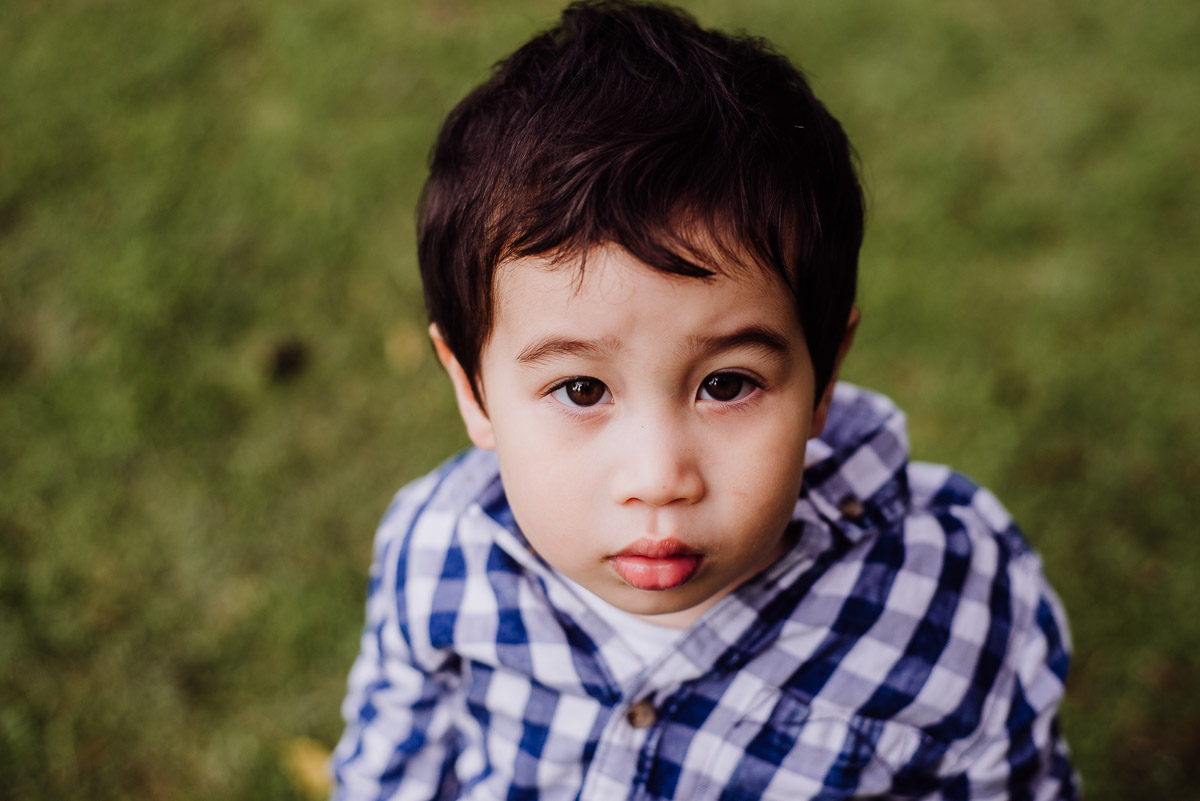
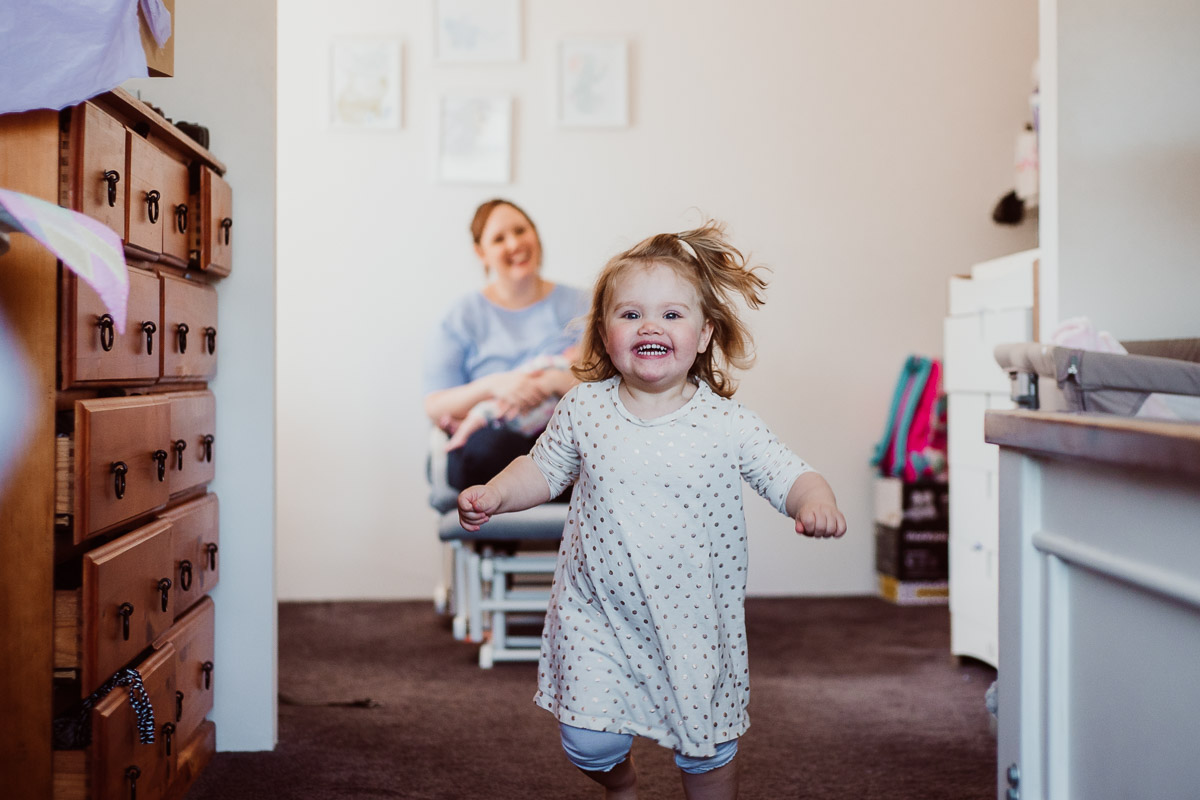
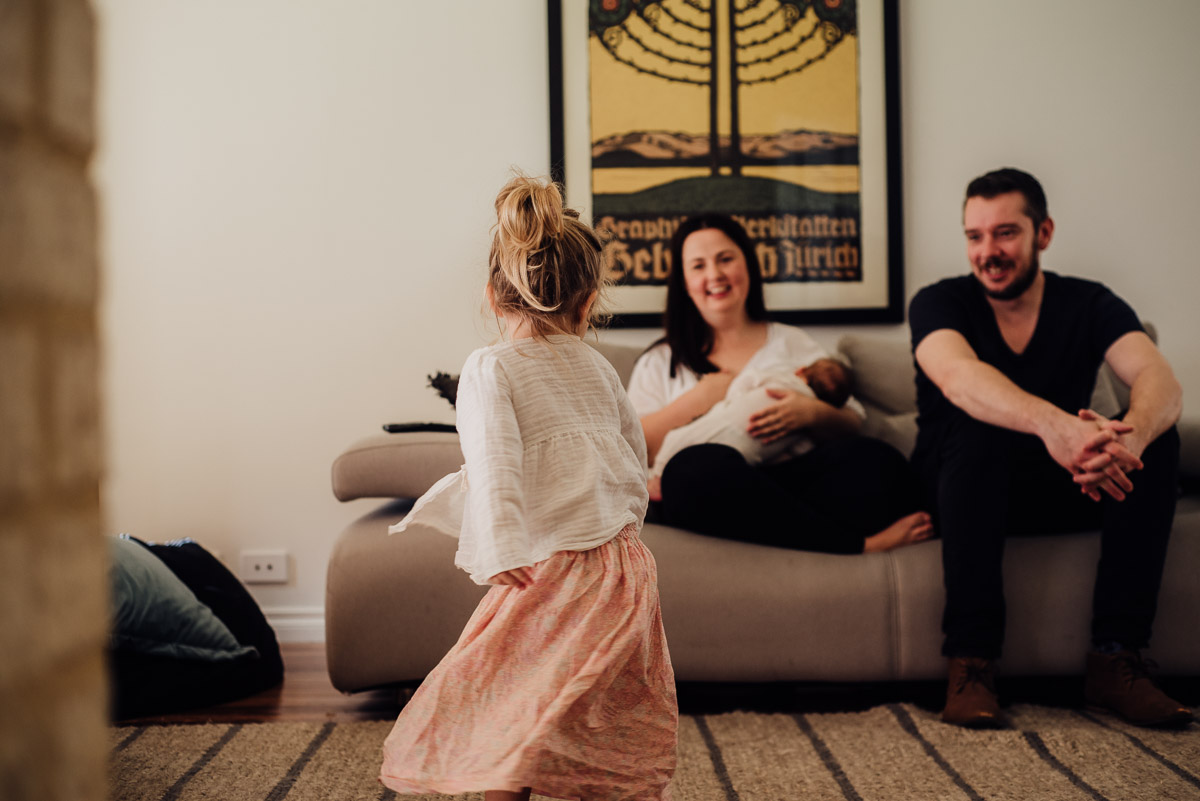
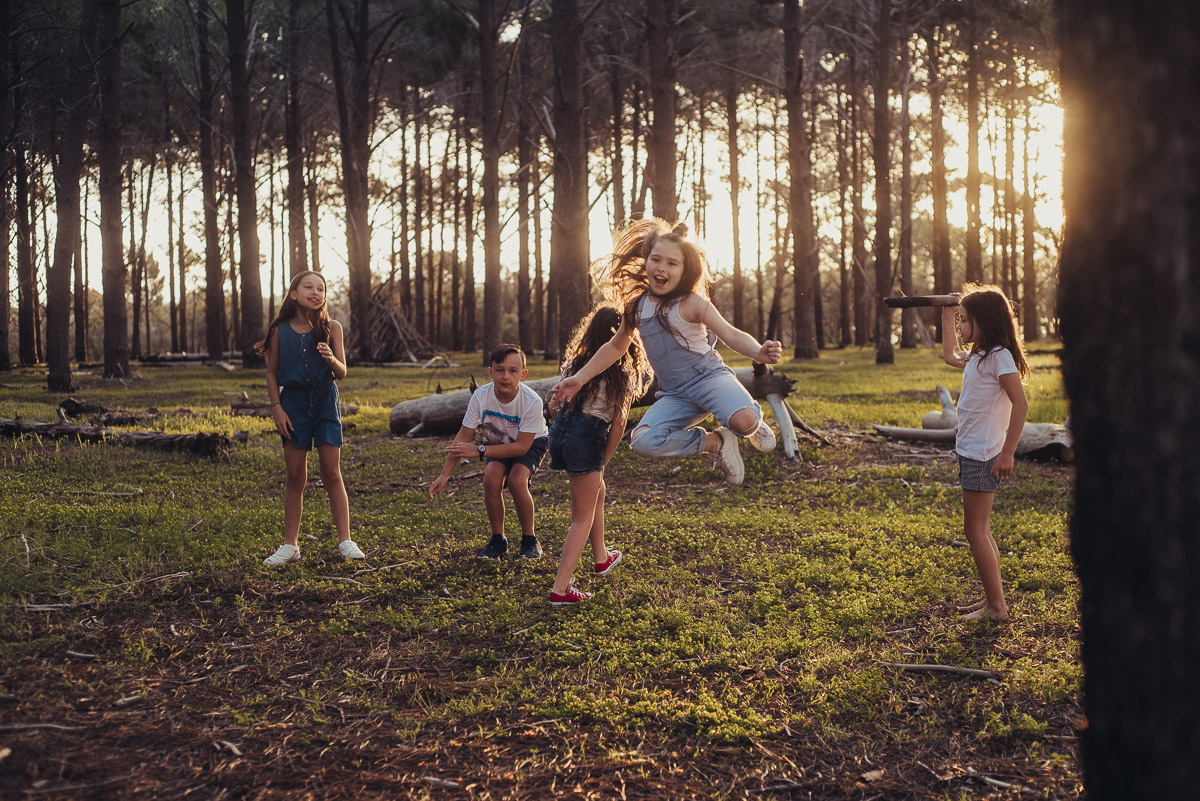
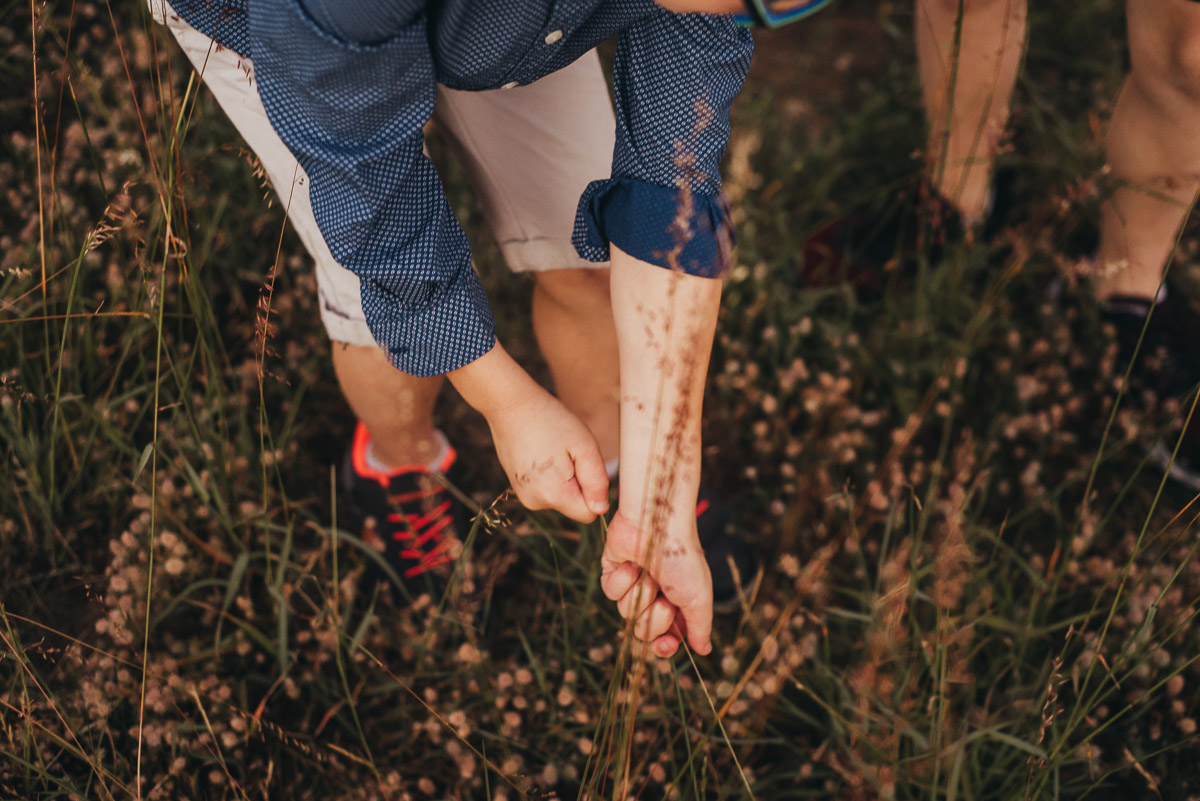
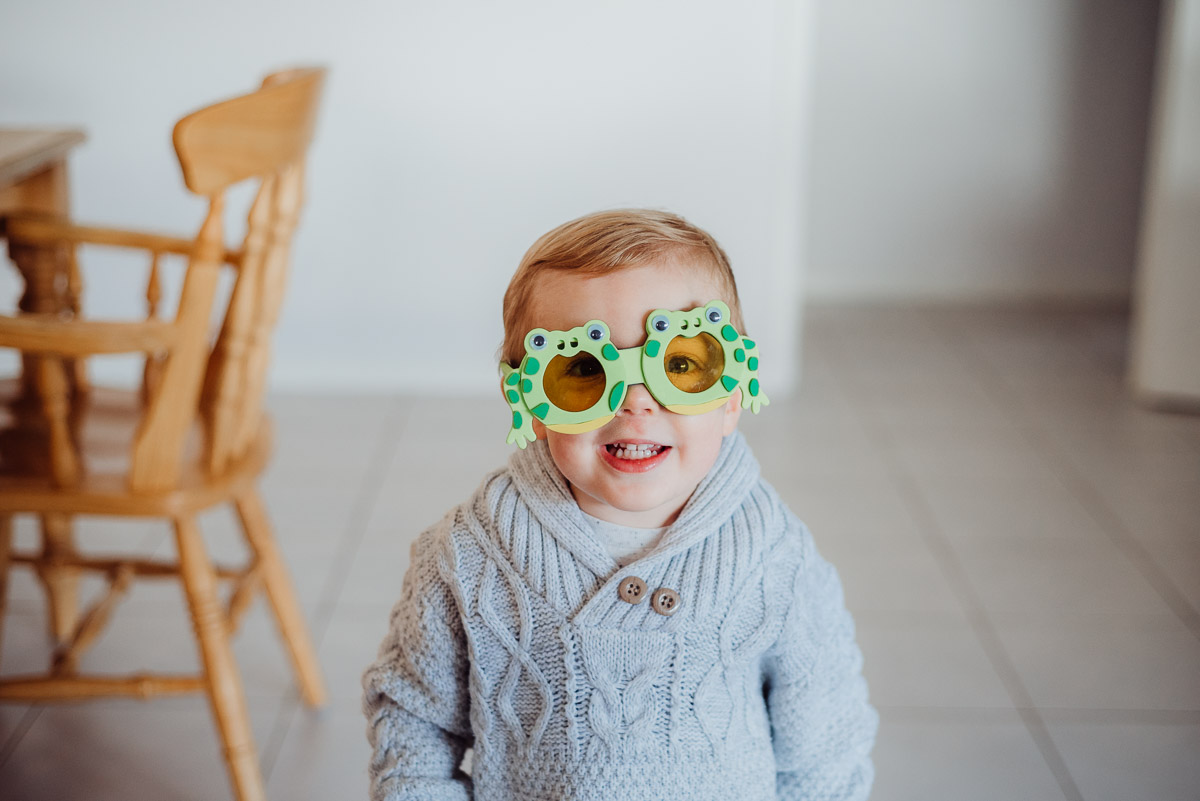
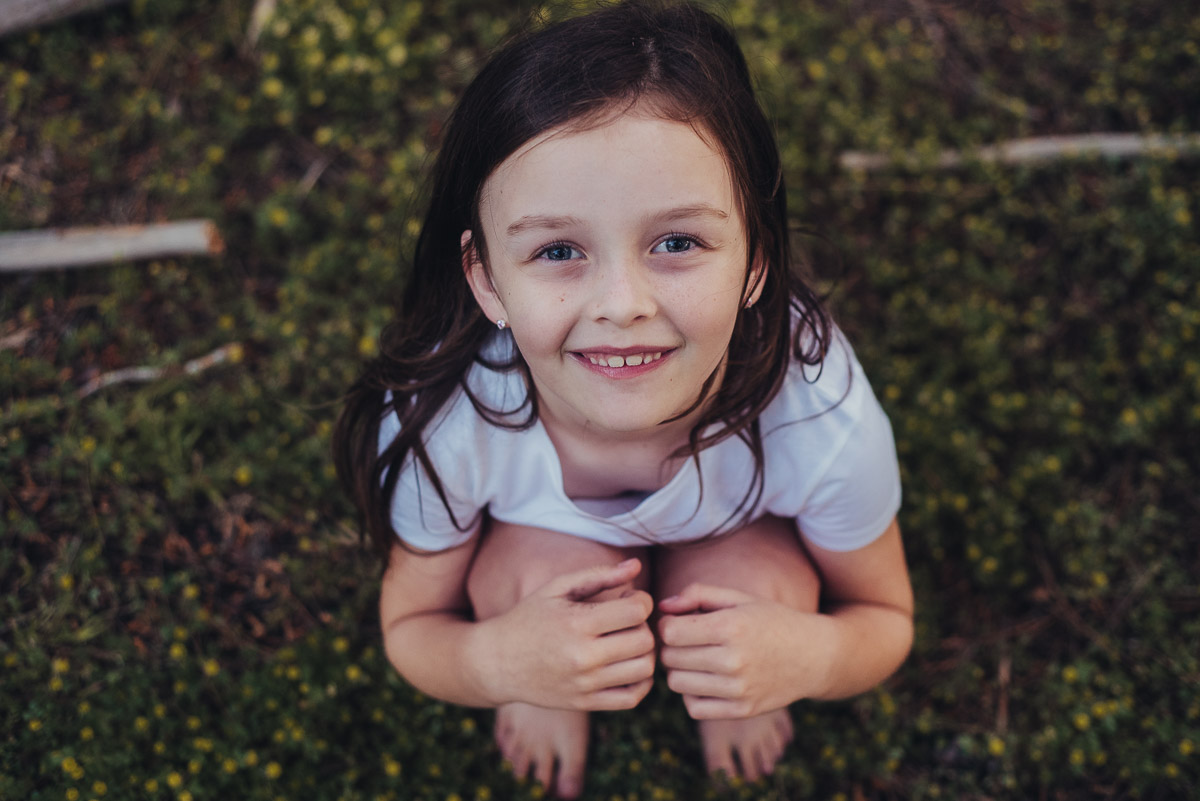
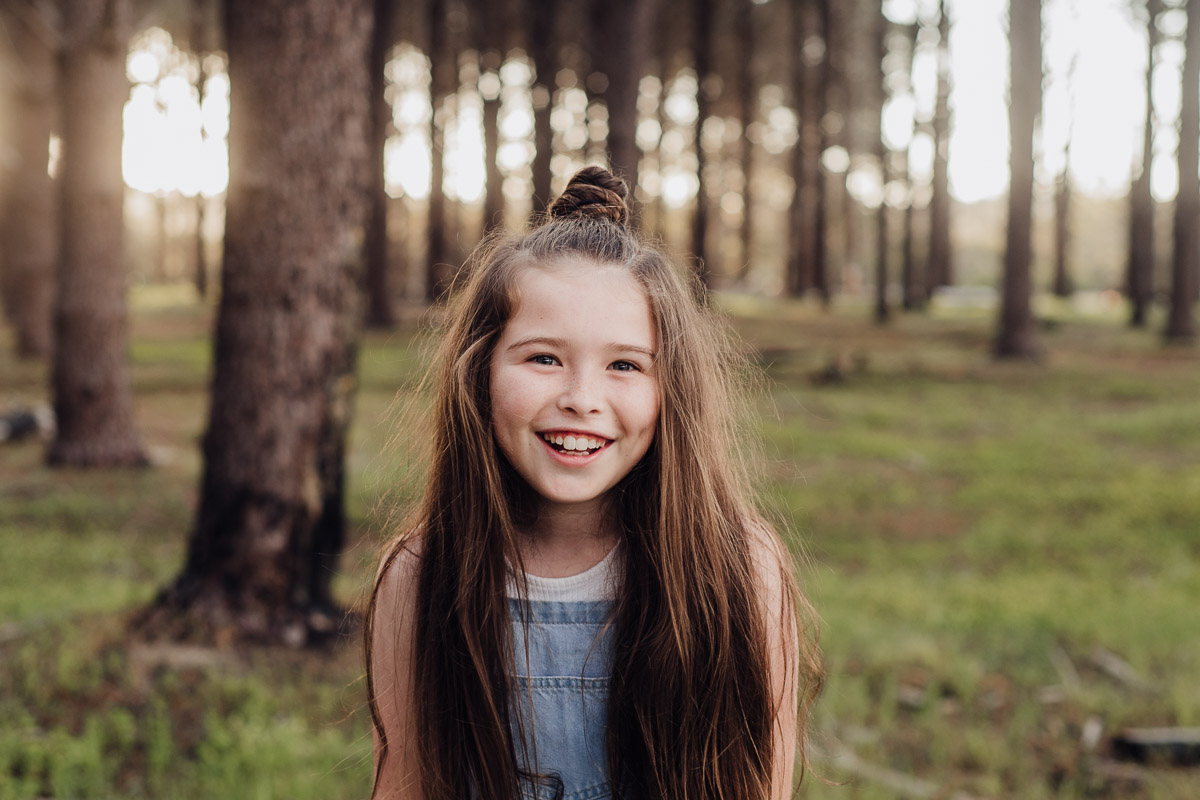
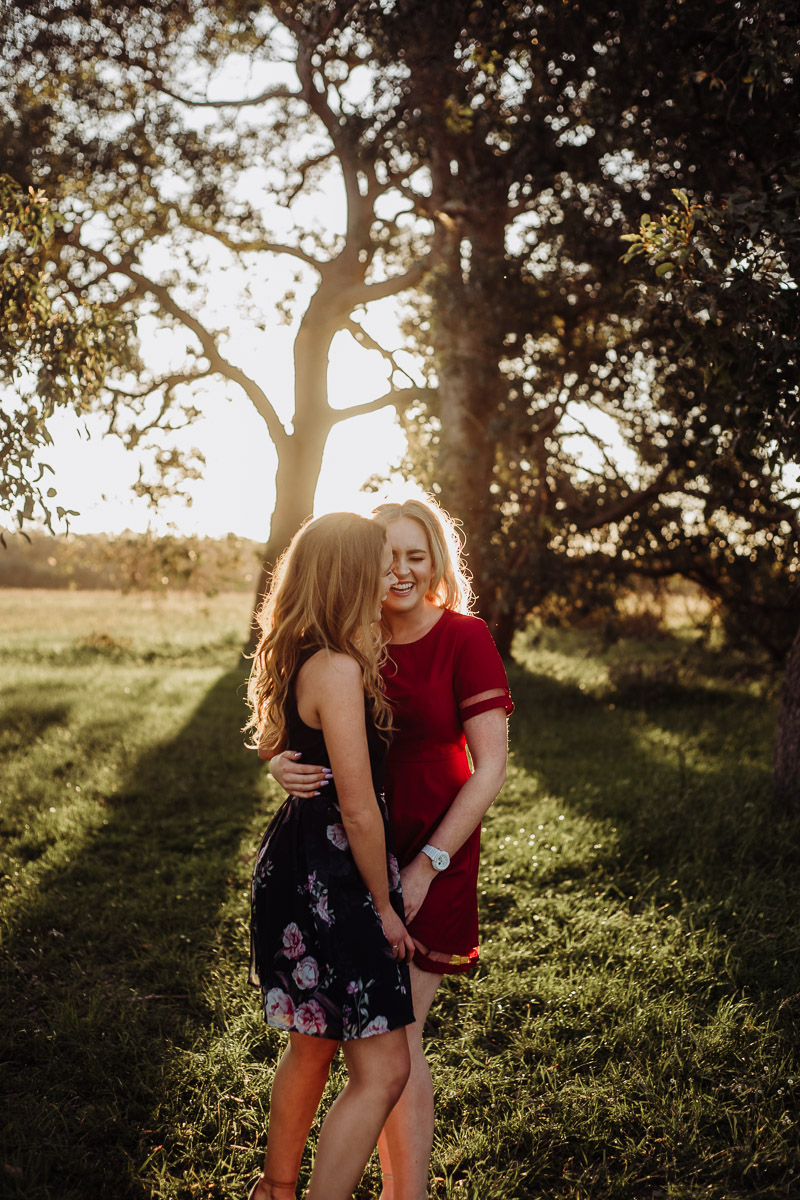
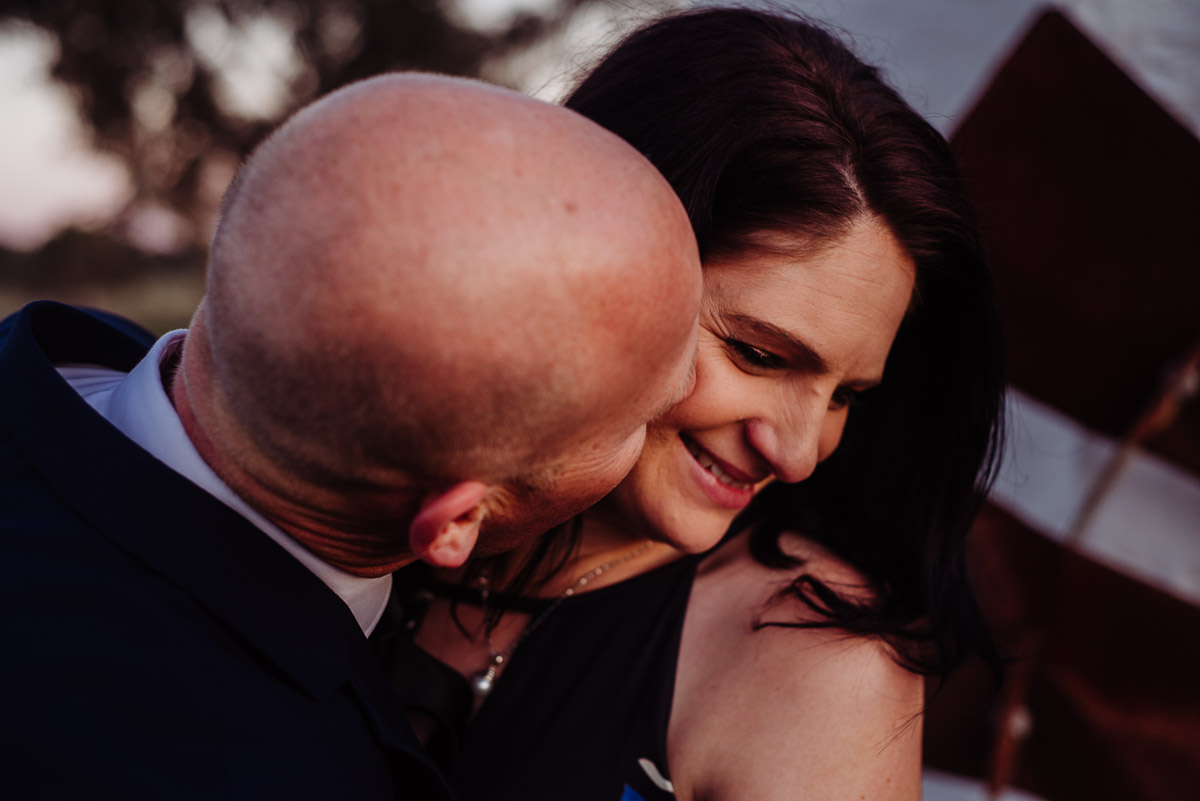
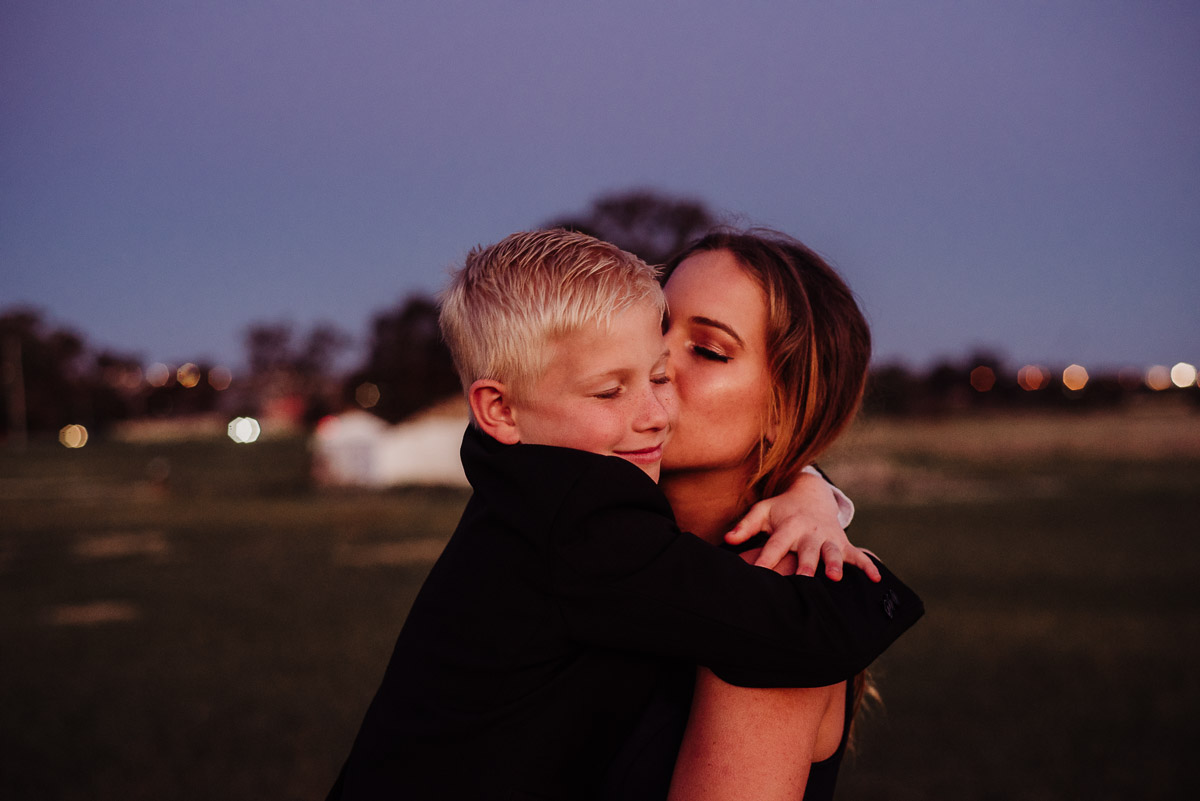
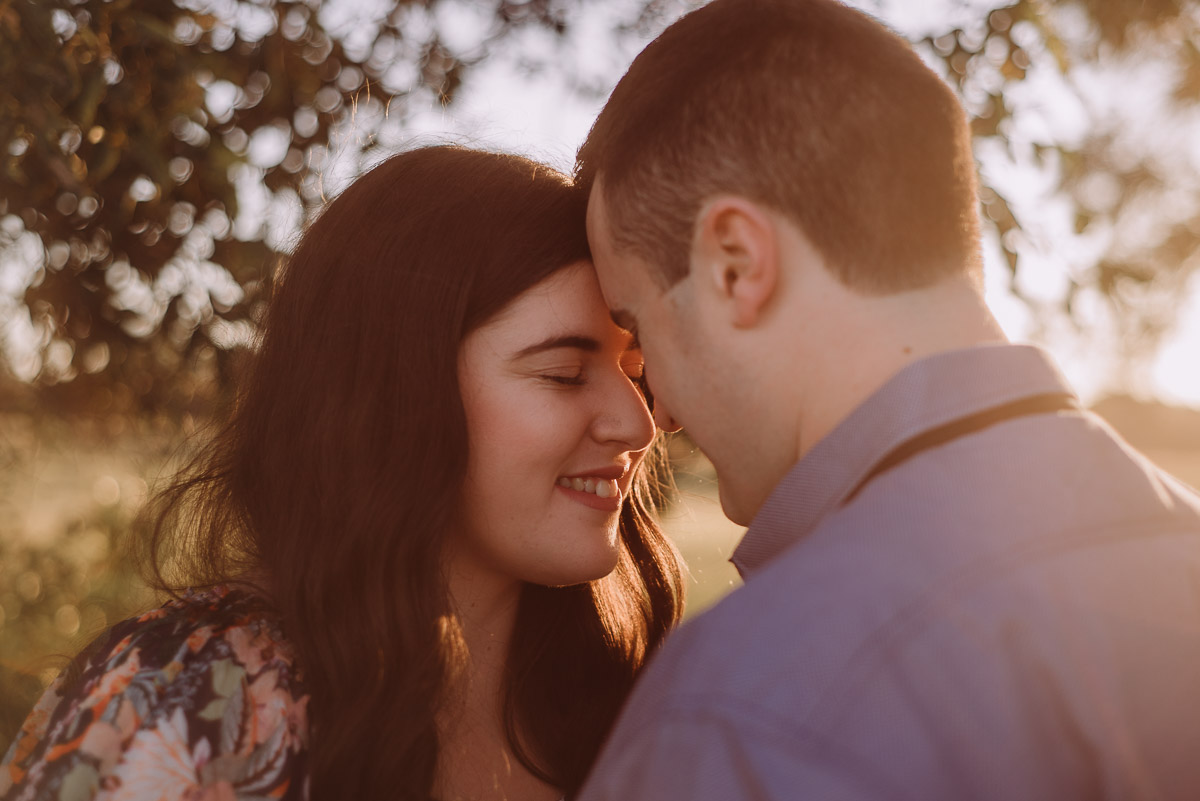
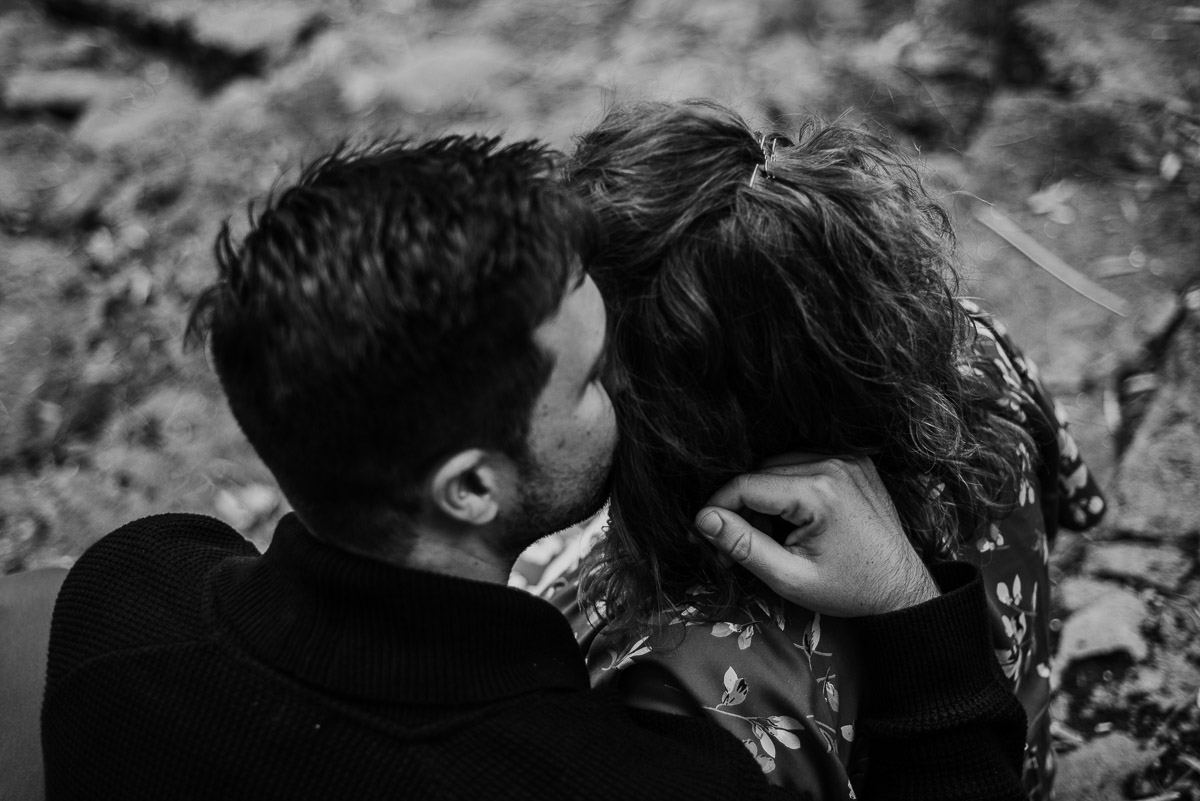
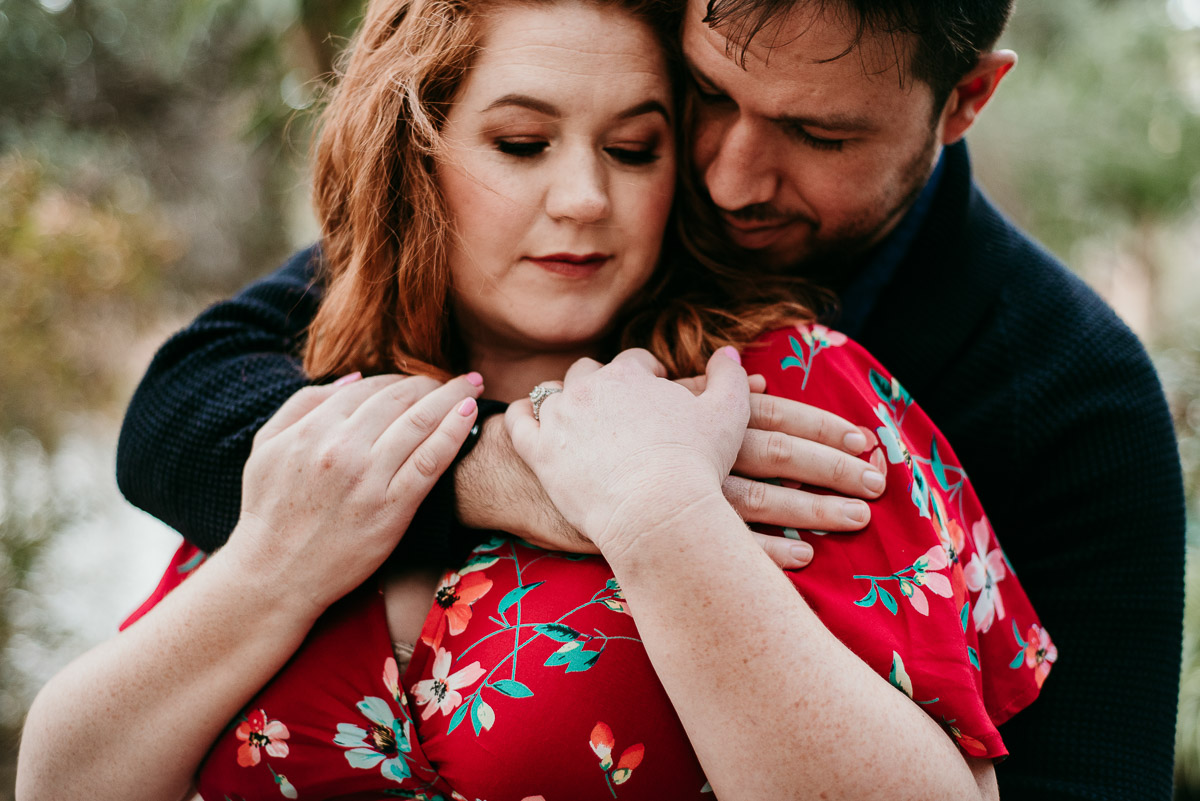
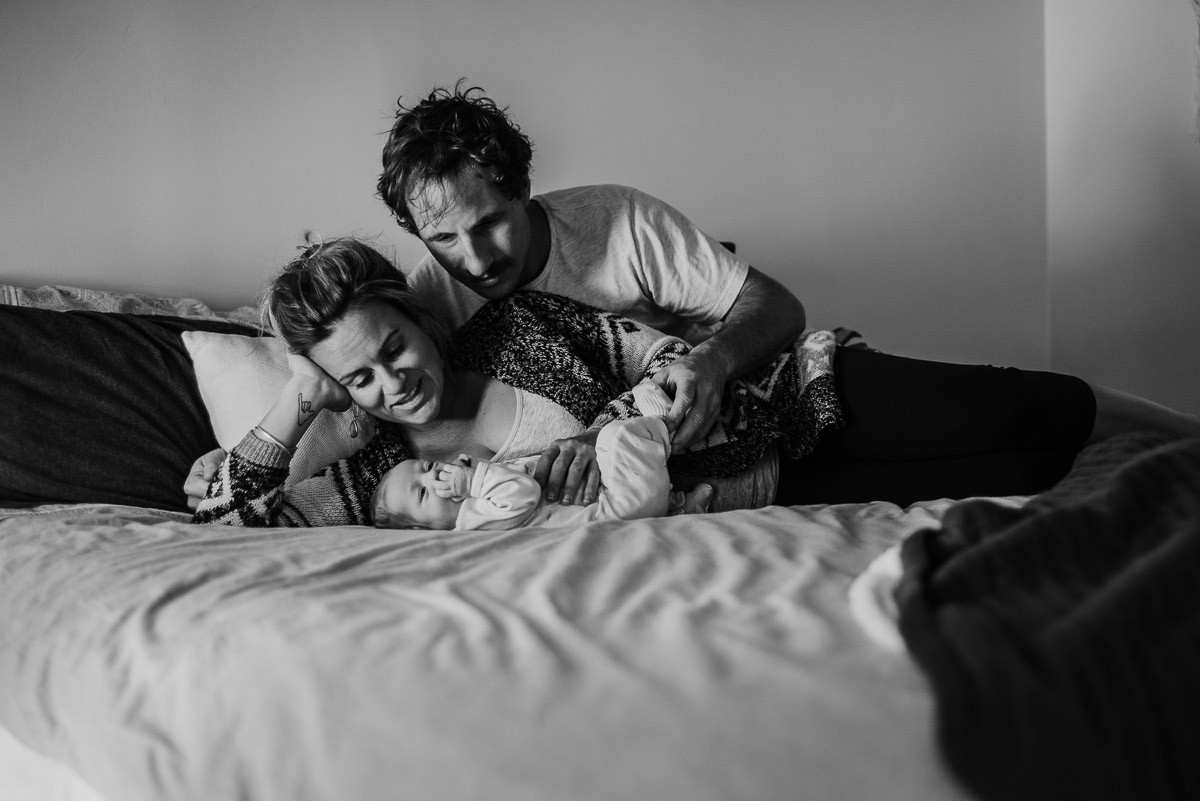
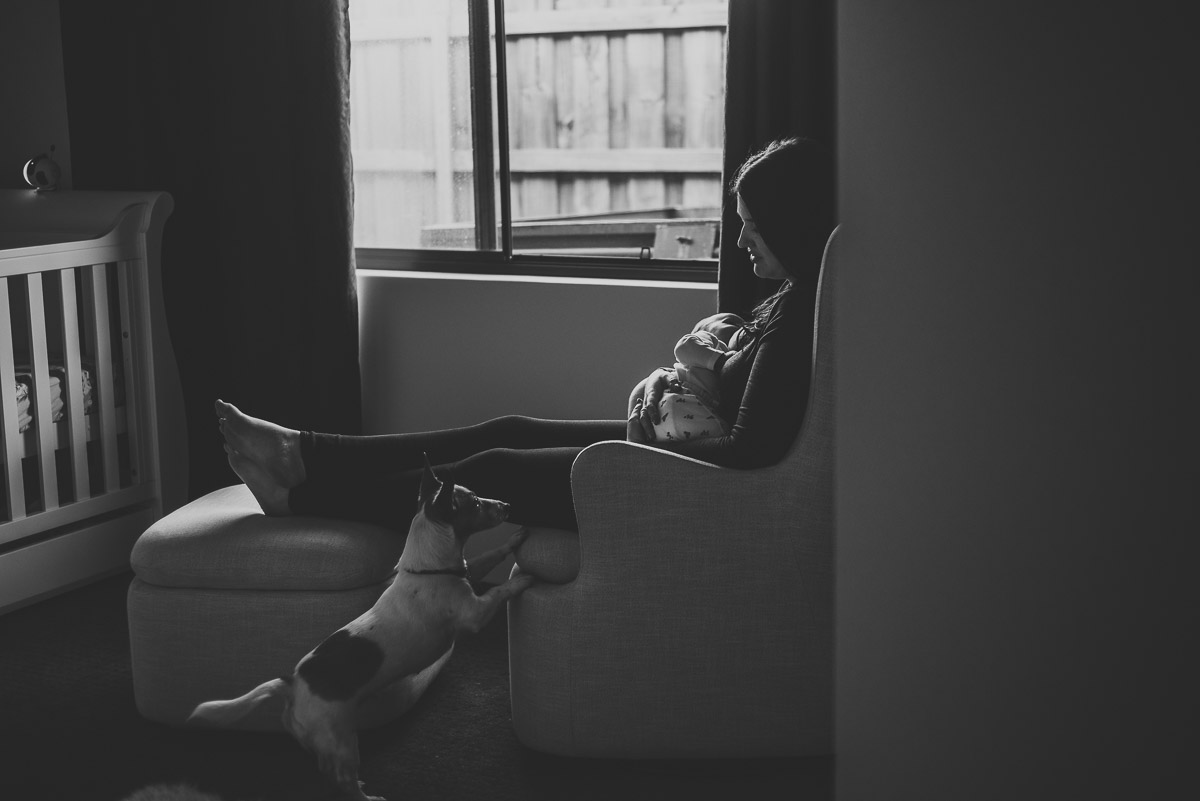
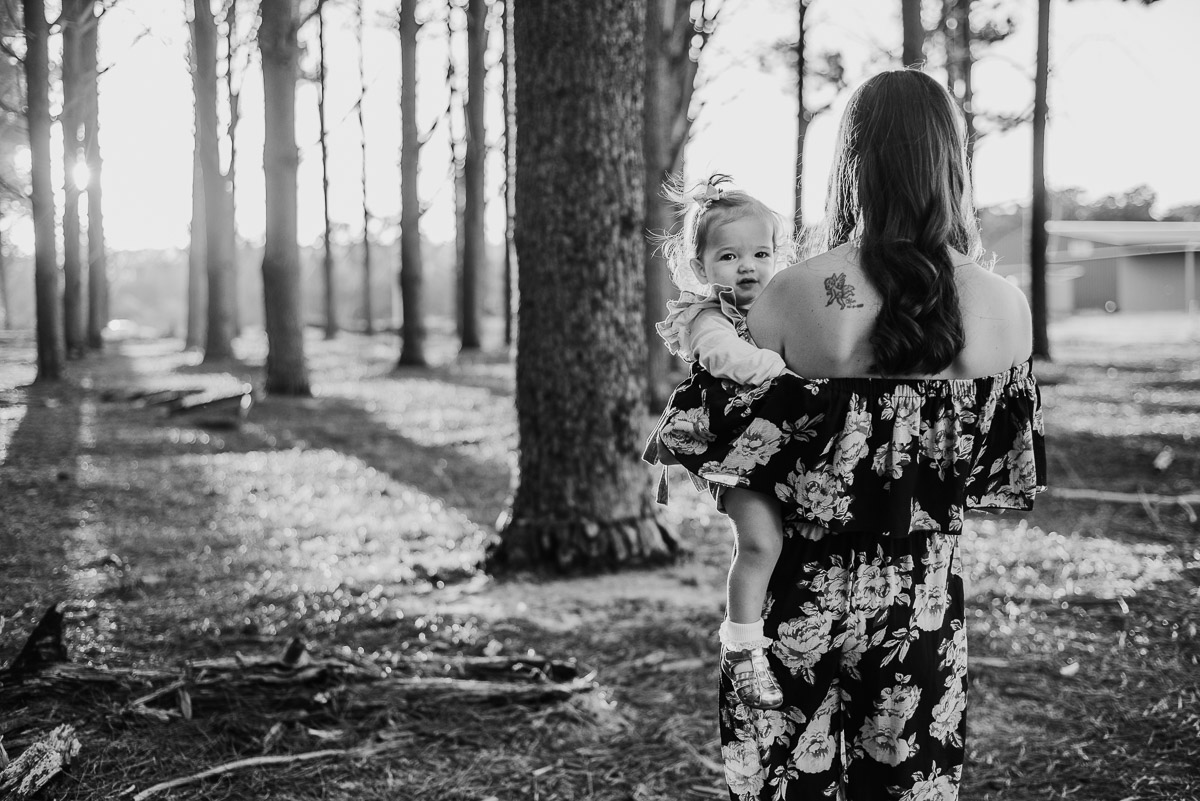
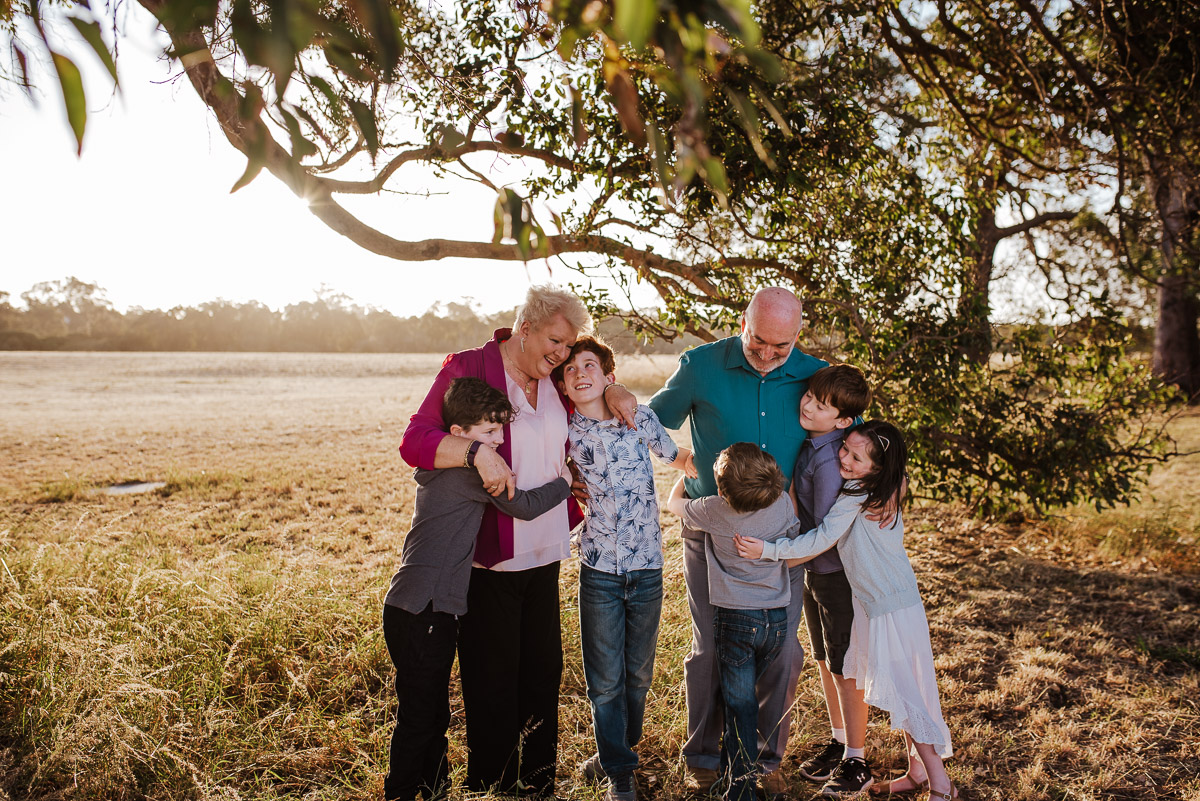
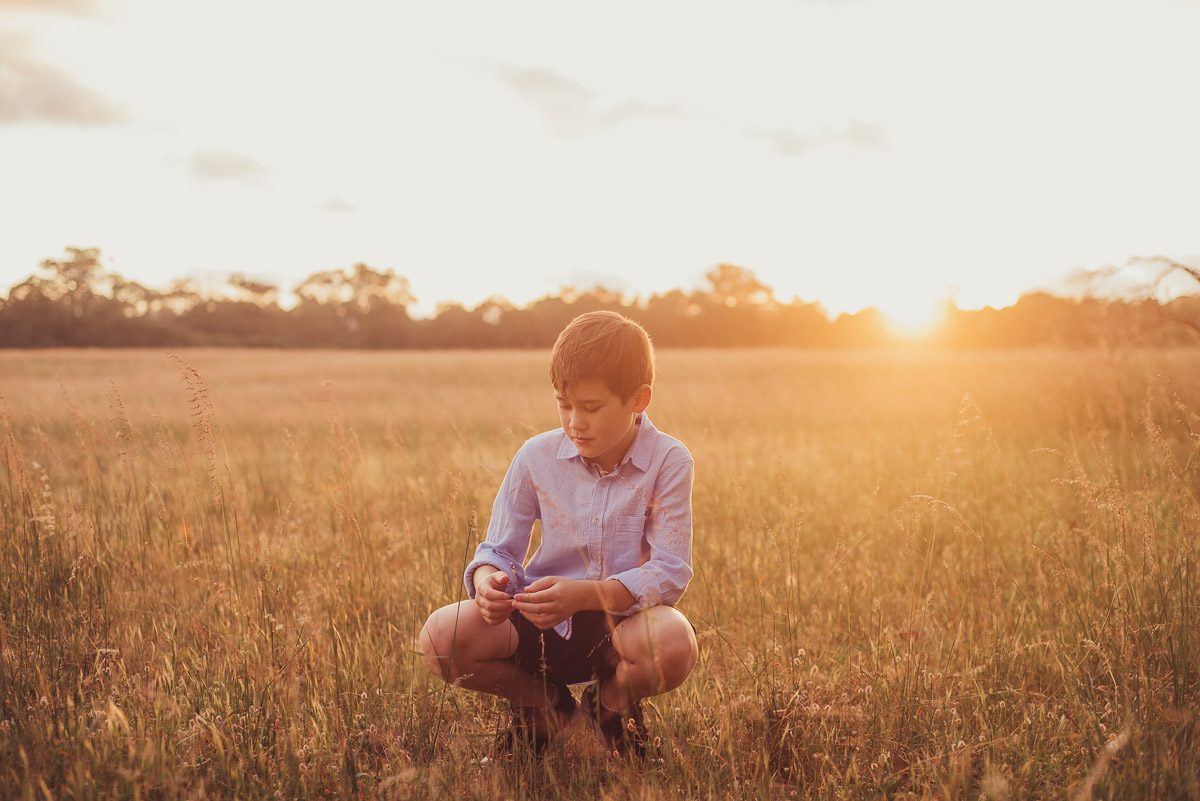
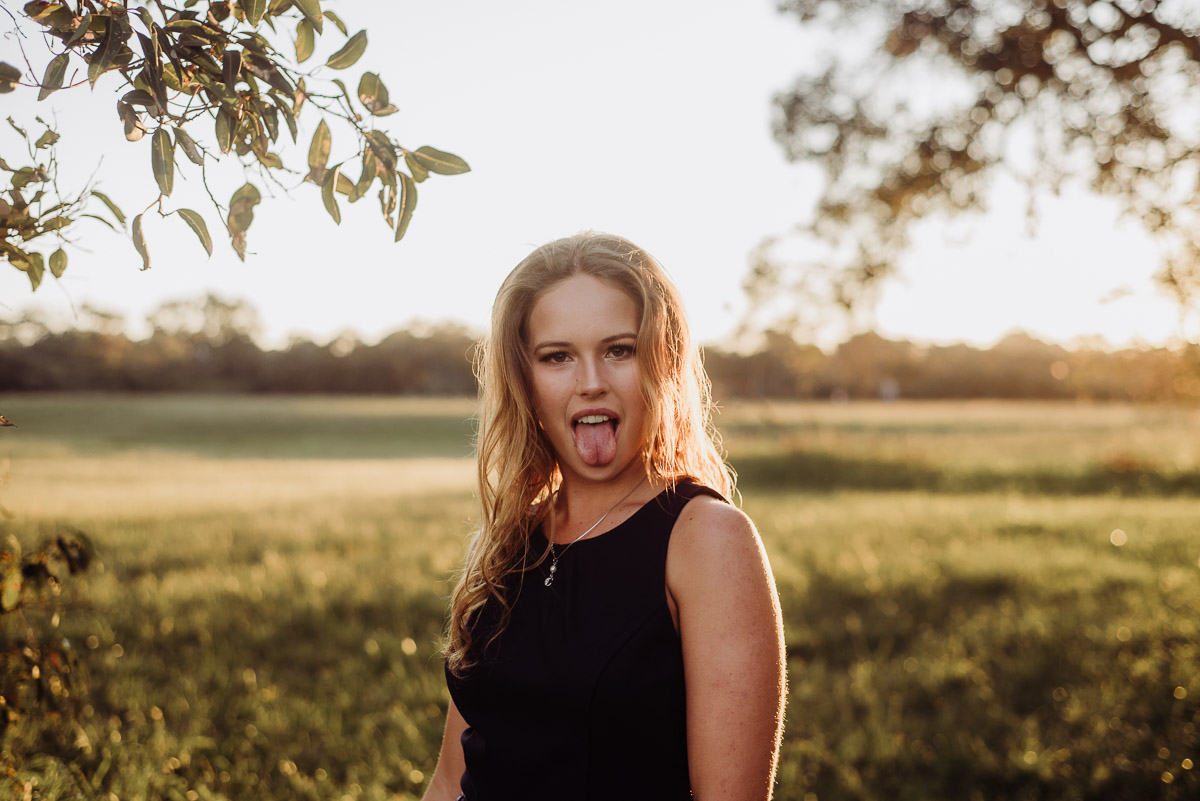
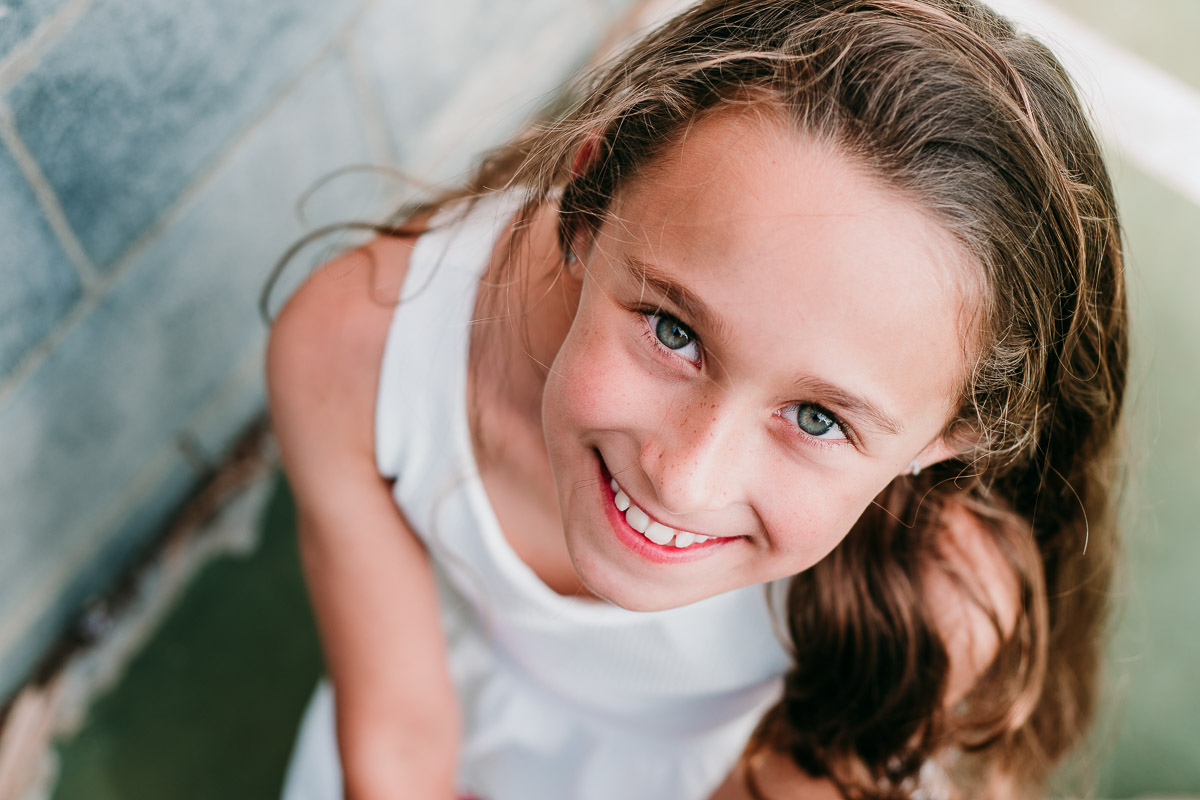
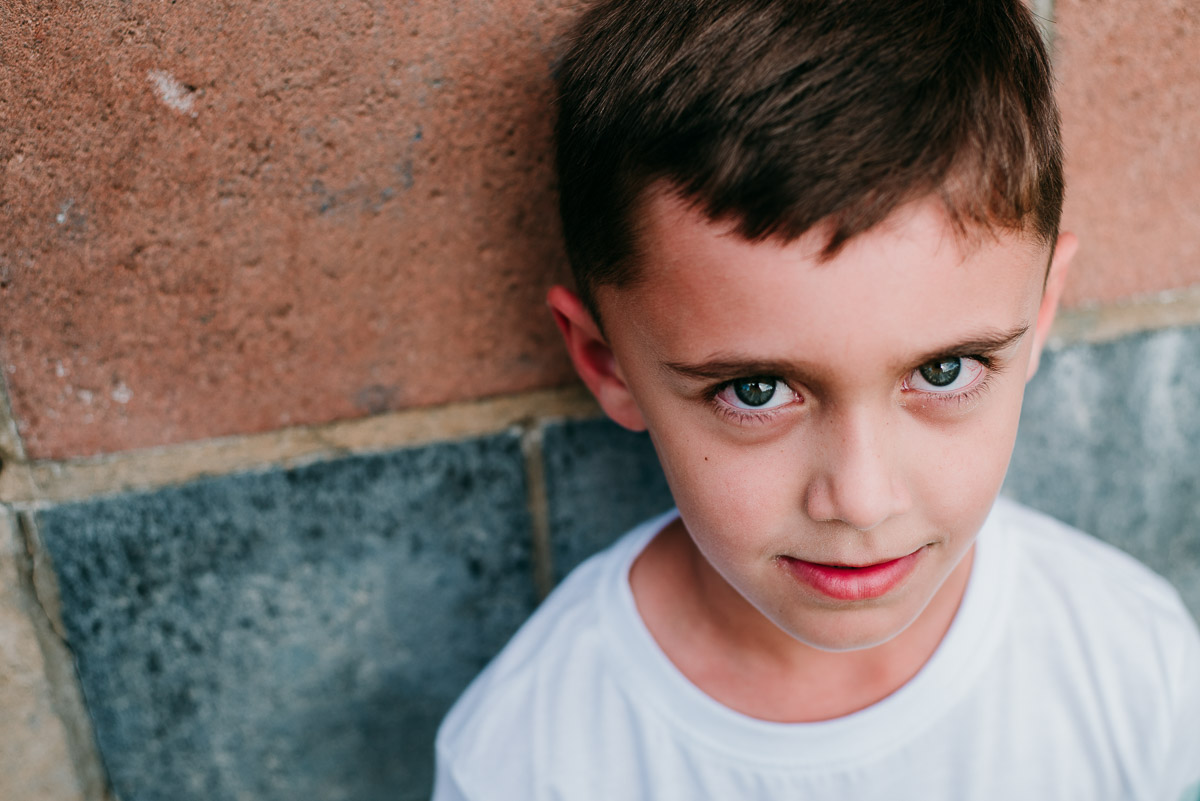
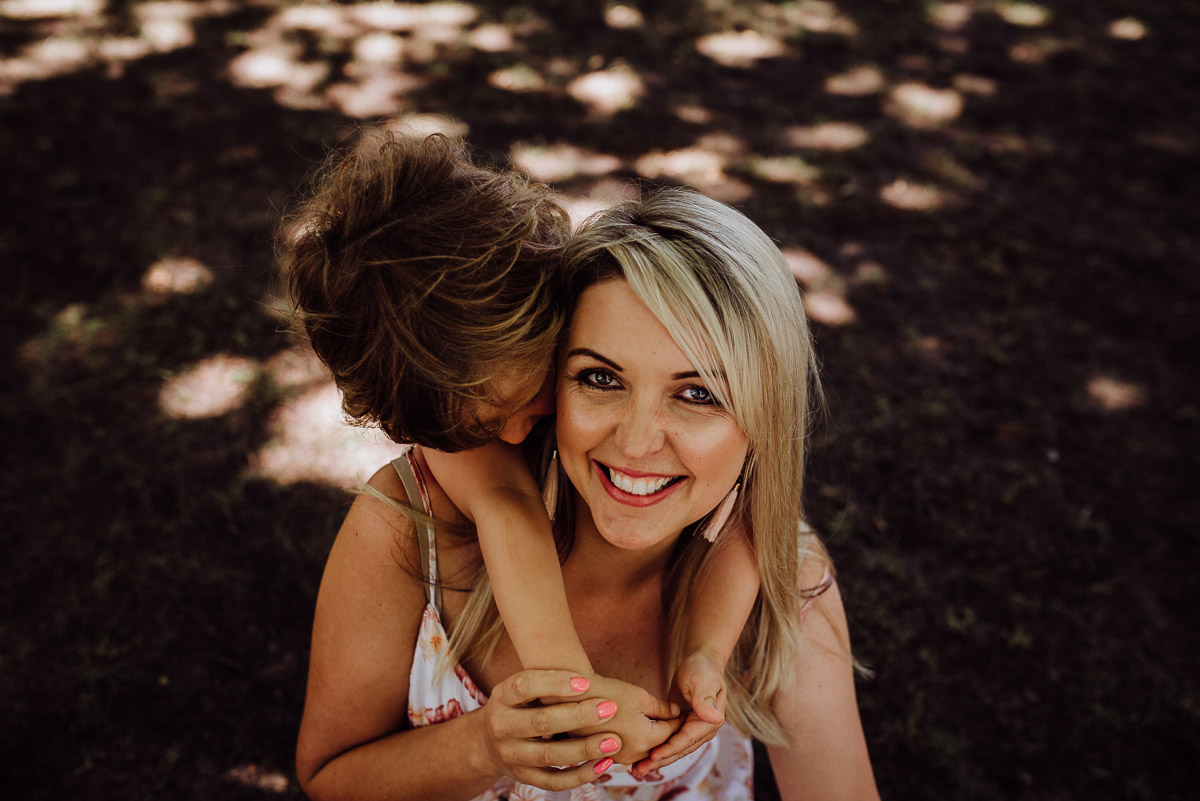
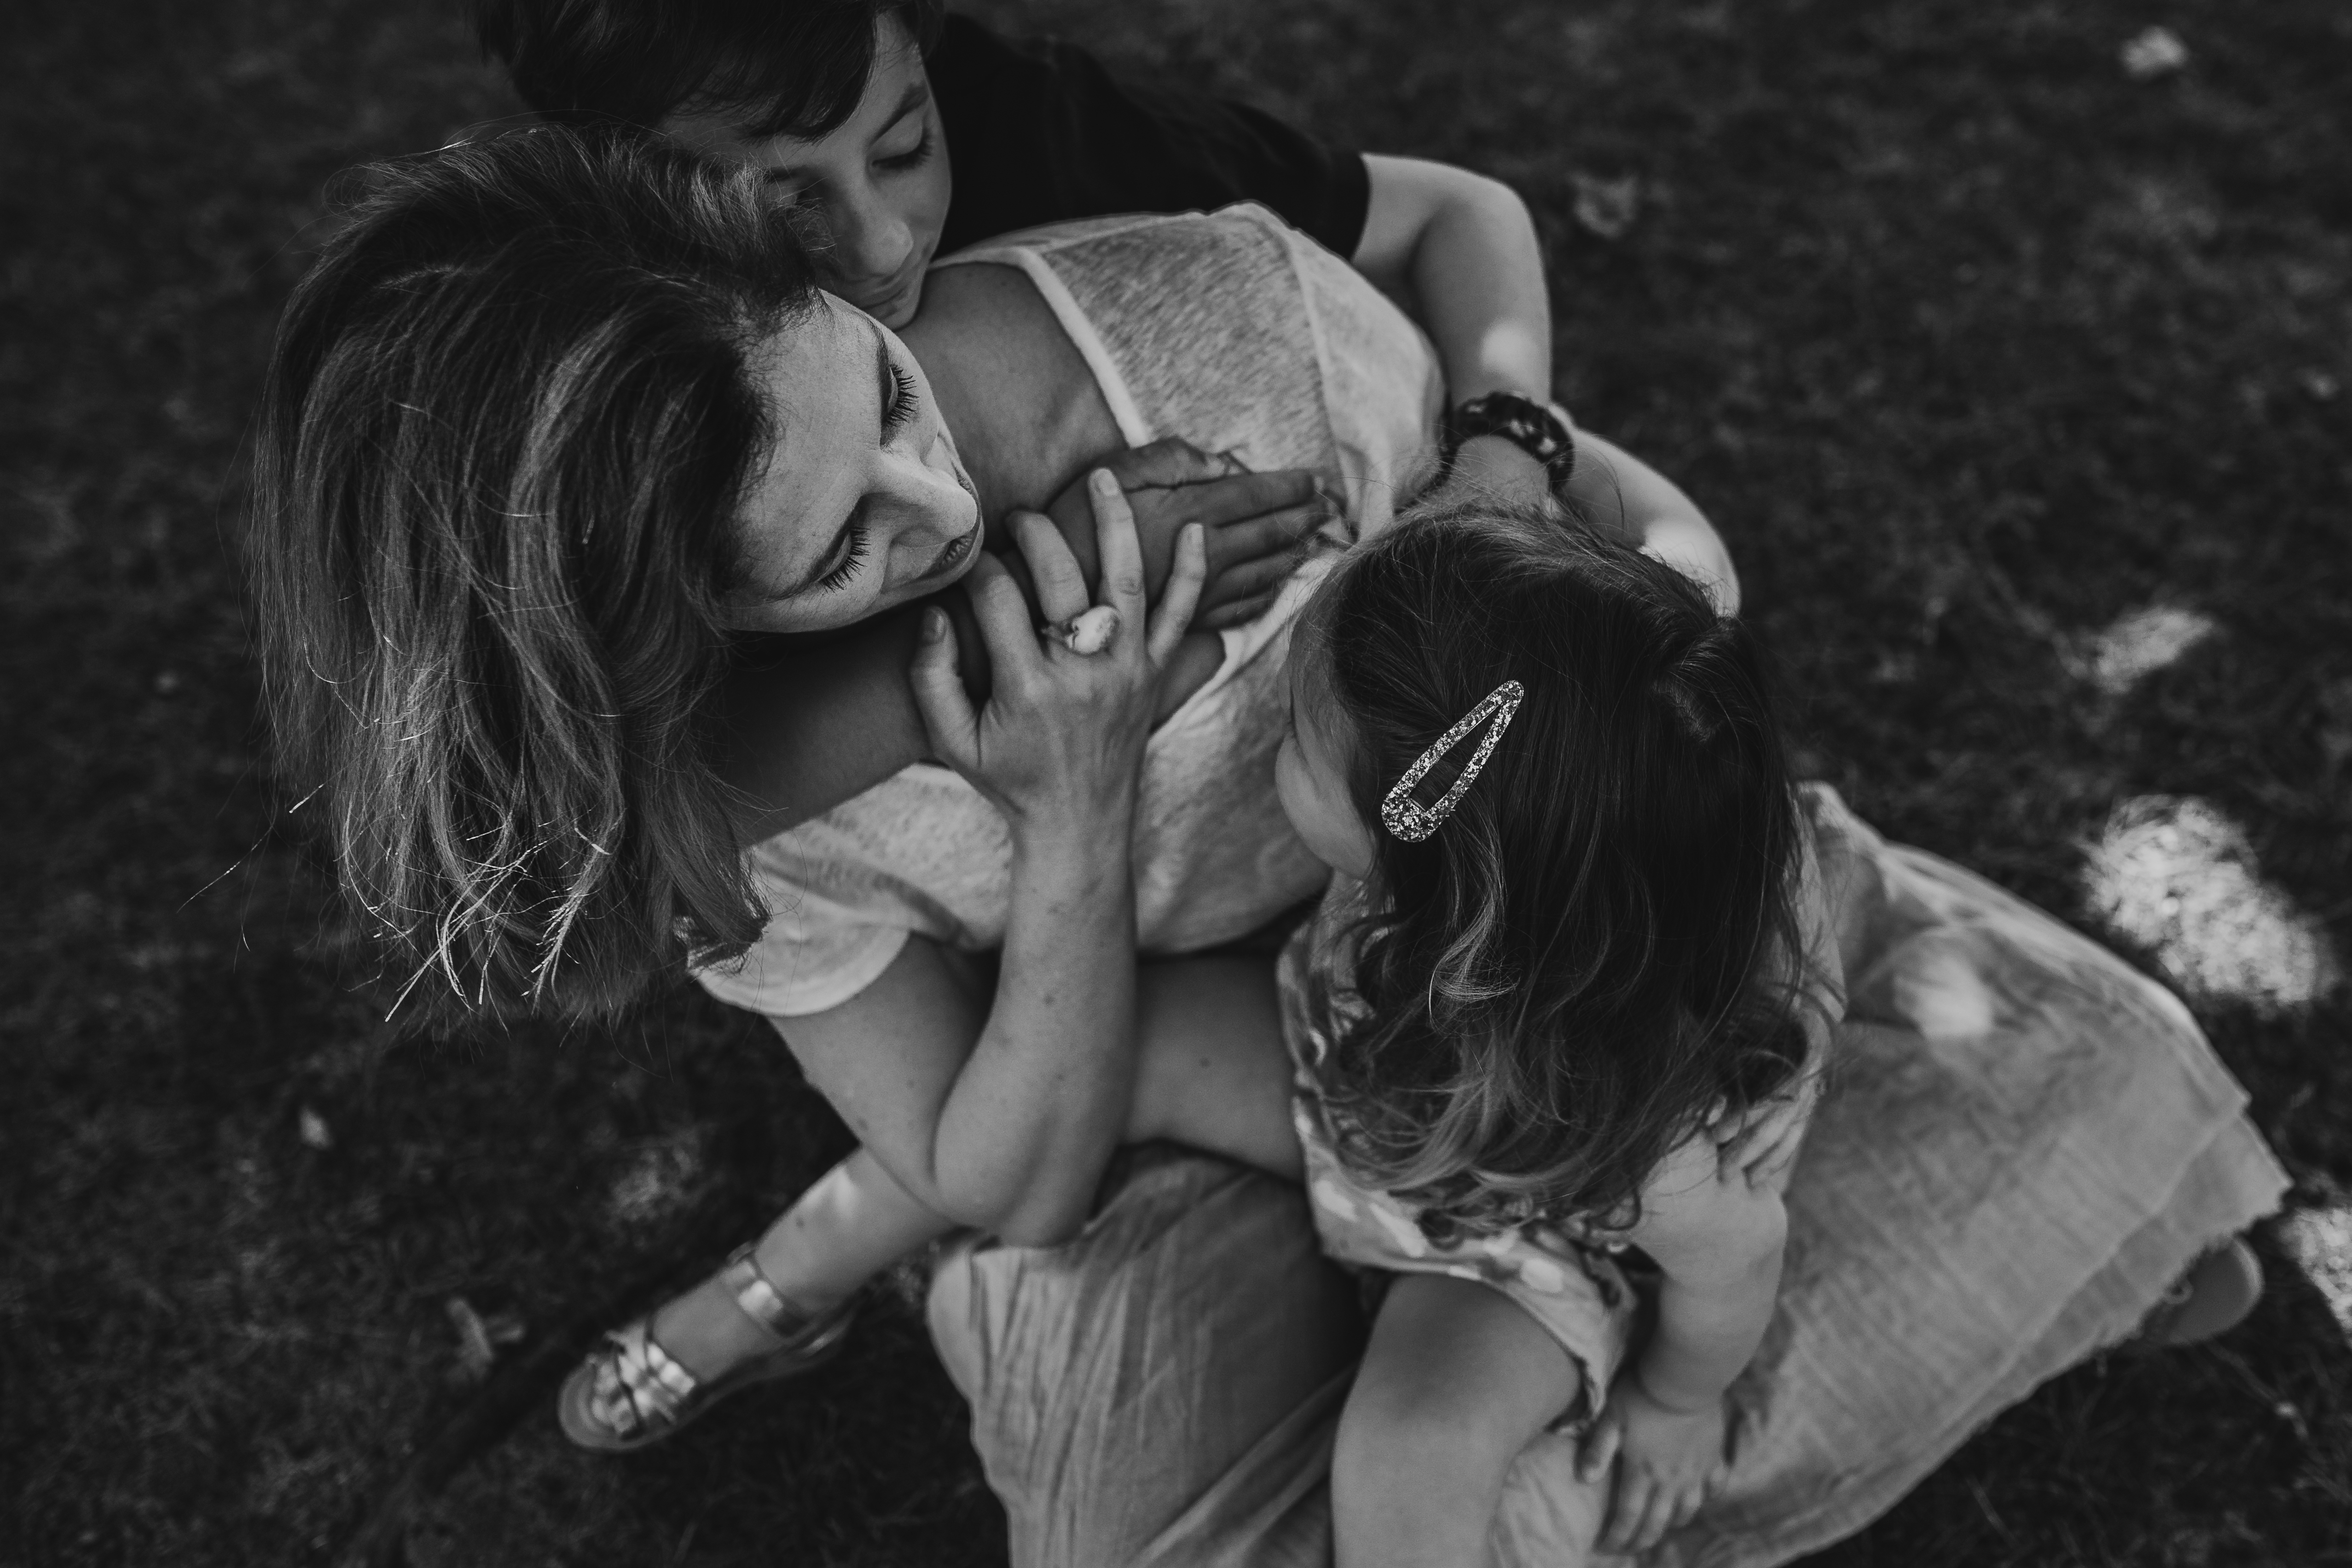
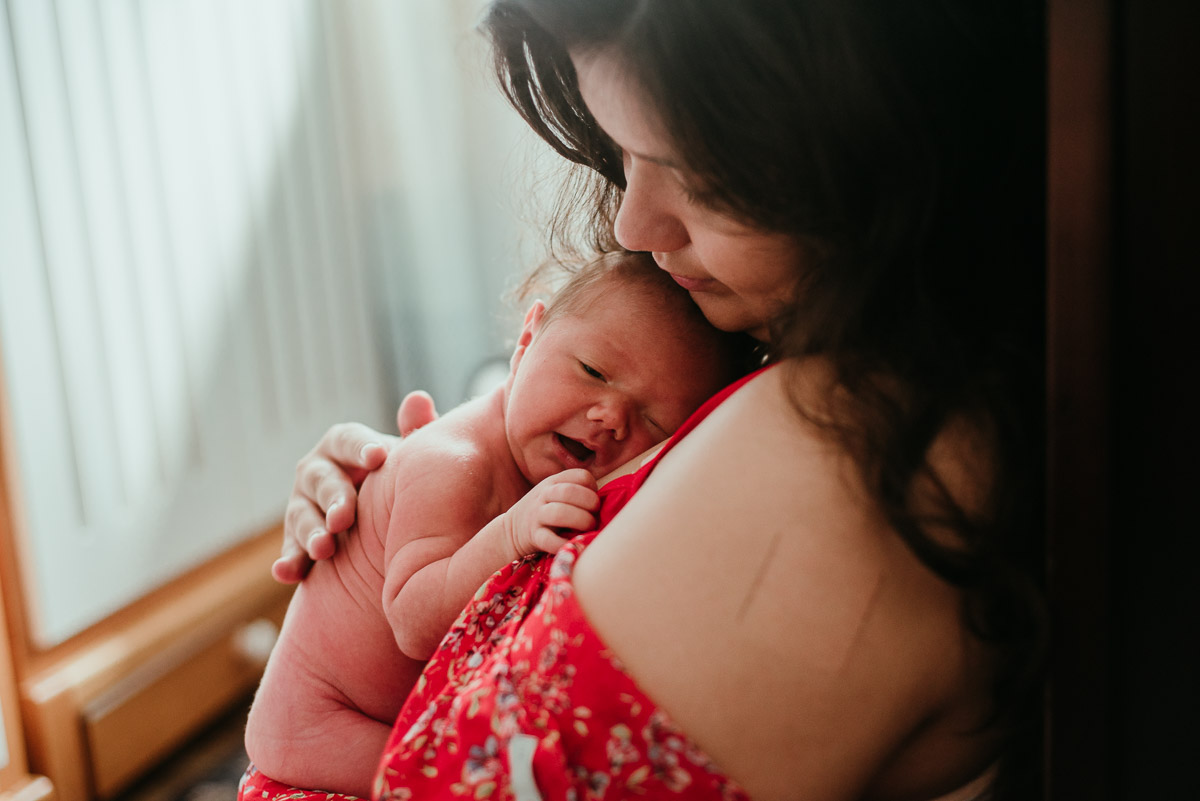
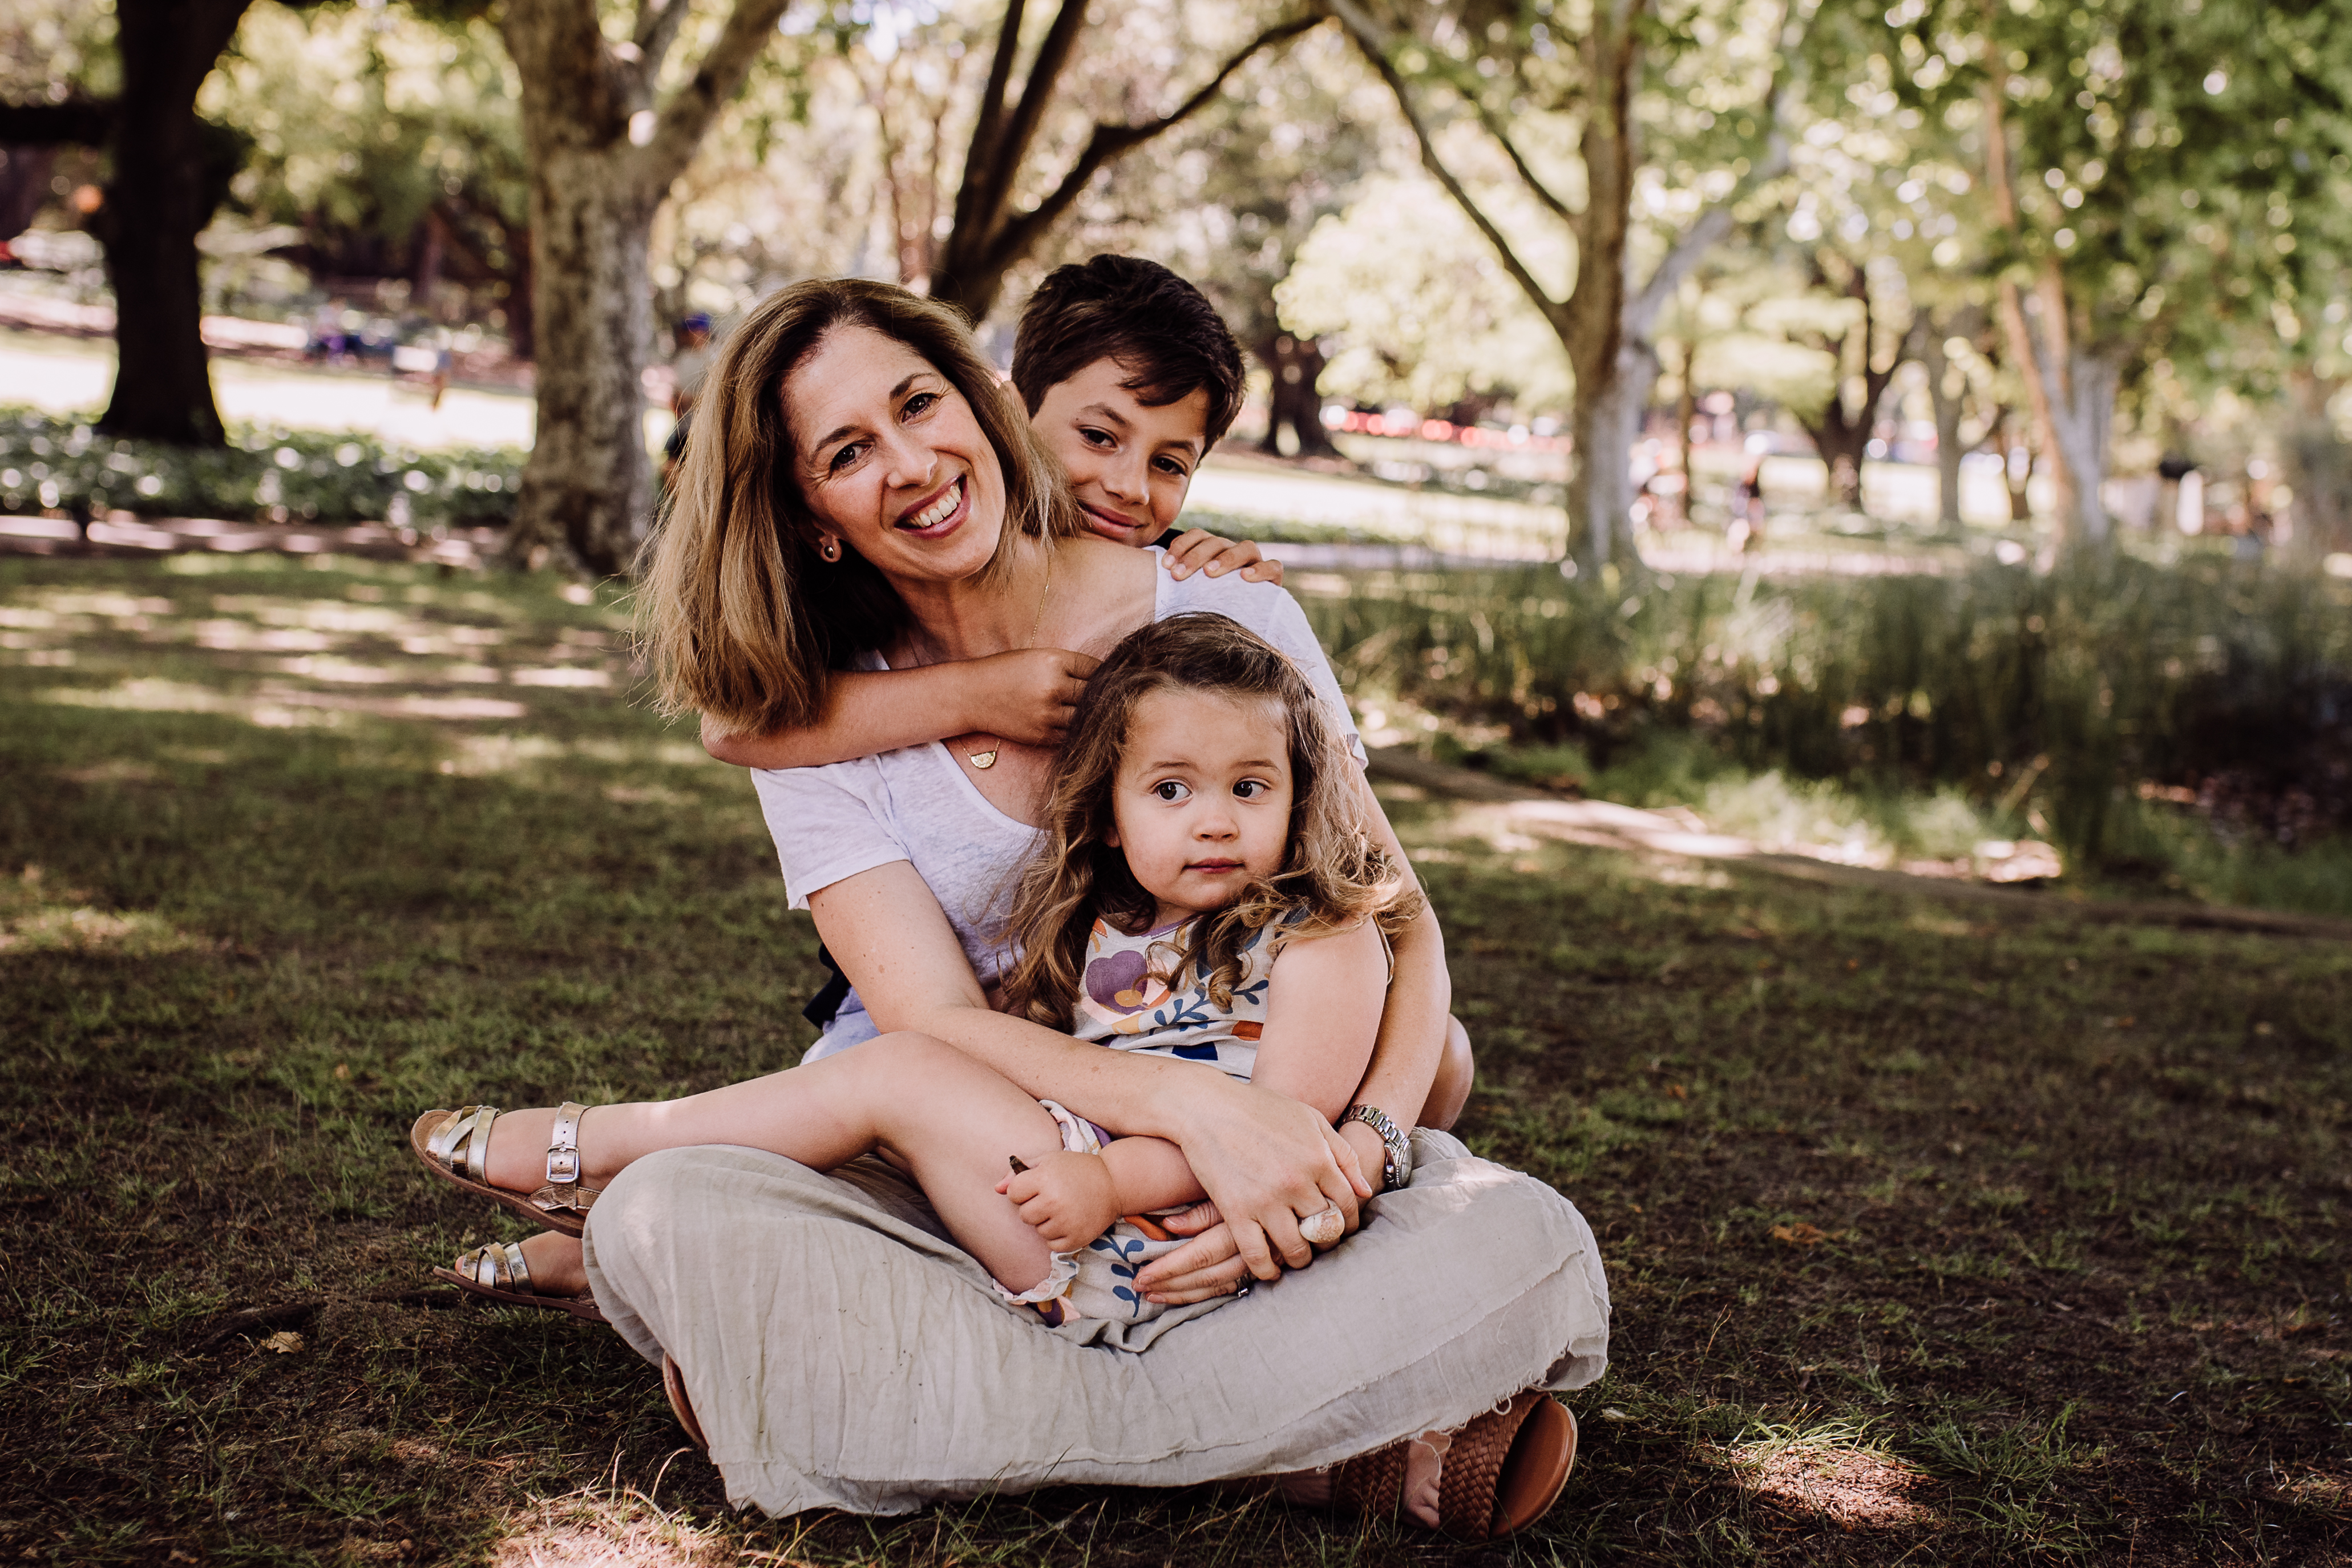
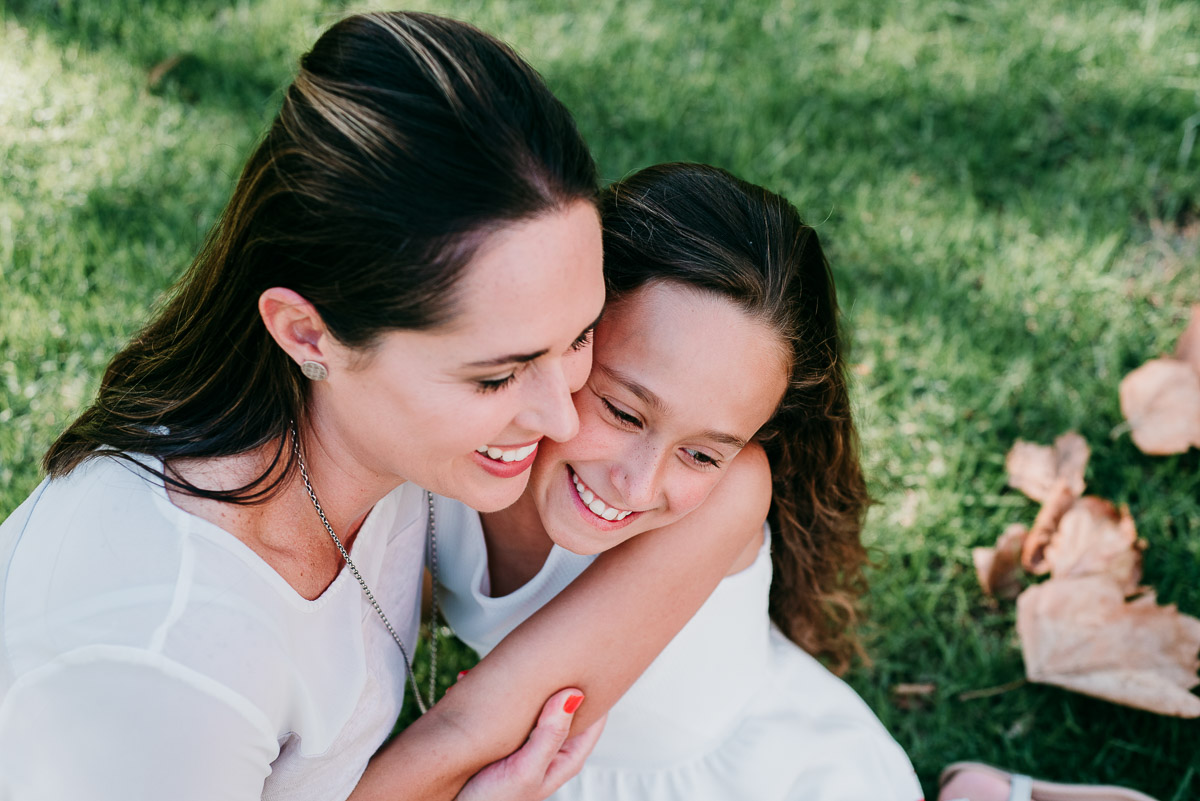
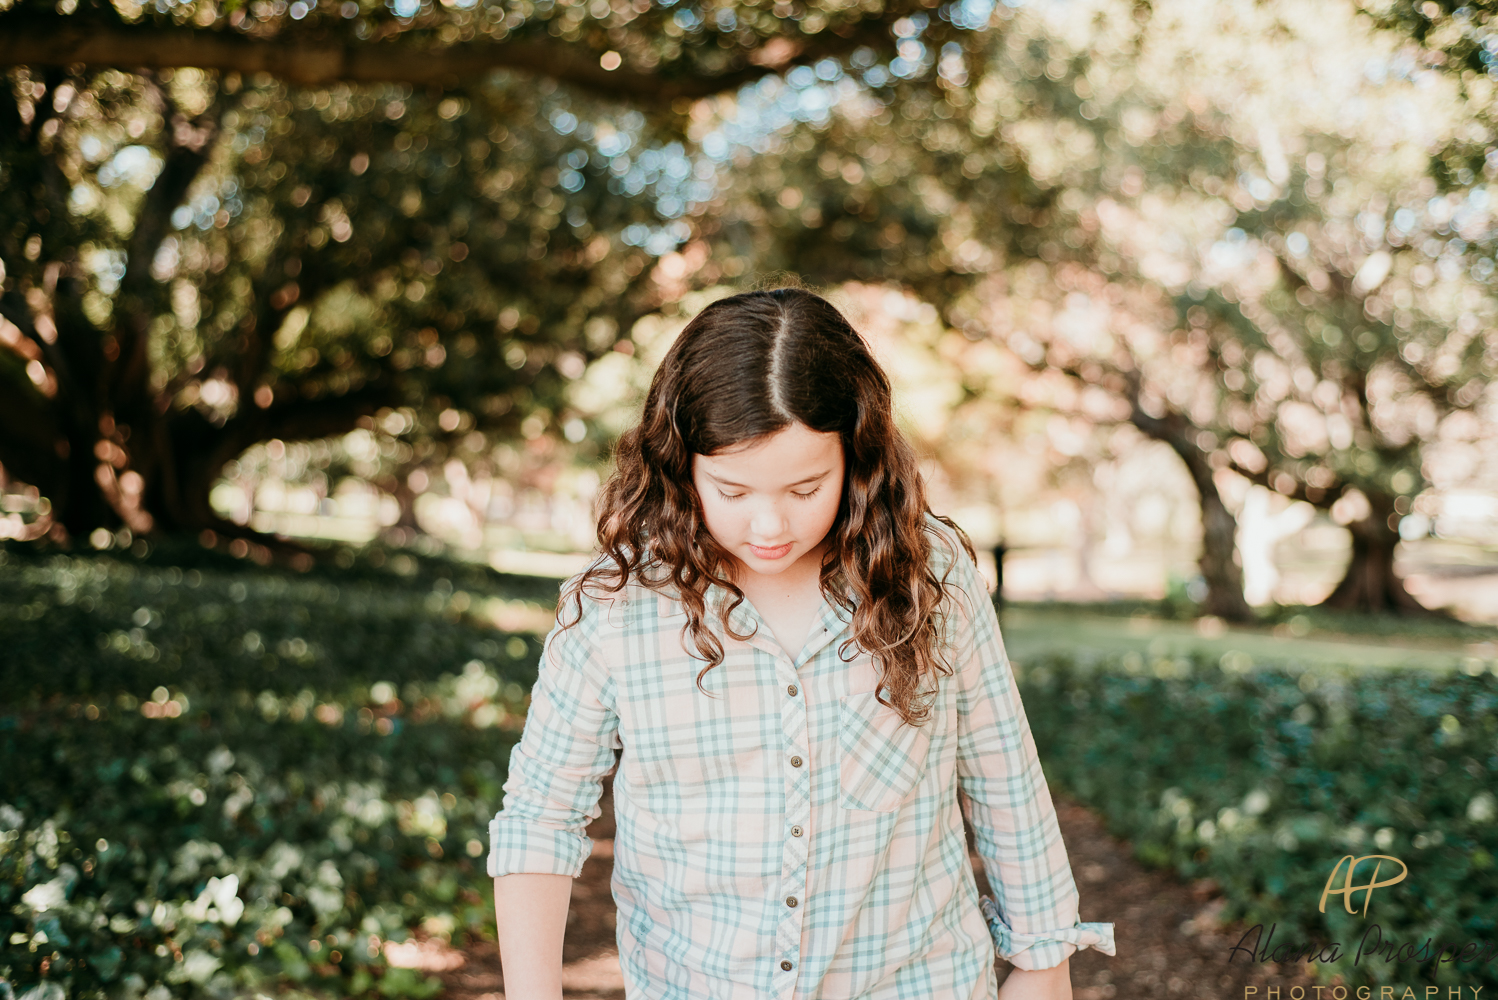
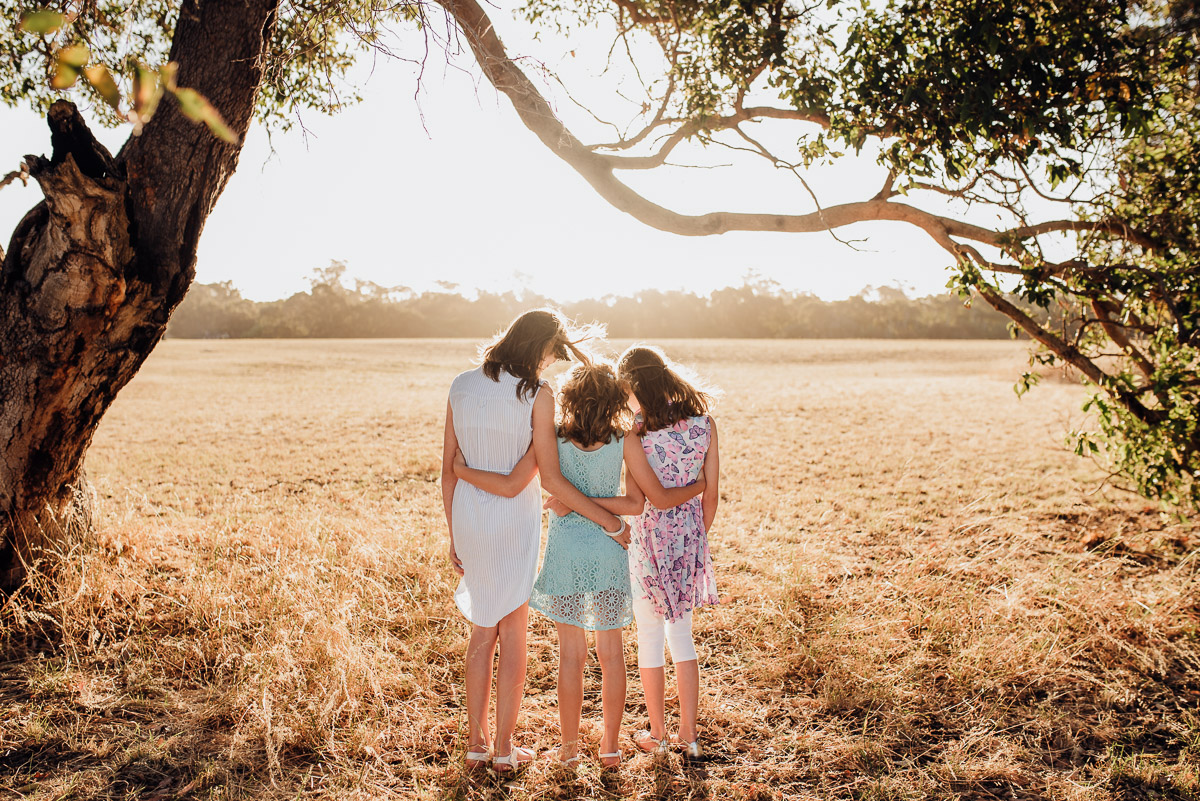
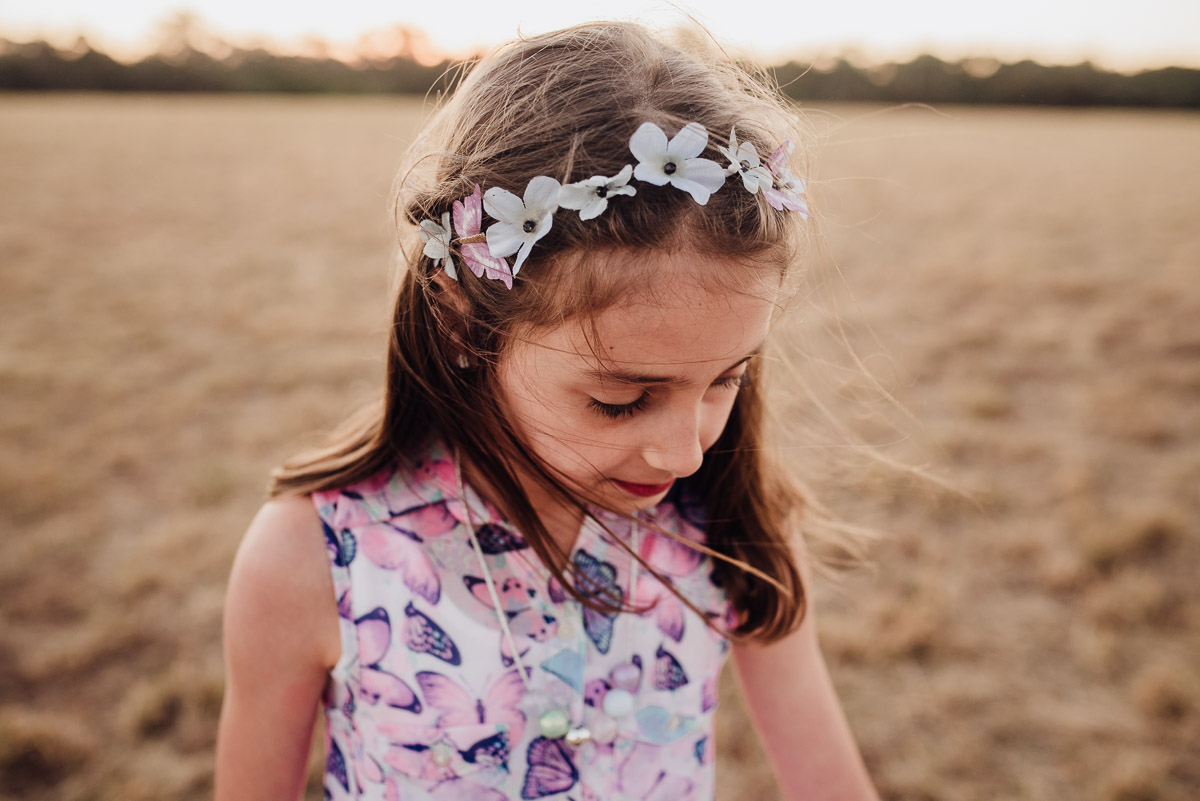
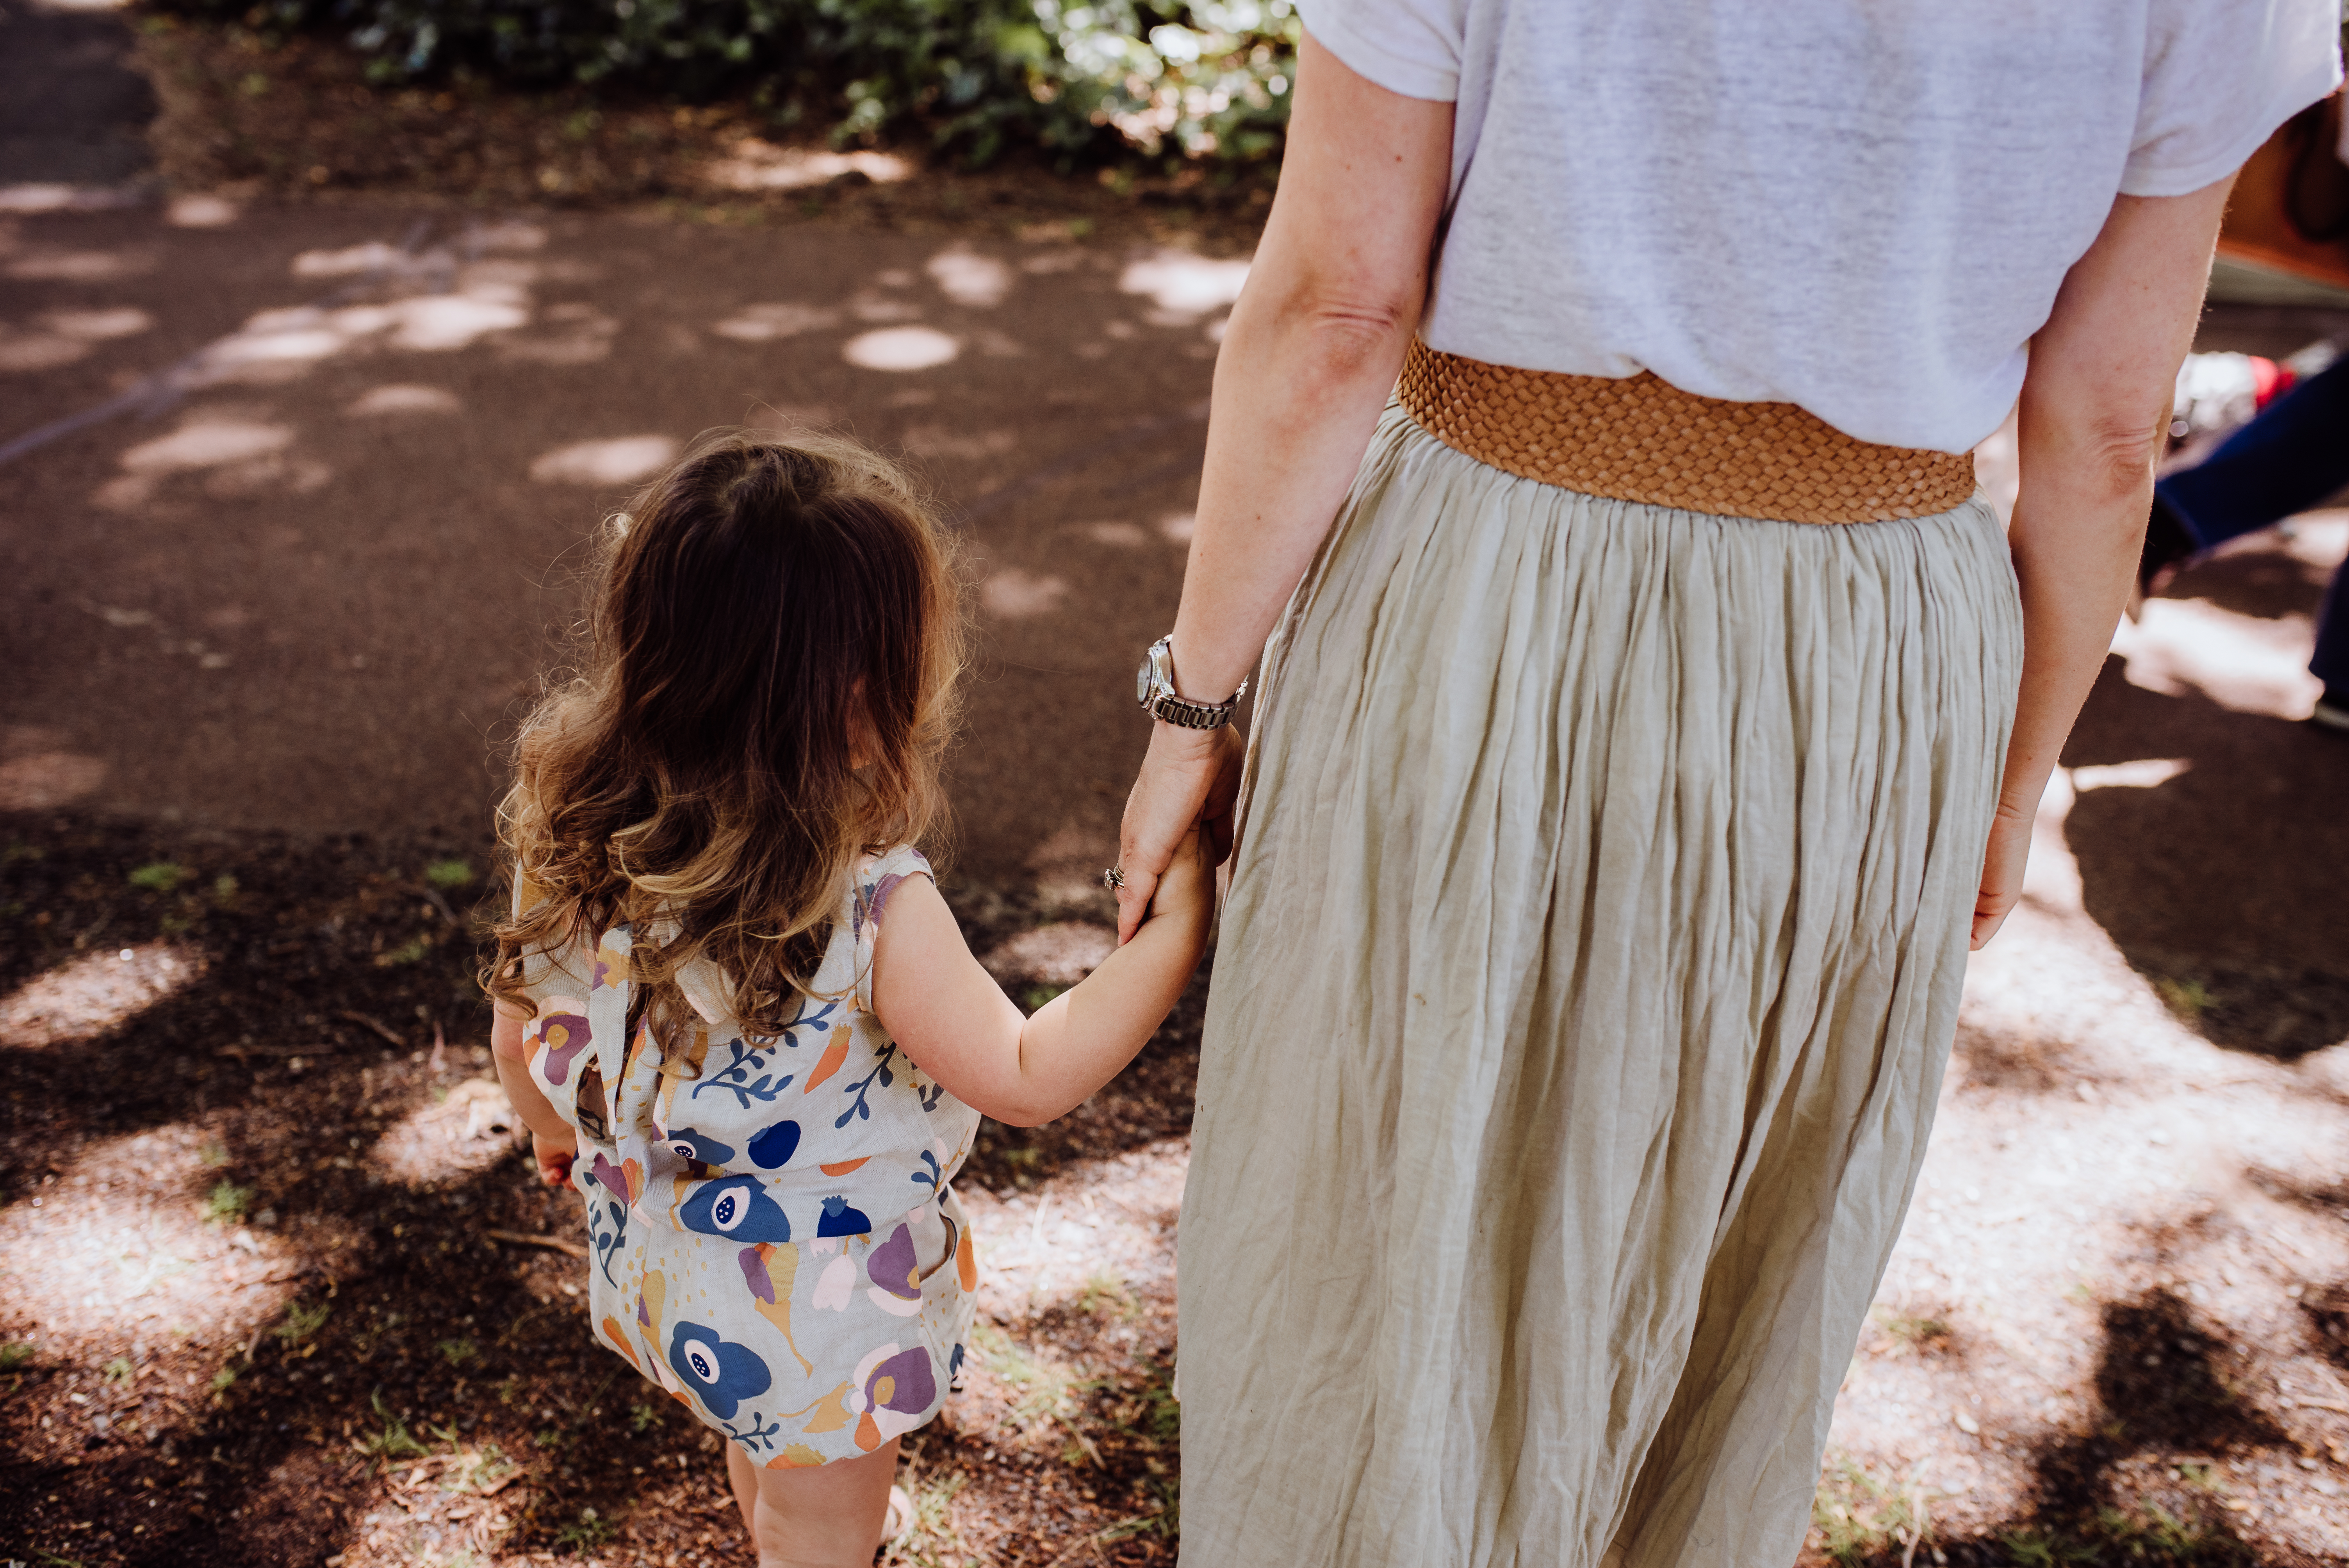
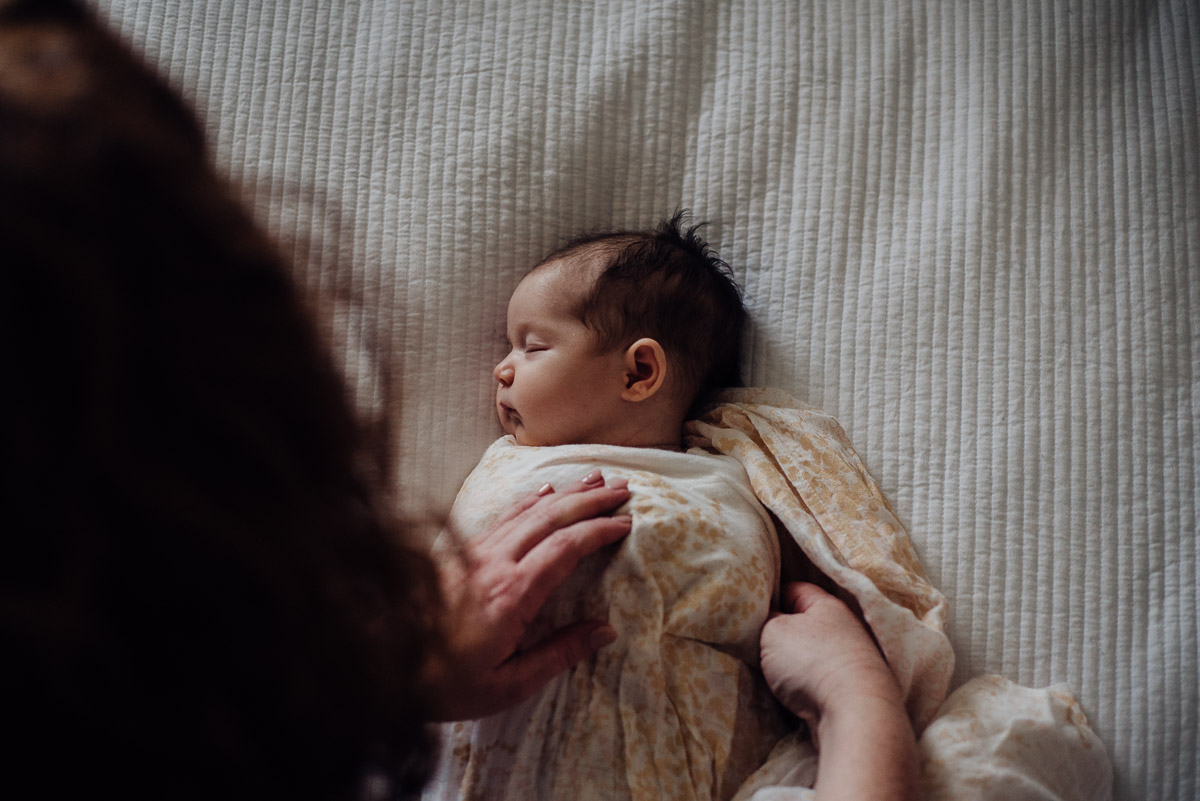
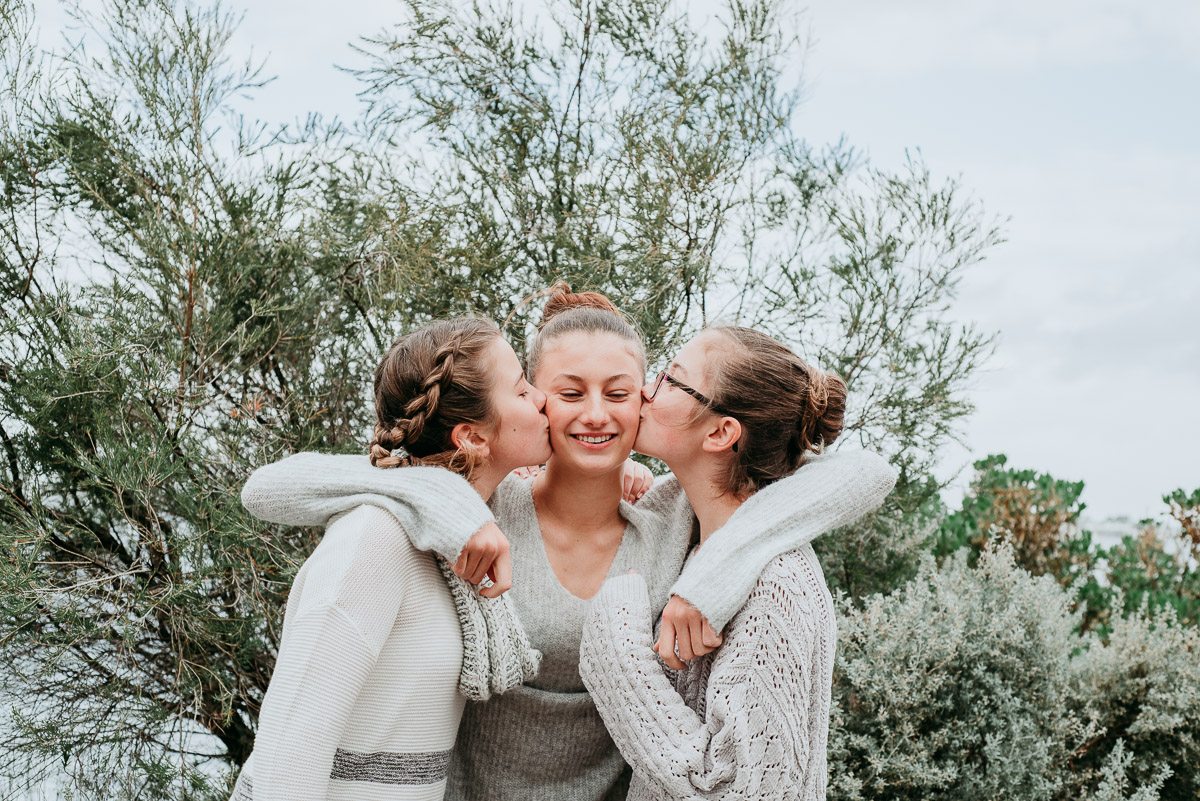
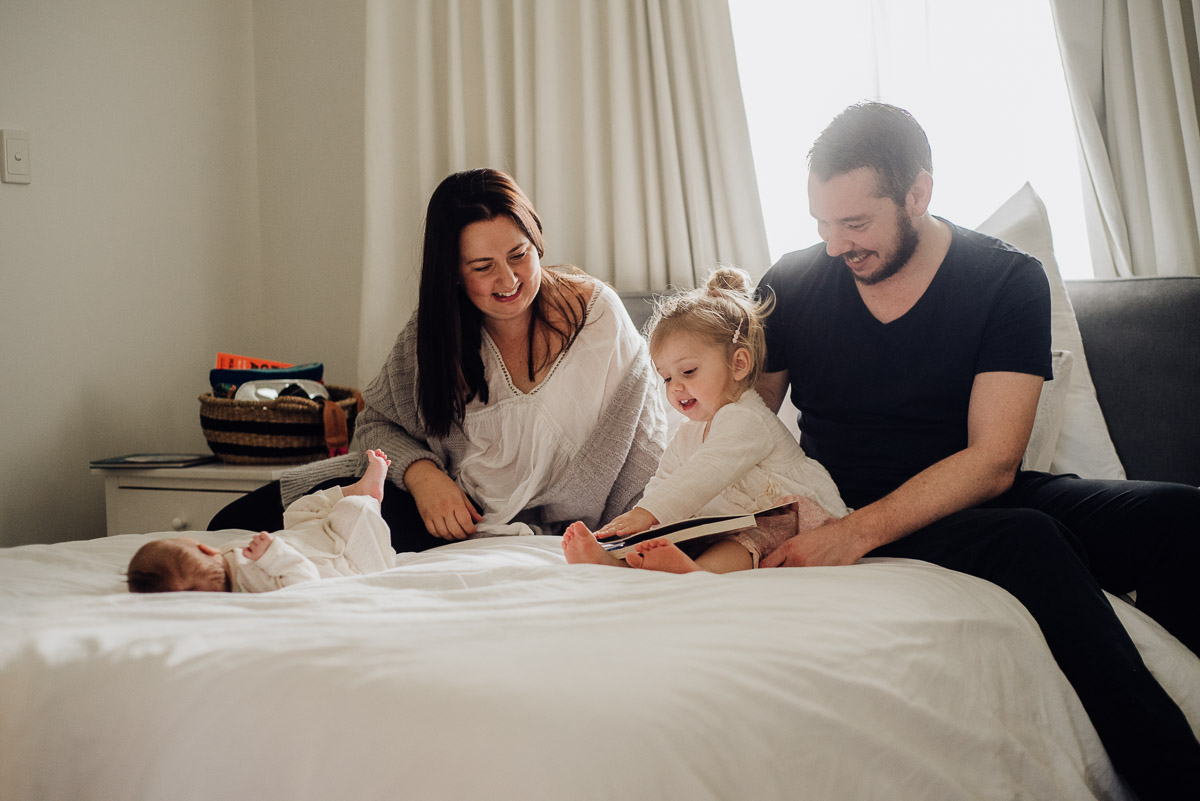
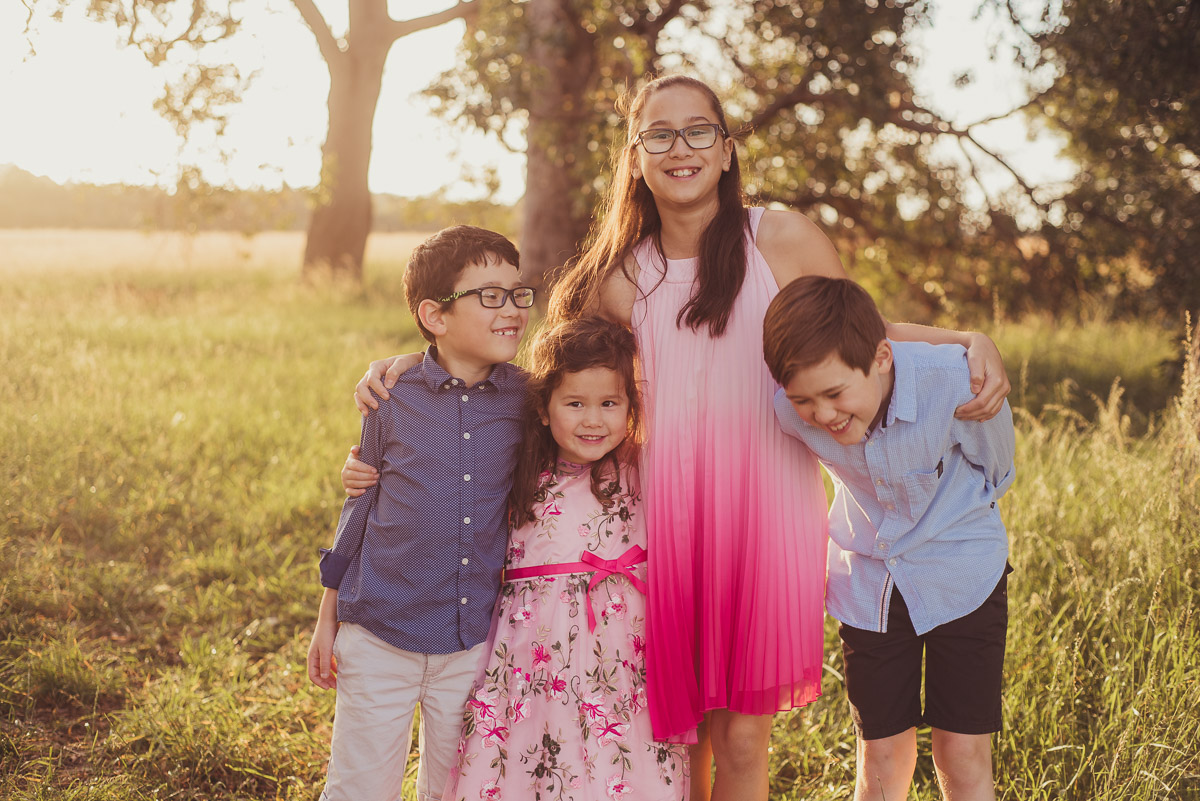
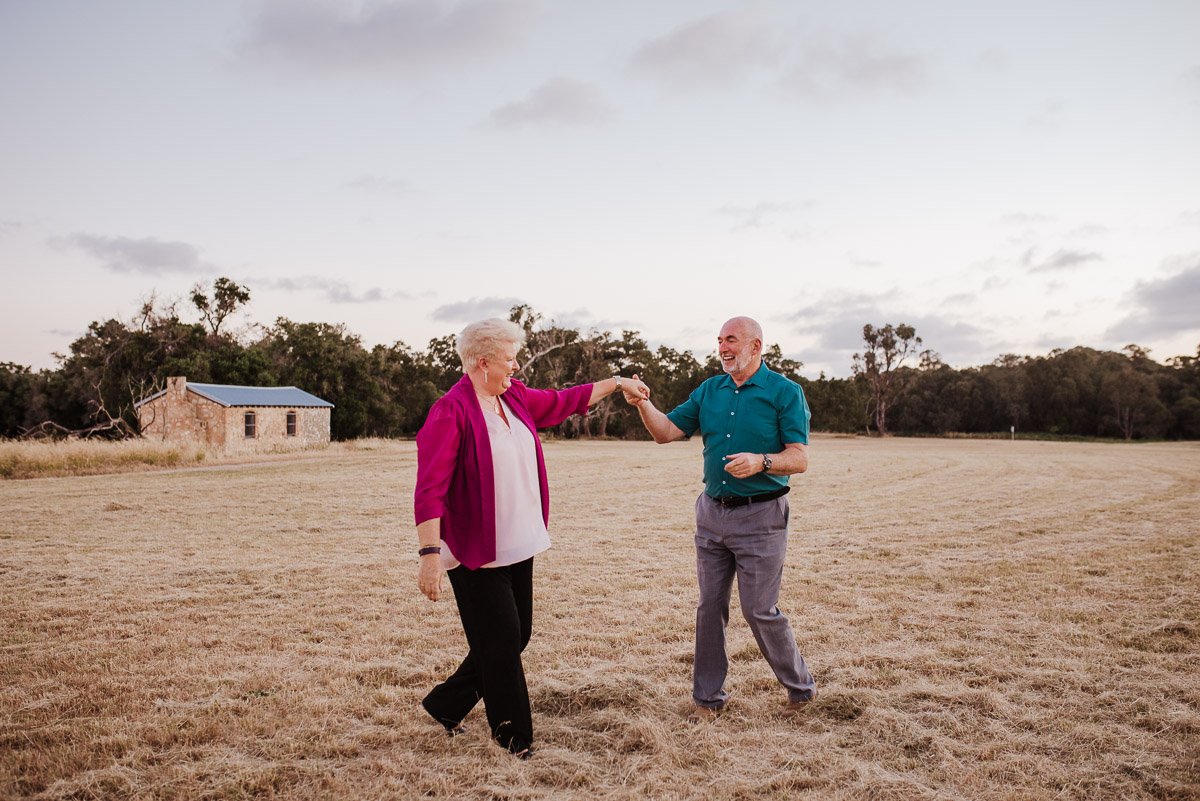
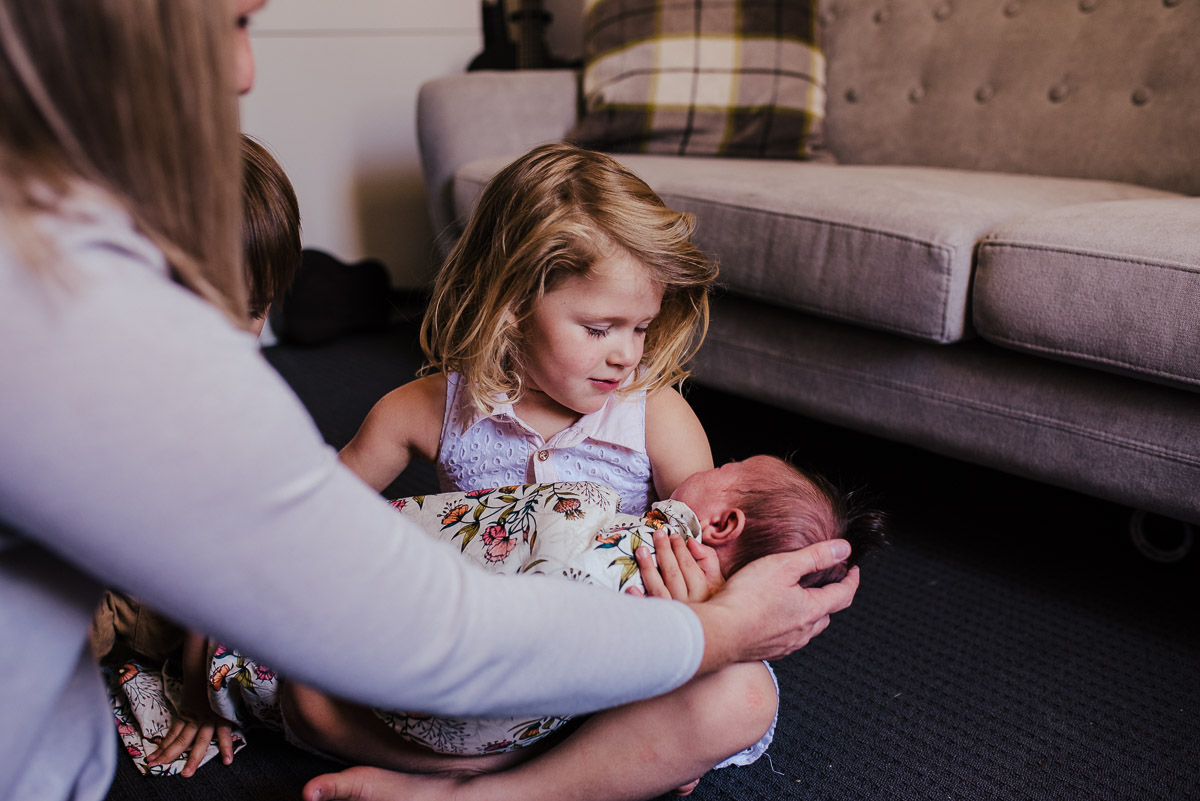
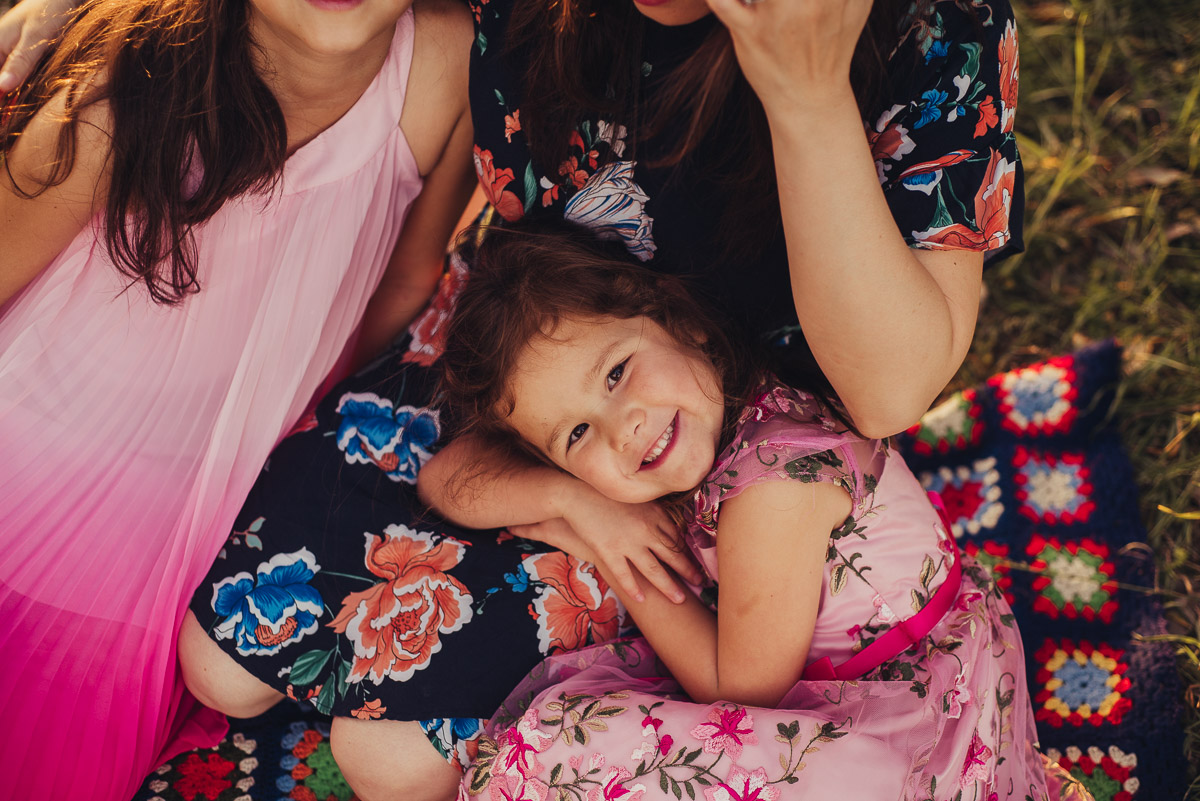
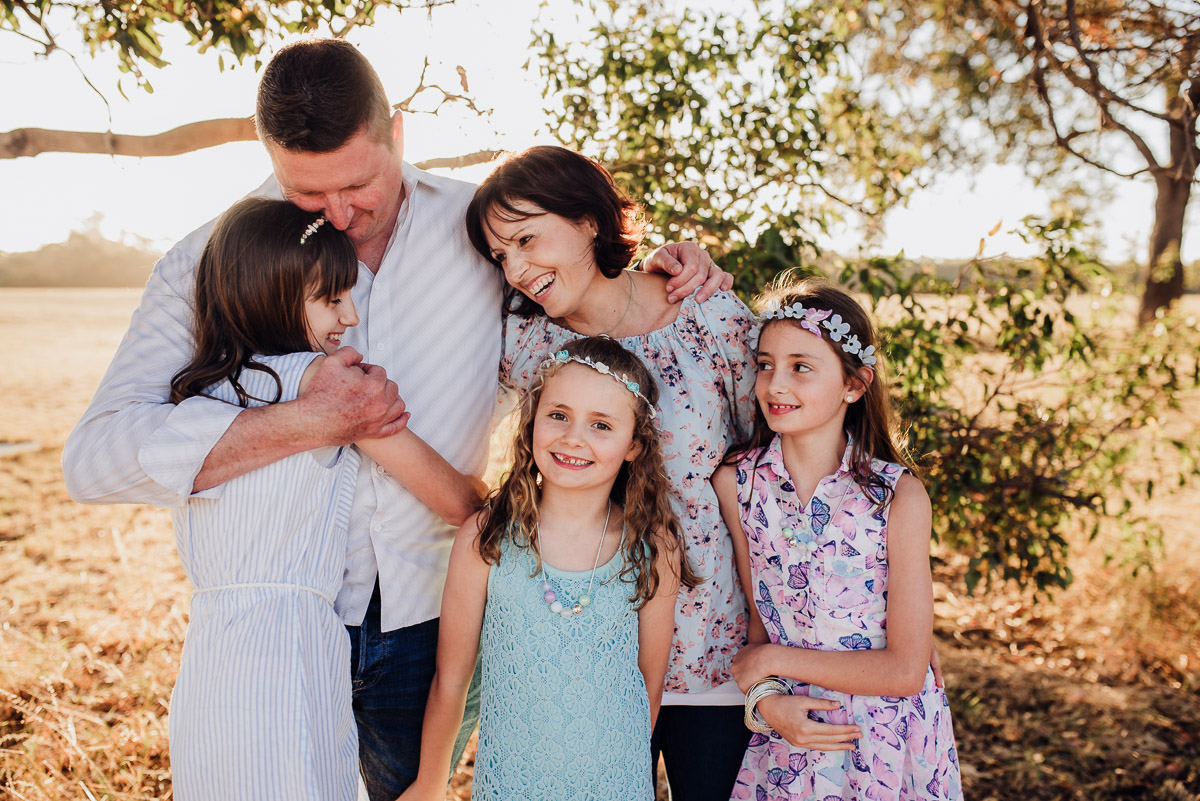
How many of you instinctively tell everyone to ‘smile!’ when taking a photo? How often does that result in frustration or disappointment – those being photographed become bored of remaining still, and those photographing become frustrated that they can’t capture the ‘perfect smile’. And how often does it result in an obviously forced ‘fake smile’? What happens if you challenge yourself on the idea of a perfect photo, and let go of ‘perfect’ expectations? What happens if you just put everyone together, but then just let them BE. It’s usually in those moments that their real personalities are able to shine through, and you can capture who they really are. Even with my own family photos, I’ve had to let go of my expectation to get that one perfect smiling photo. I have four kids, and so getting that shot is very challenging (especially with my 7 year old involved!). Since I’ve let go of that ideal, I’ve found that perfection is what you make of it. It’s the story of who people are and their connections with each other. I’ll forever look back on photos of our family with someone’s bottom in the air, or someone pulling a funny face (usually the 7 year old!), someone slightly out of frame – but that’s all real life! It’s personality and beautiful chaos! It makes me smile when I look back on them, and makes me remember what life was really like.
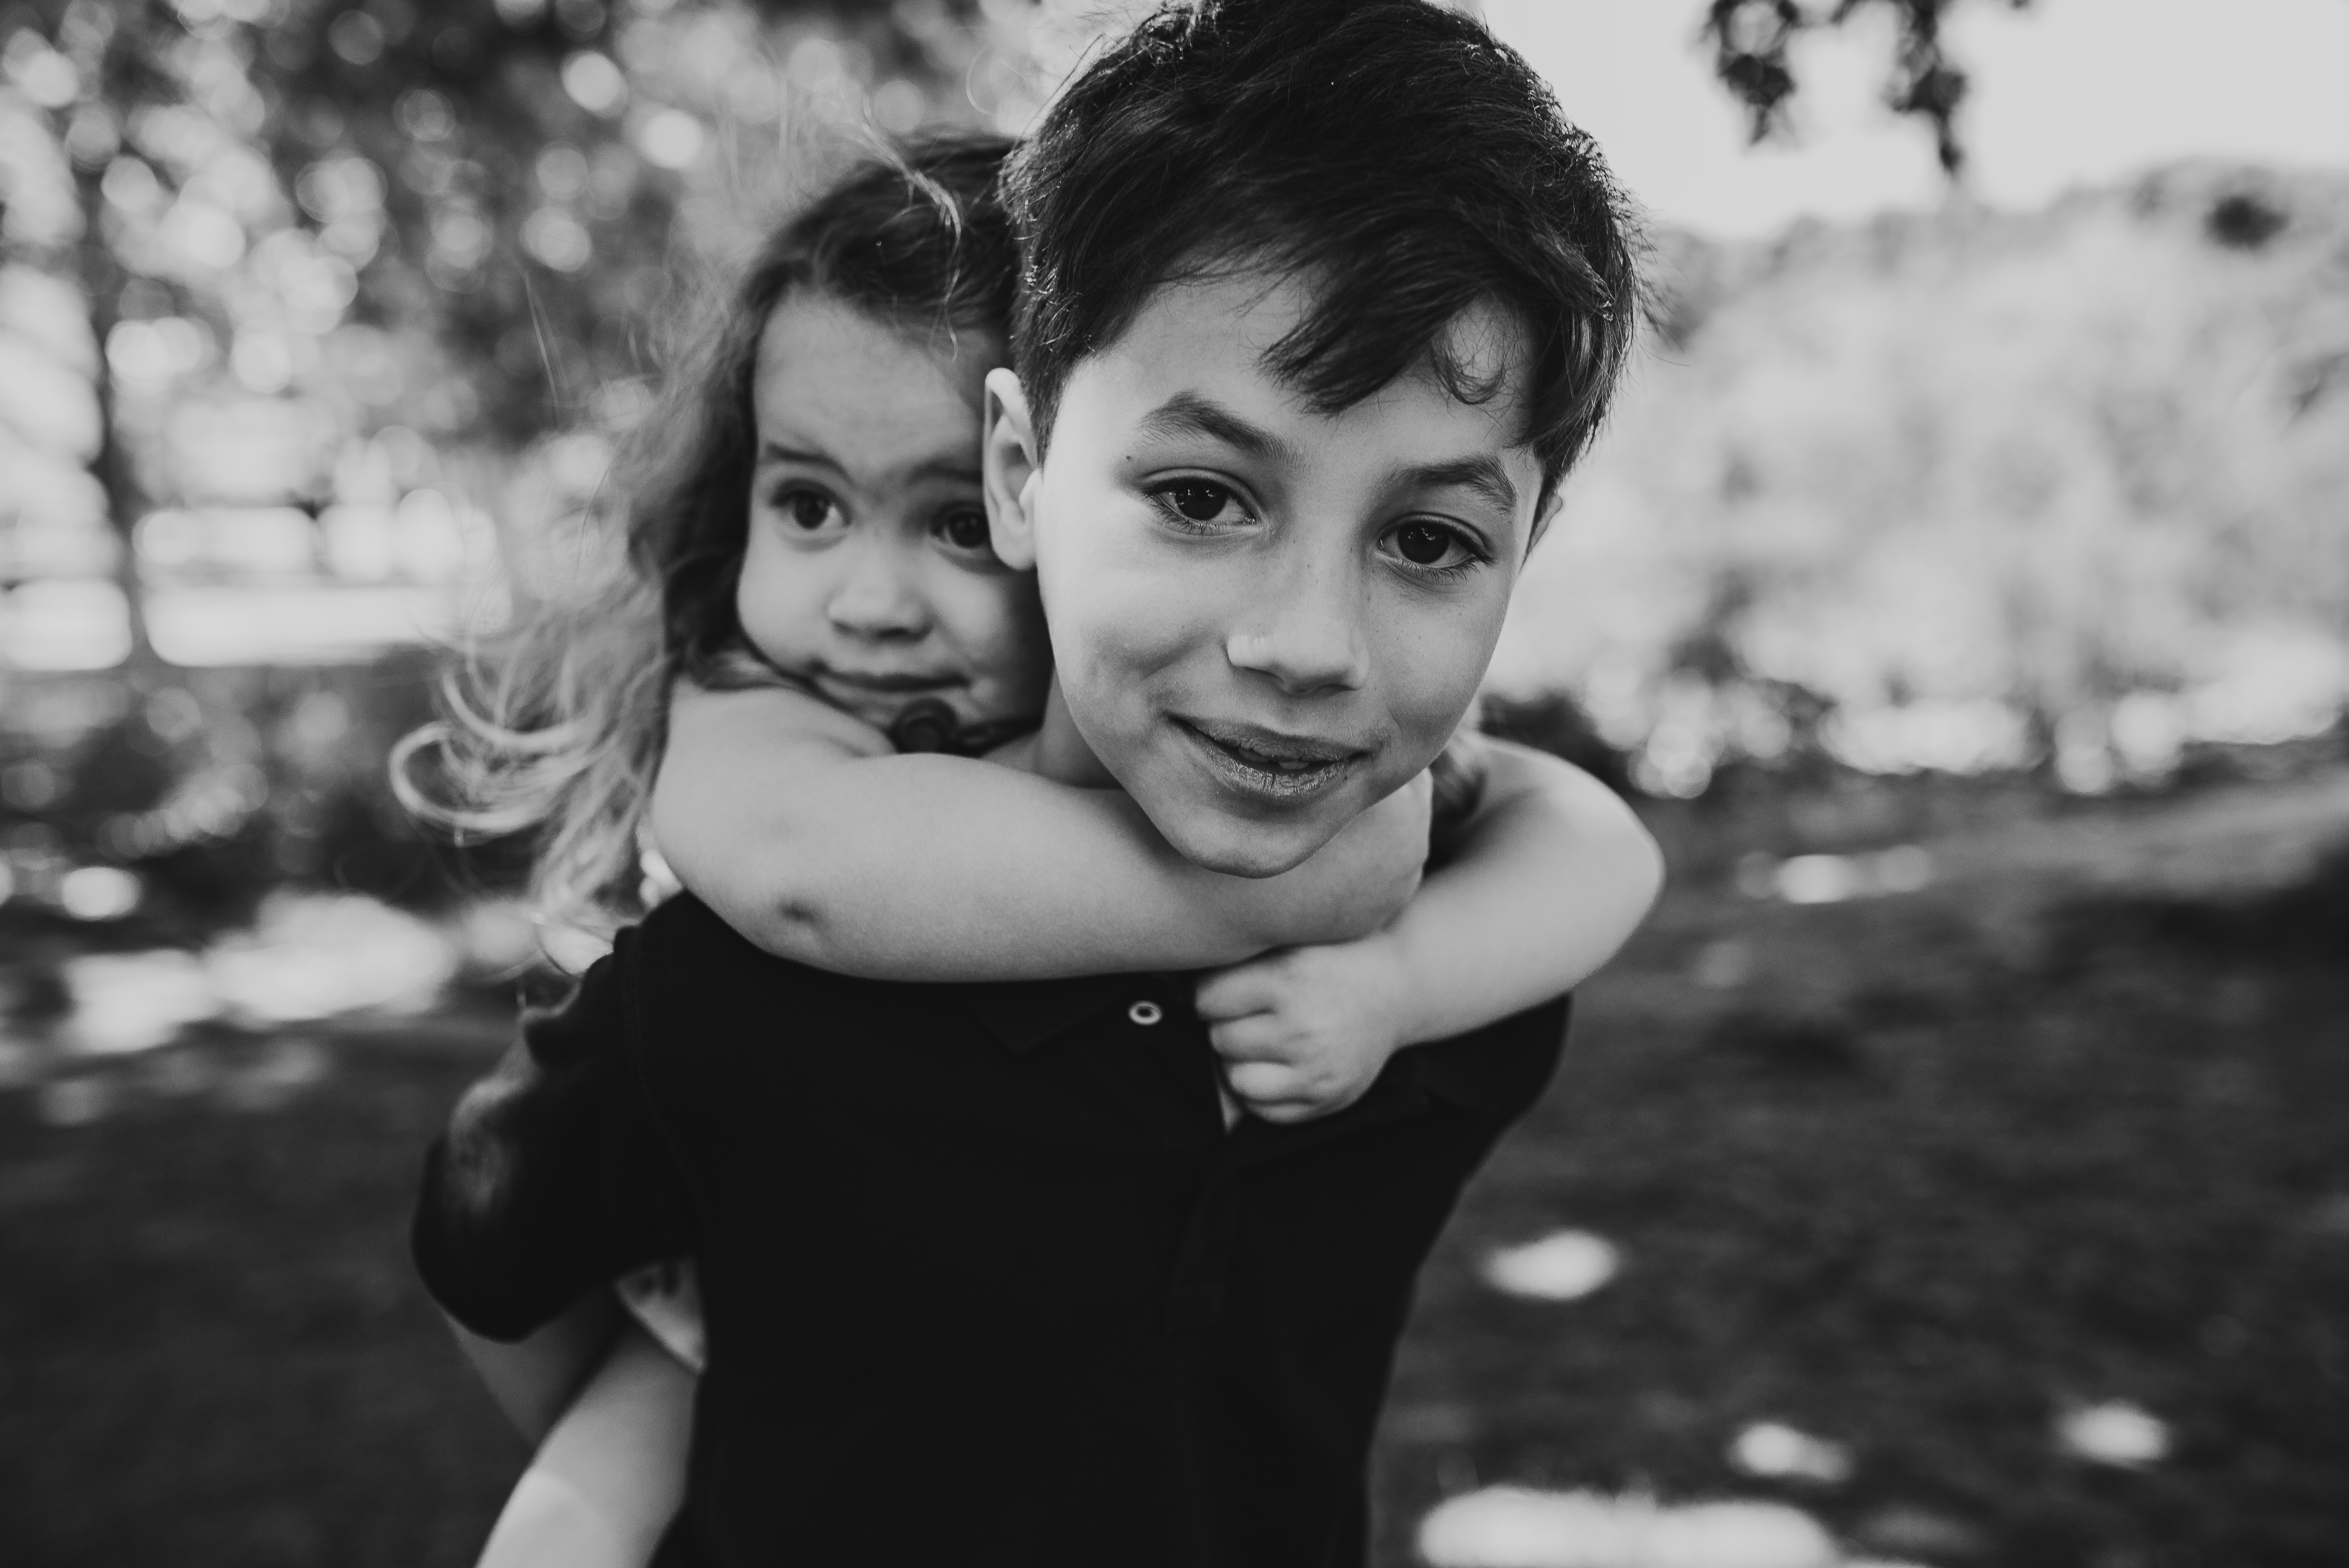
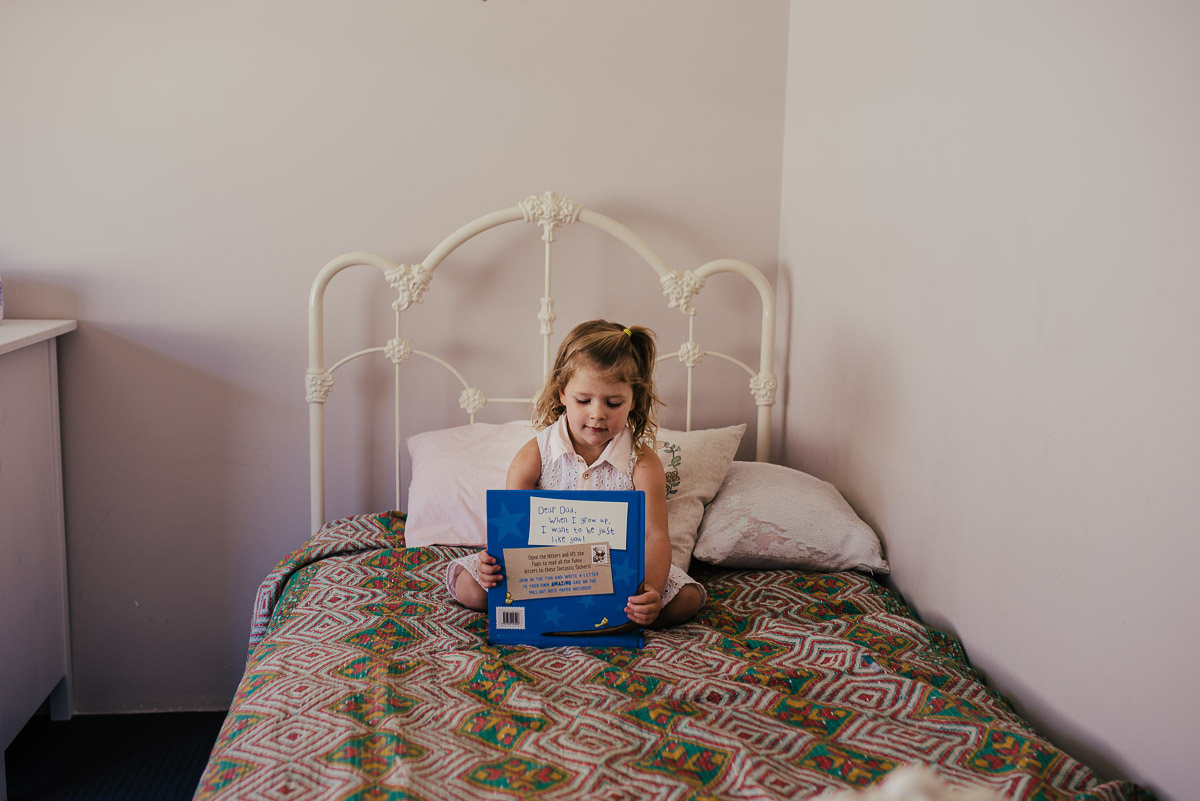
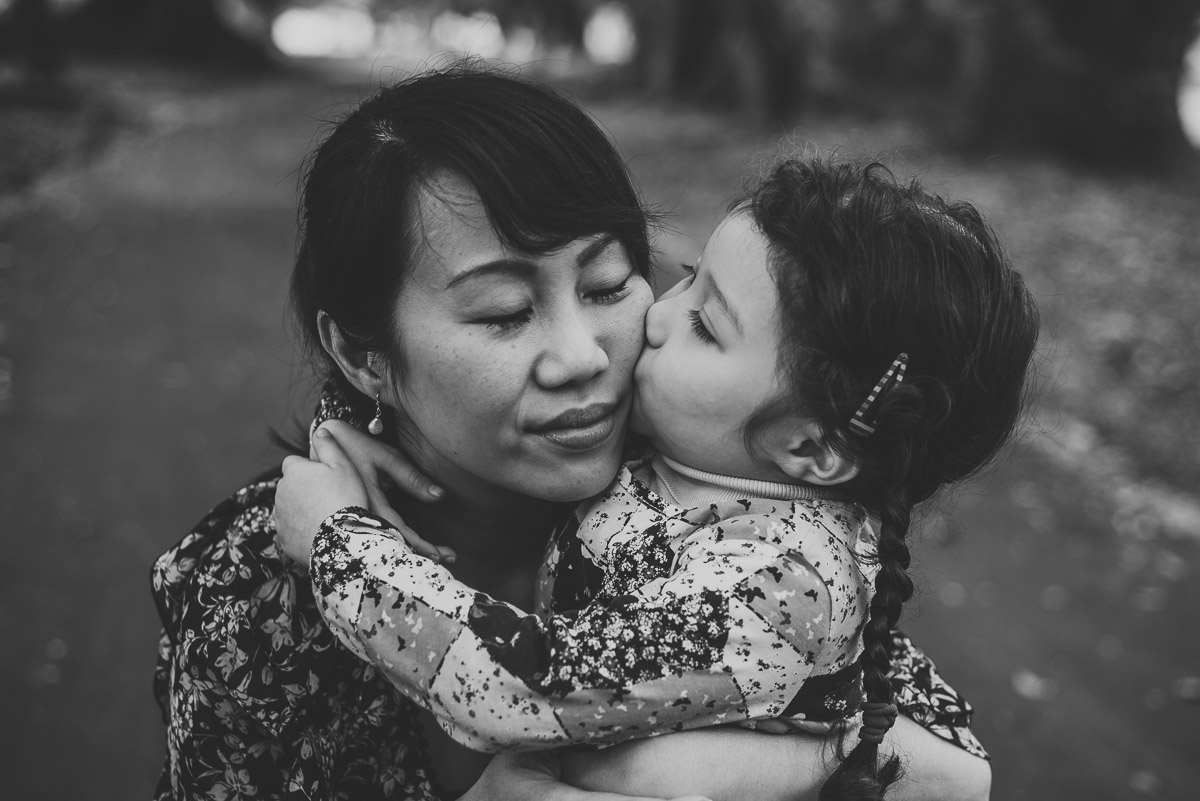
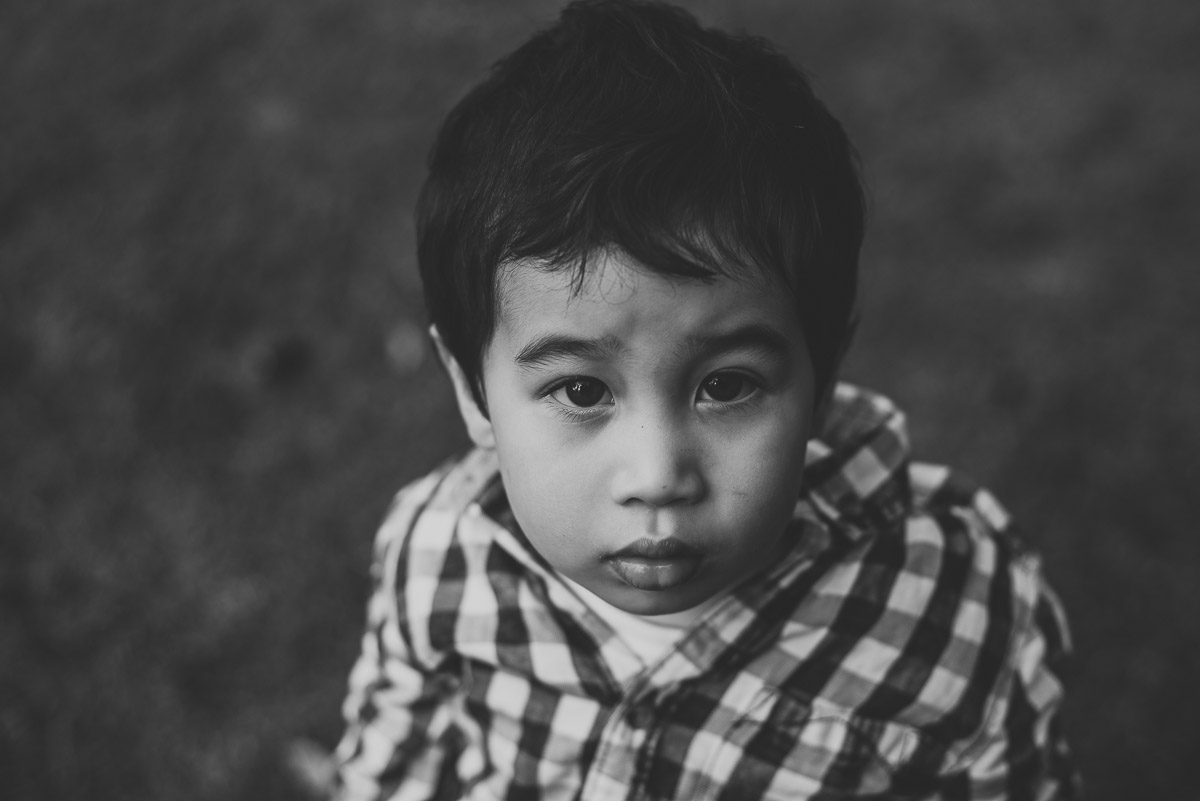
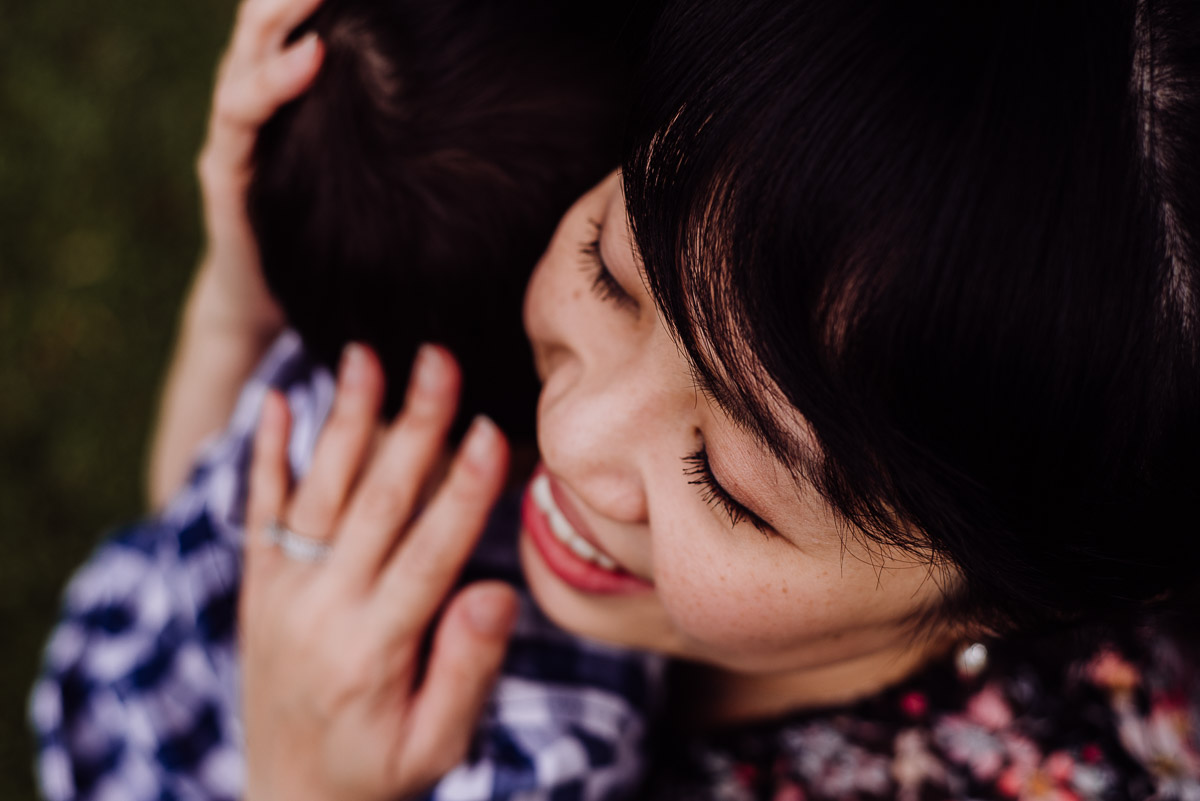
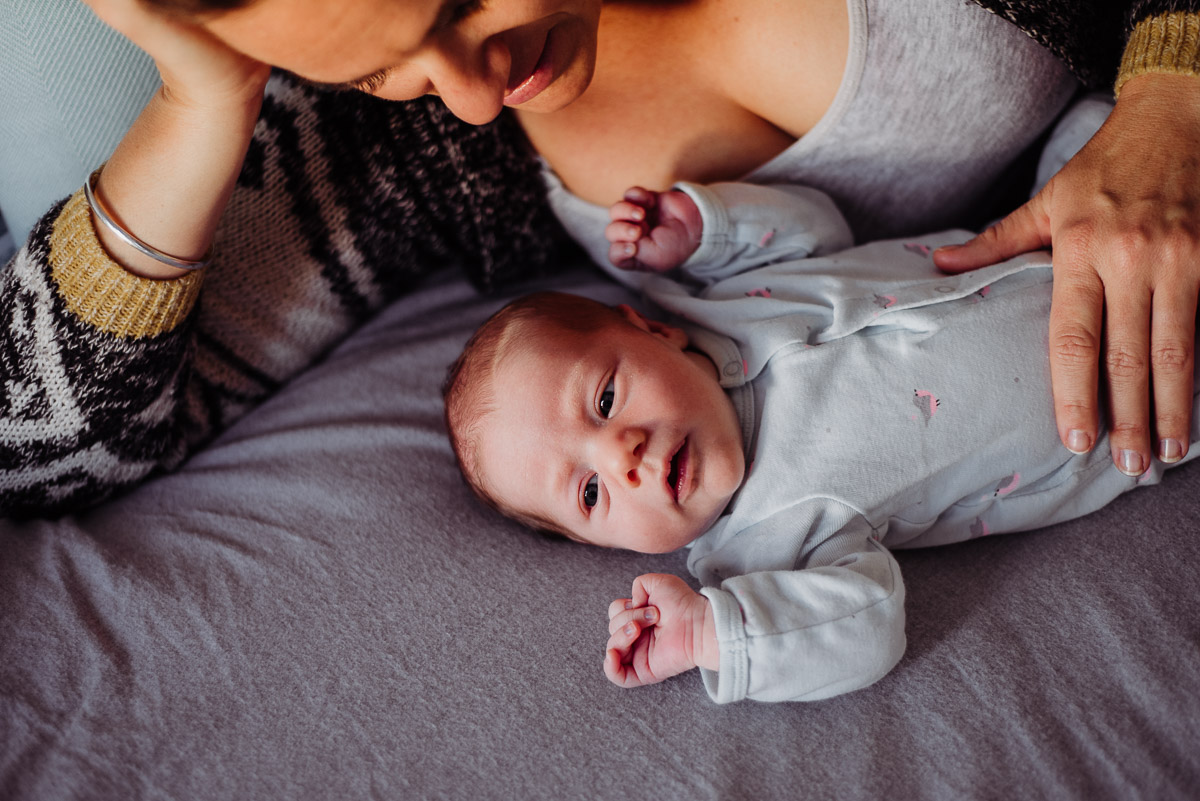
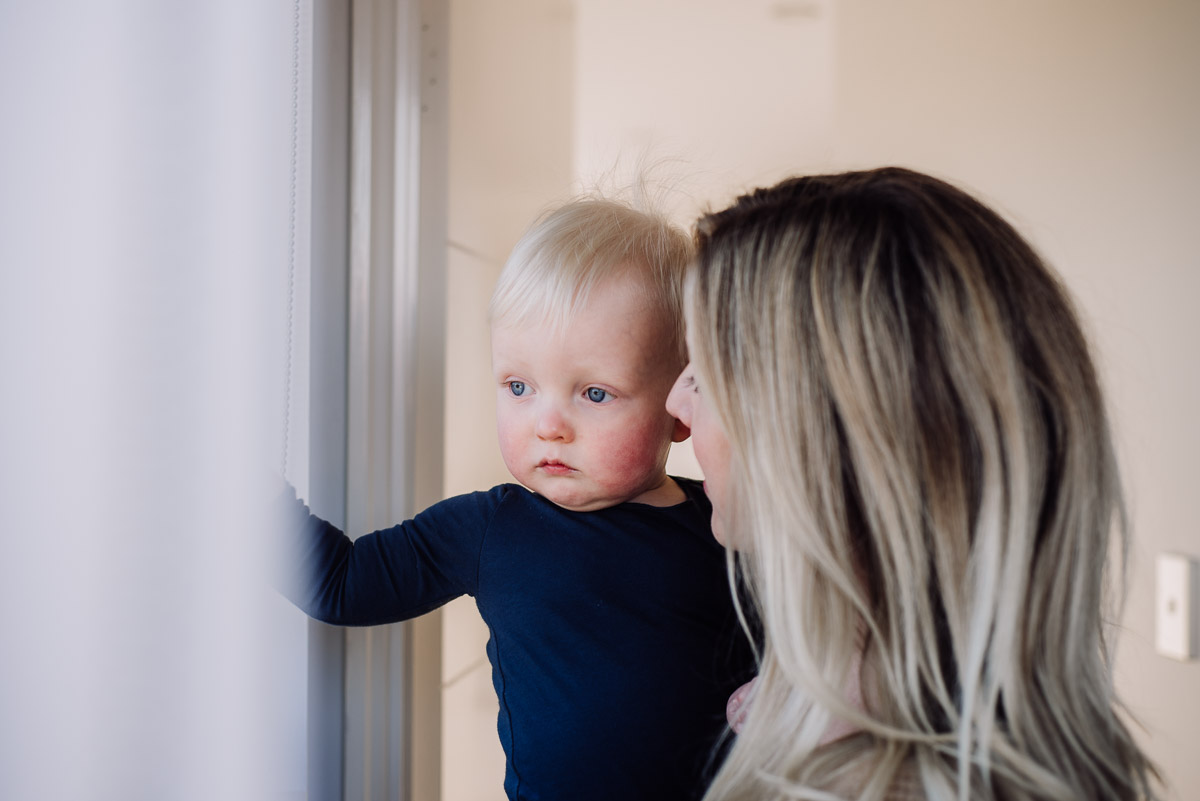
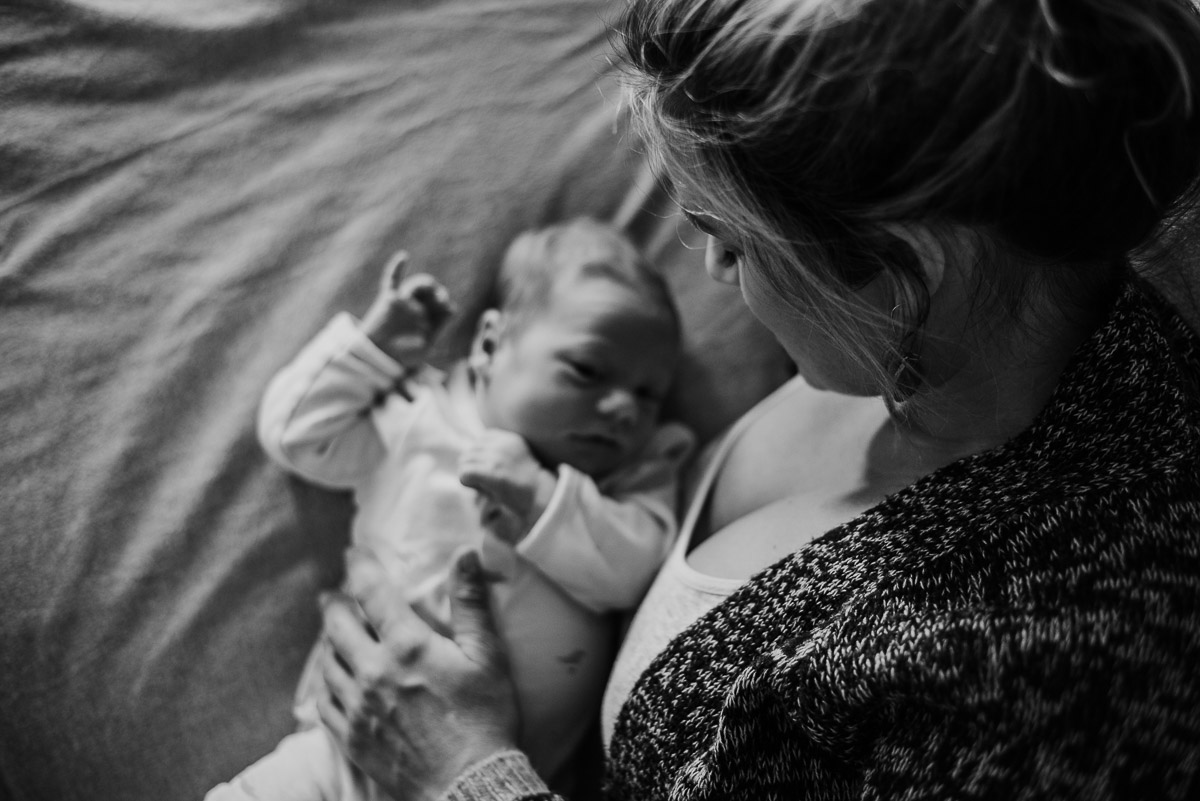
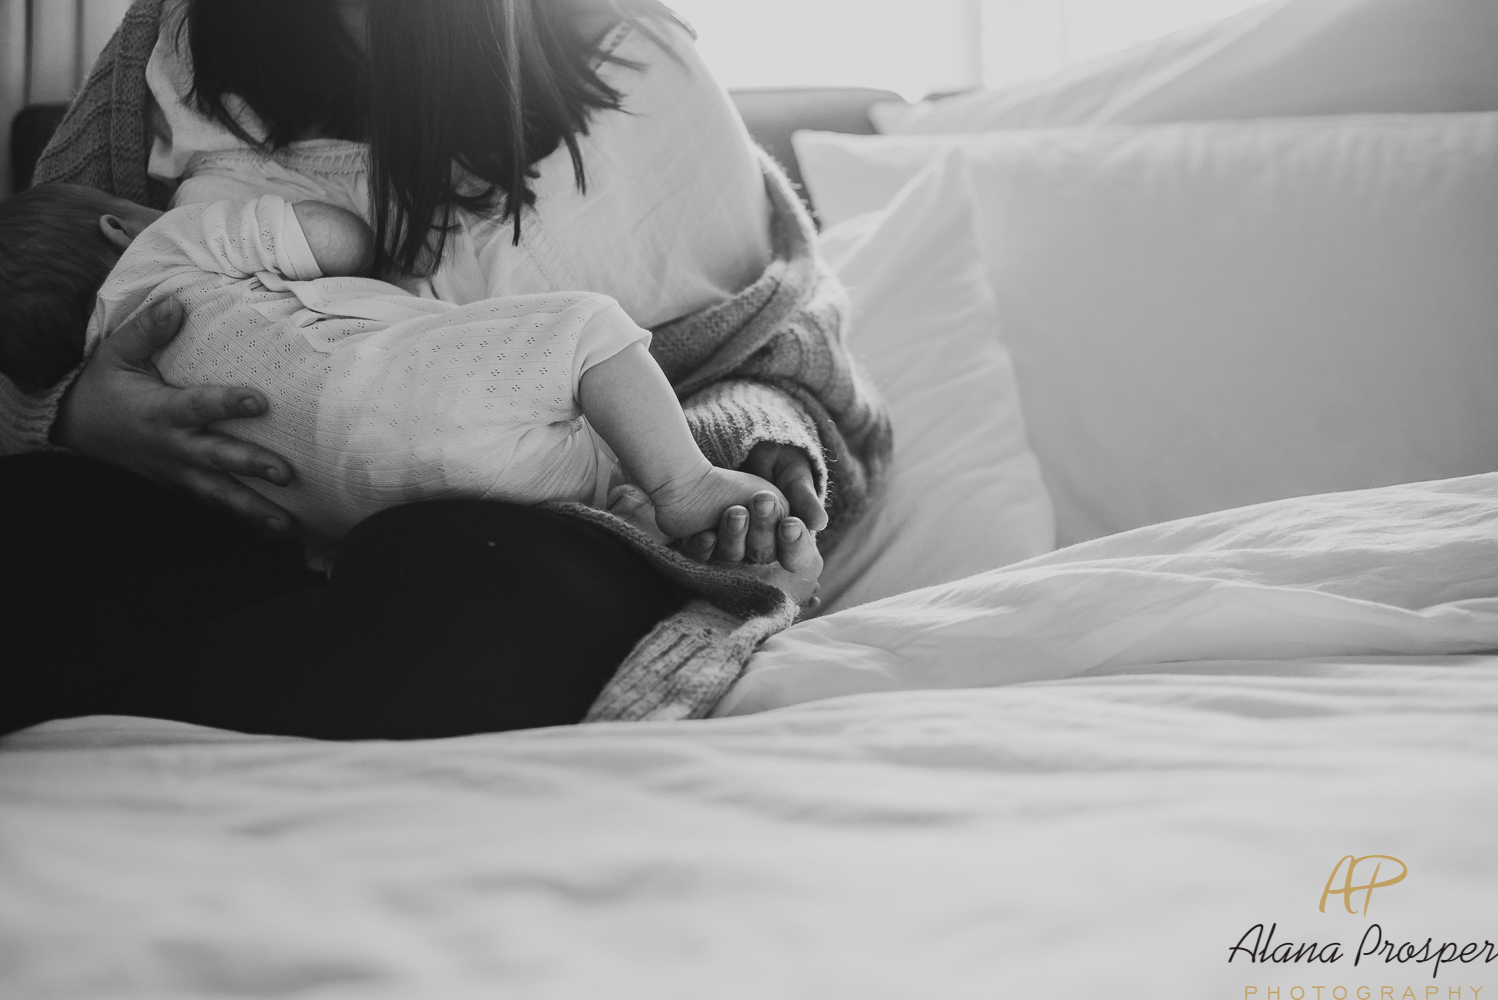
Everyone has a different definition of what makes the ‘perfect photo’, and different reasons for wanting to book a photo shoot and have their memories captured. There is no right or wrong in what makes a perfect photo as it’s all subjective. For me, I don’t go into a photo shoot aiming to get everyone smiling and looking at the camera. Although we all might like some of those, for me the perfect image really tells a story and shows real emotion rather than posed, stiff smiles. I want to capture YOU! I don’t want you to worry about looking ‘perfect’ or worry about all your children giving proper smiles. For me, a perfect photo doesn’t even need to be a smiling one! There are so many different sides to who we are, and I think it’s beautiful to capture those emotions – even (and sometimes especially) those serious ones. I want to capture a connection between you – the hugs, the kisses, the laughter, love and fun. I don’t want you to worry about who is looking at the camera and who isn’t, who is smiling ‘properly’ and who is giving their best fake cheesy grin! When you look at your images, I want you to remember the feelings and emotion – I want you to being able to look back on that not just now, but in many years from now when things have changed and the kids have grown. I don’t want you to think about whether the photo has everyone smiling and looking at the camera – I want you to look at your images and think about which ones make you FEEL the most. Which one tells a story. One example for me is photos of my children with Father Christmas. Every year I get them, and often the people taking the photo will desperately try to get my kids to look at the camera and smile. But those aren’t the images I love. The ones I remember and love are the ones that tell a story. The year that my 18 month old daughter was too scared to sit on his knee, so sat on the floor in front of him and played with the baubles while we sneakily took a photo; the year that my 2 year old son was too scared and so I had to sit there too, but he was still scared and was screaming and hugging his teddy; the year that my youngest was fascinated by his beard and kept looking up at him and smiling. I don’t need them to all look and smile for me to think the photo is perfect. It’s all a part of the story, and that’s what I love about photography and capturing memories. Below are some examples of how beautiful a photo can be, even when no one is smiling and looking at the camera.
If you’d like to capture some ‘perfect’ memories for yourself, then please Contact me here.
by Alana | Sep 1, 2018 | Family - Lifestyle, Family - Location, Information
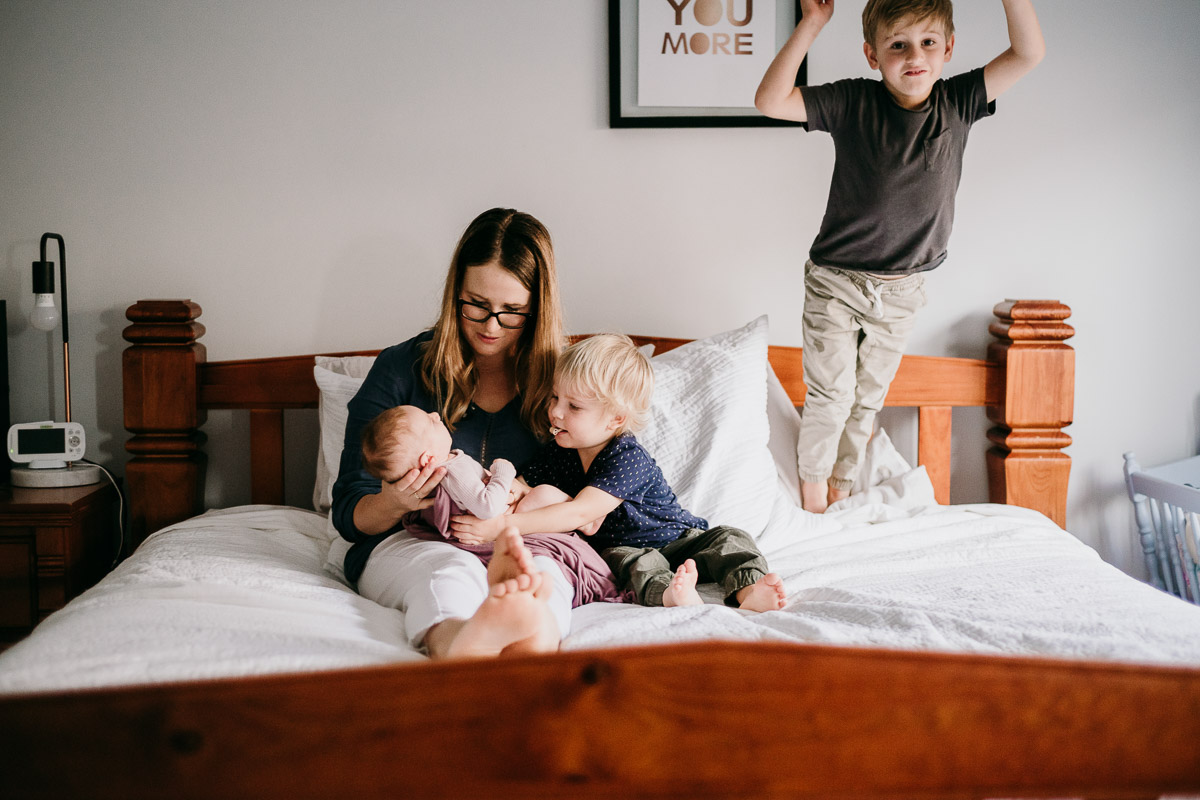
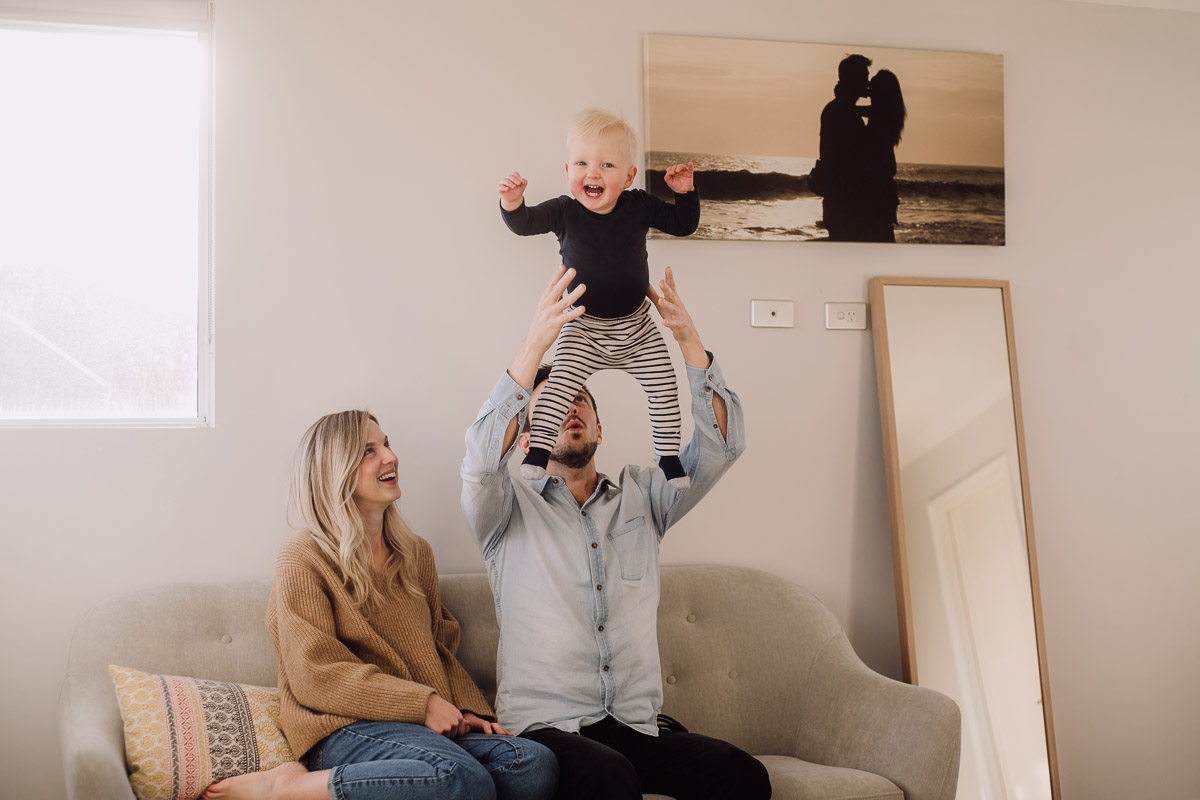
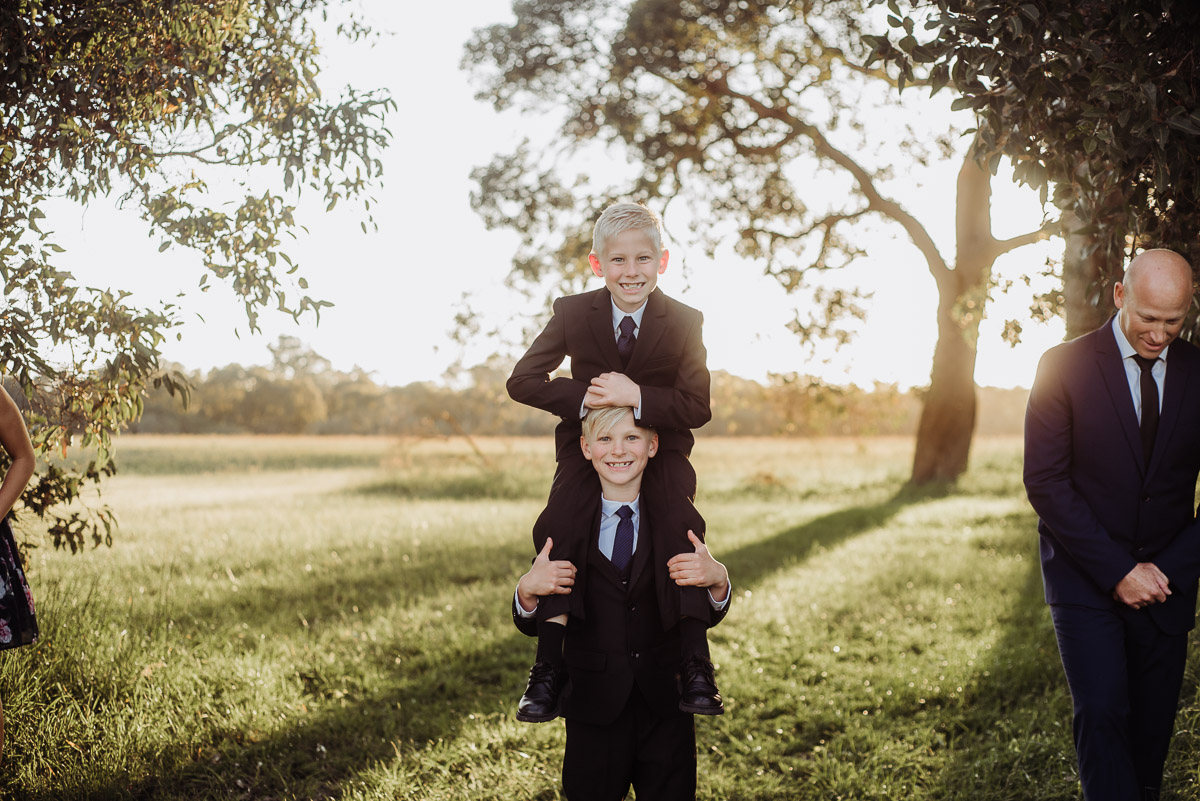
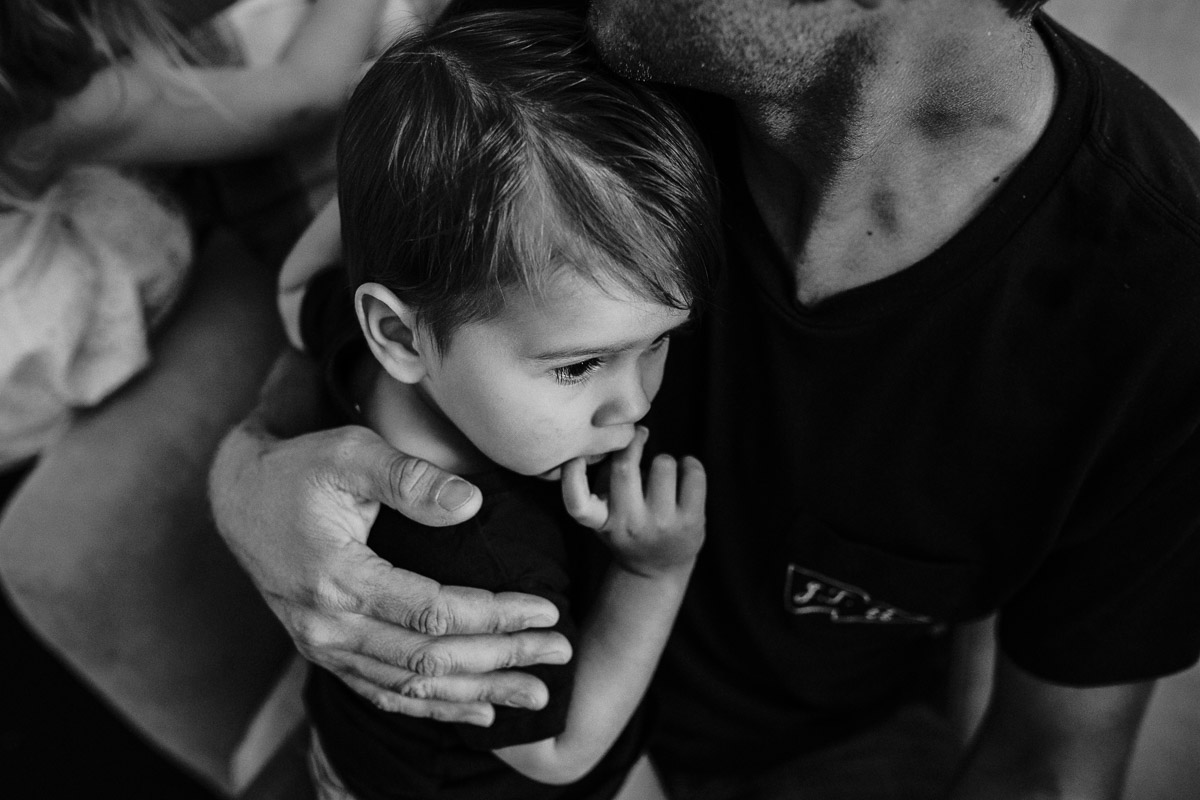
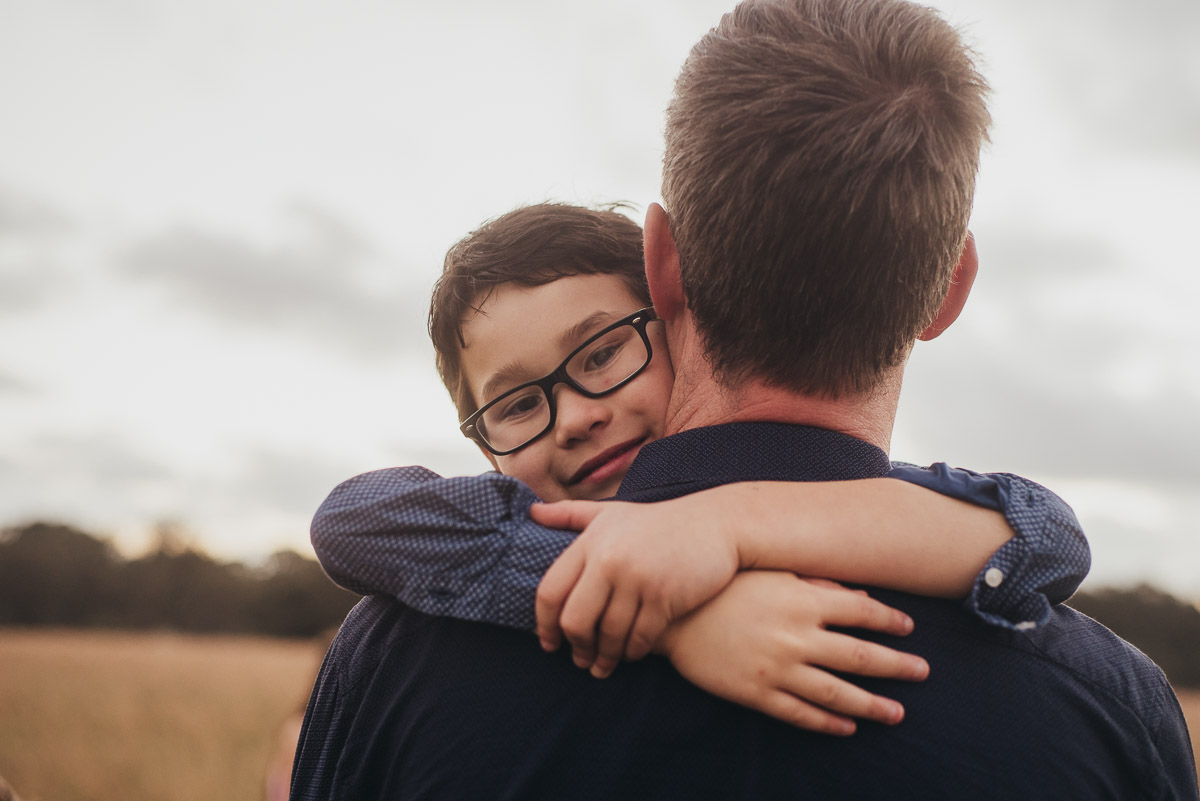
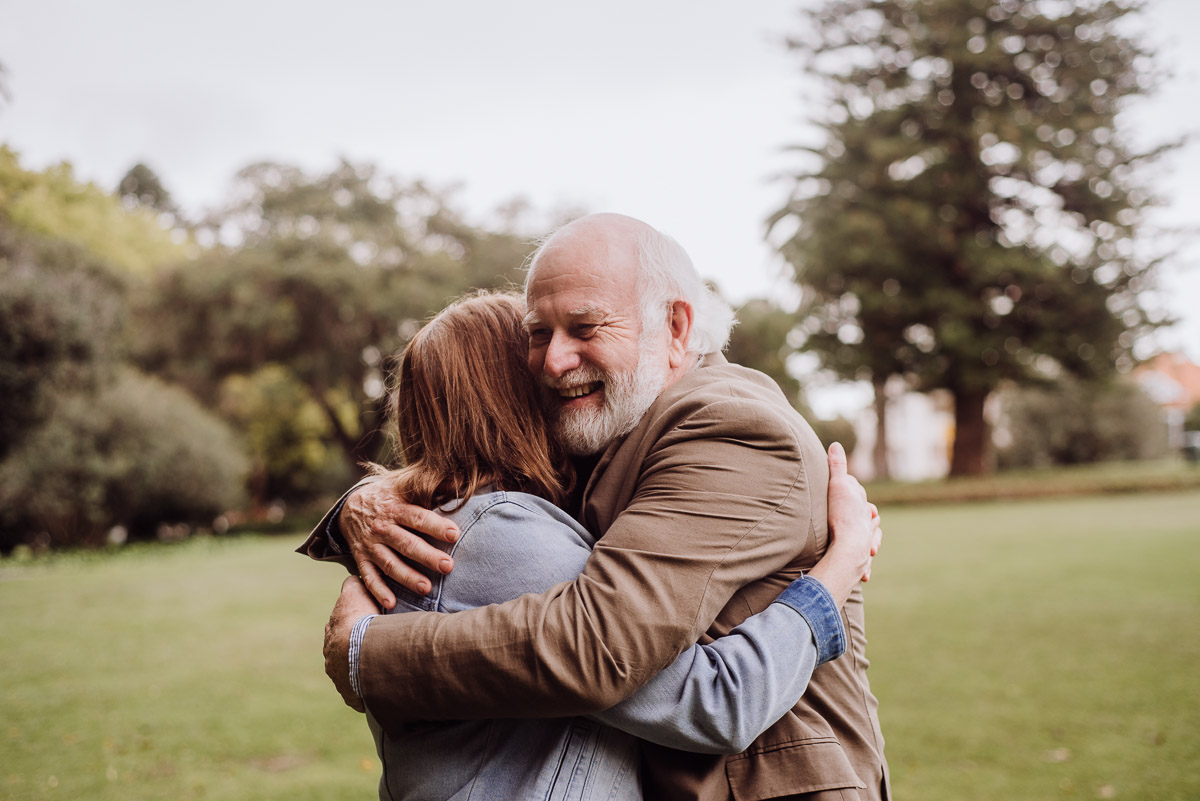
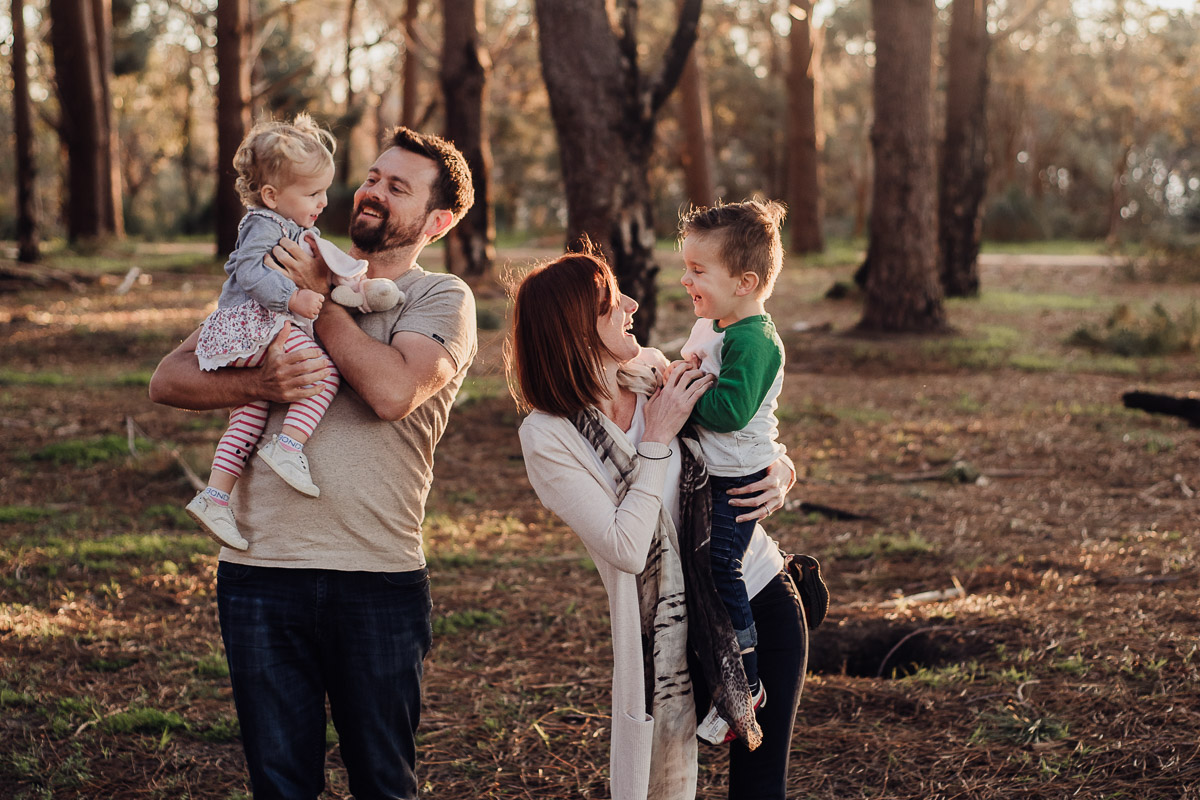
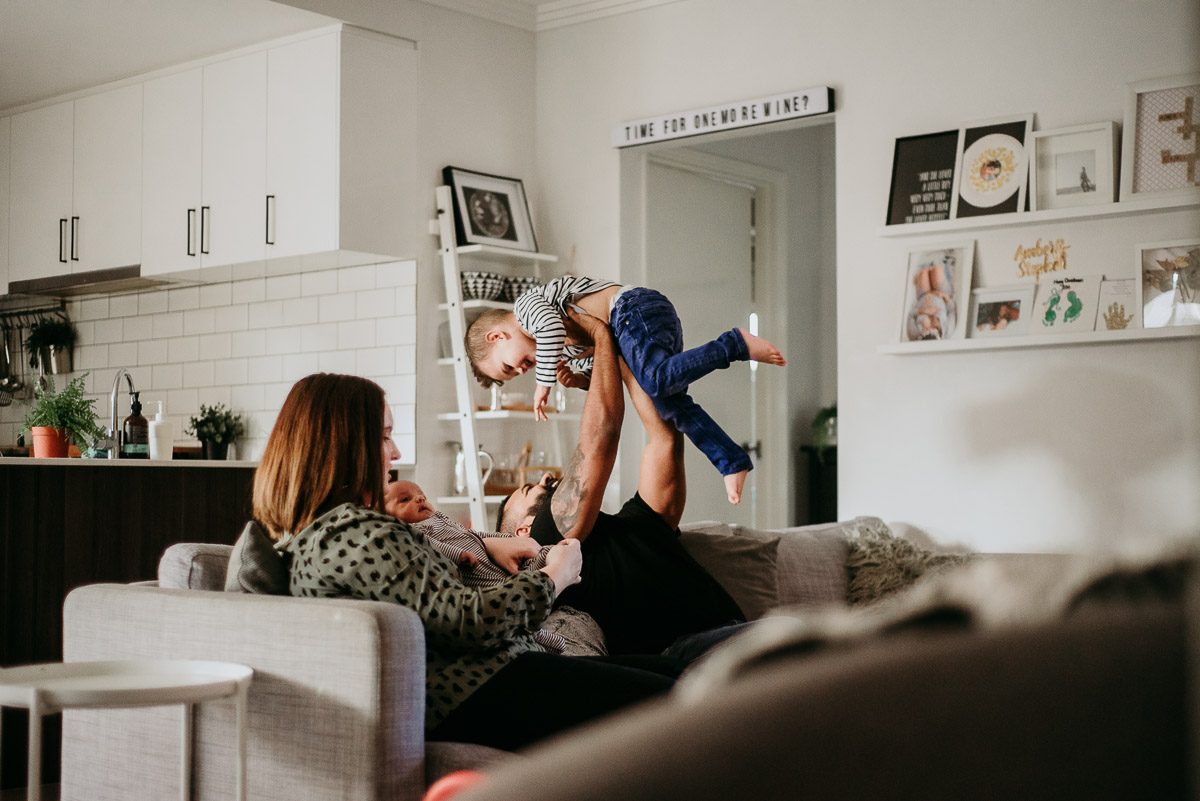
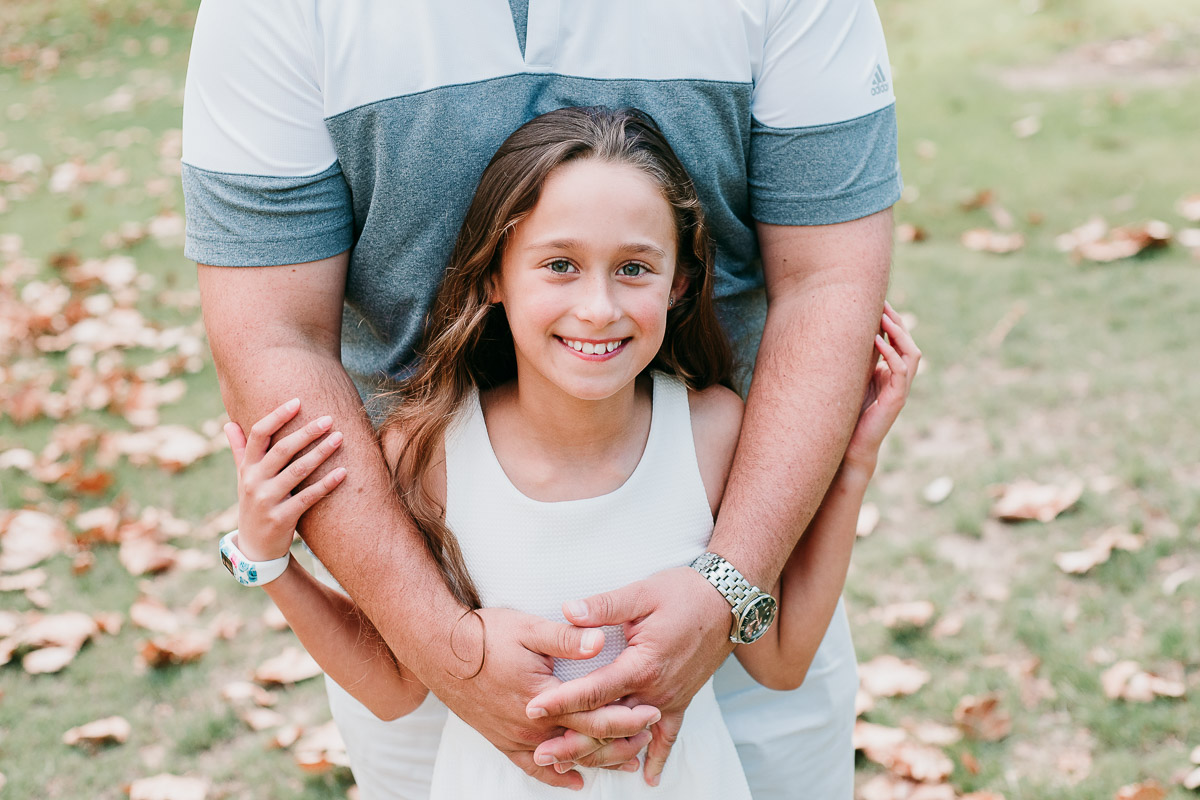
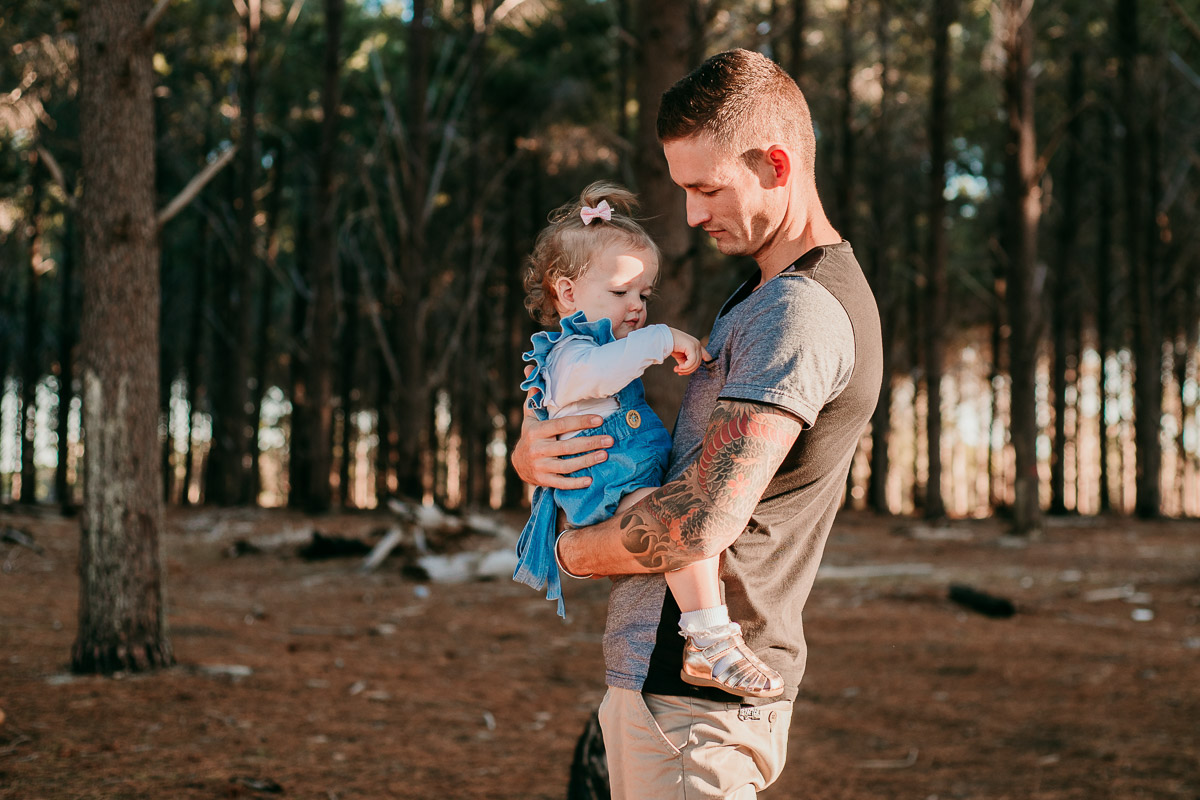
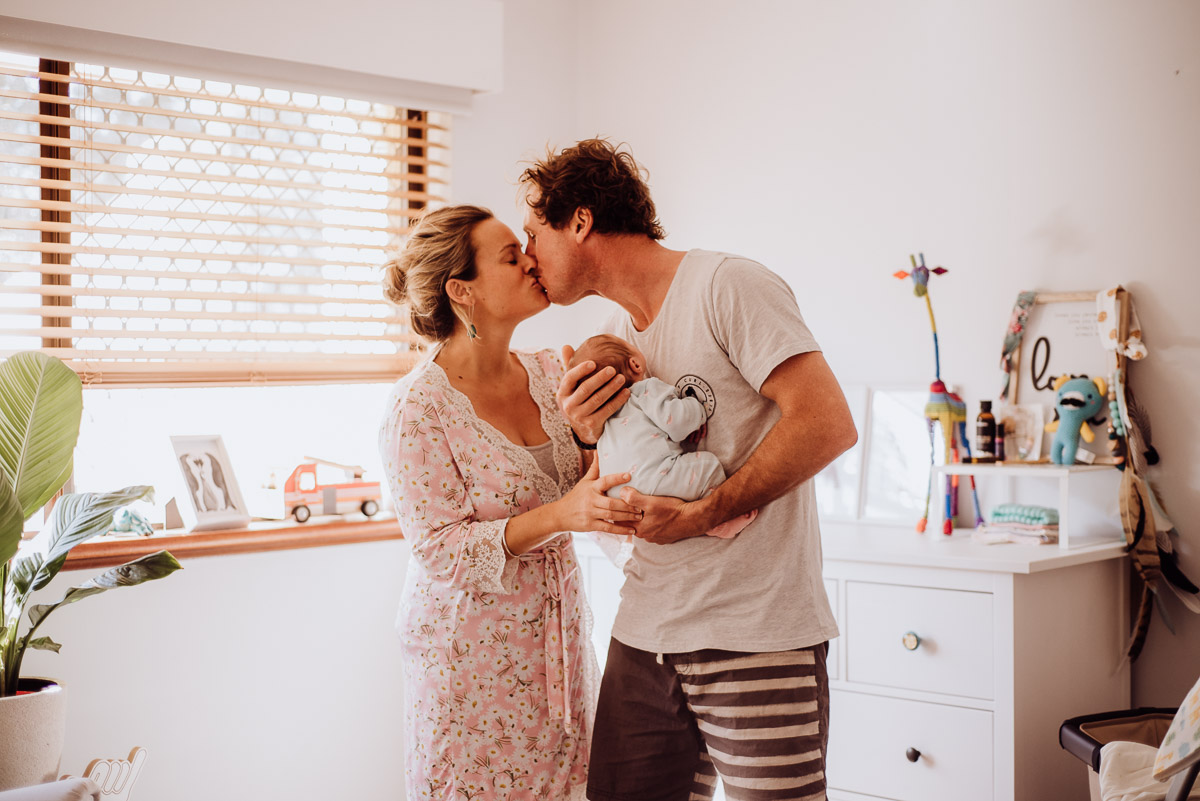
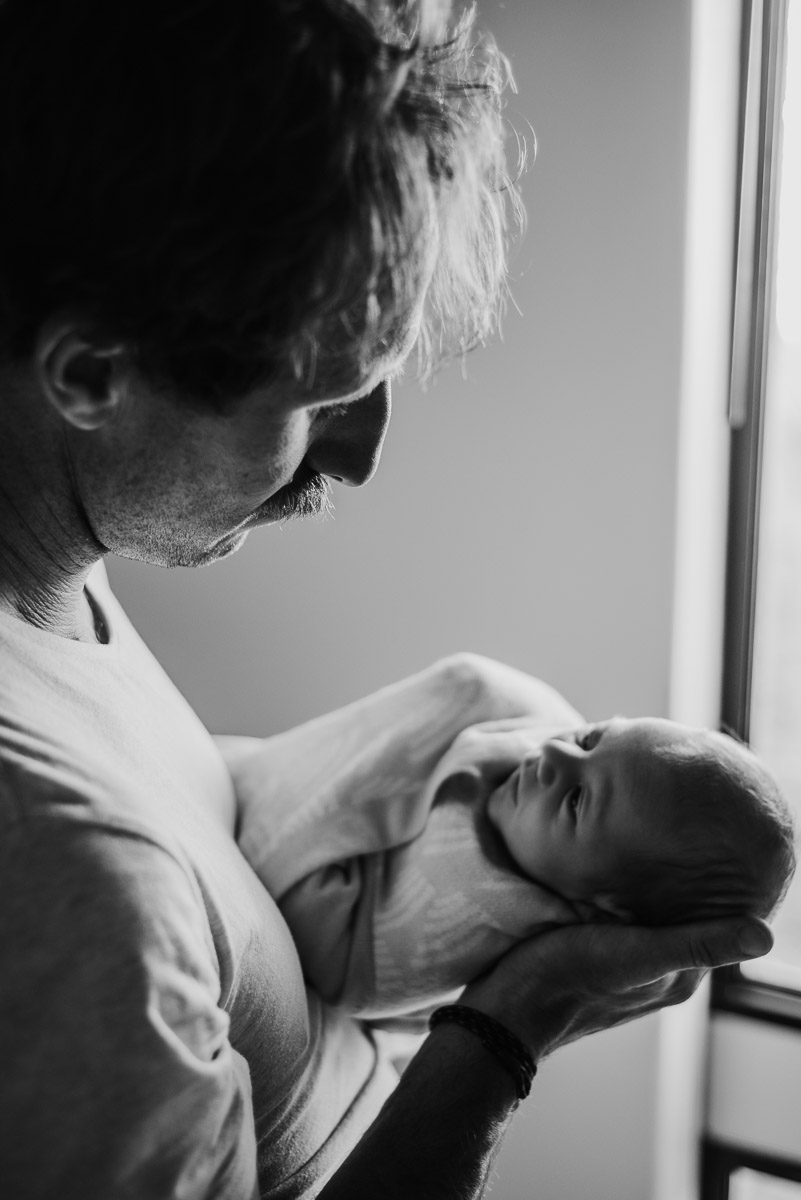
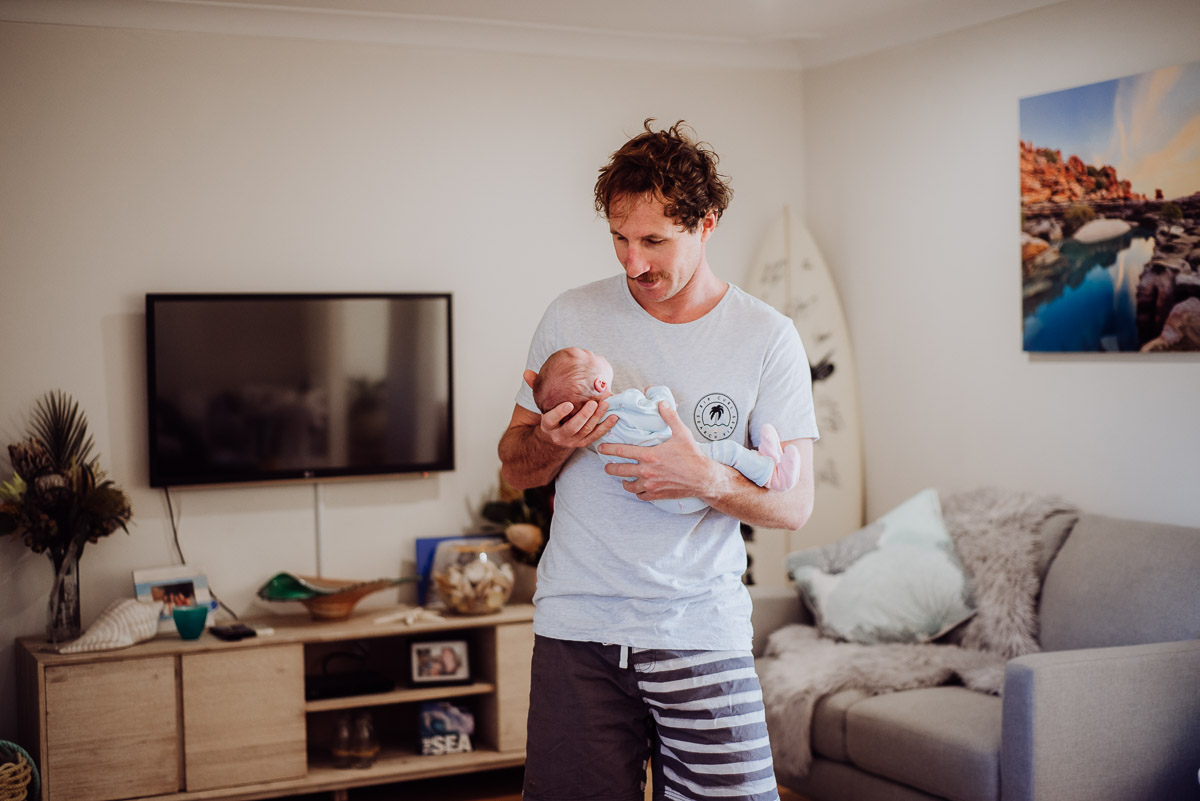
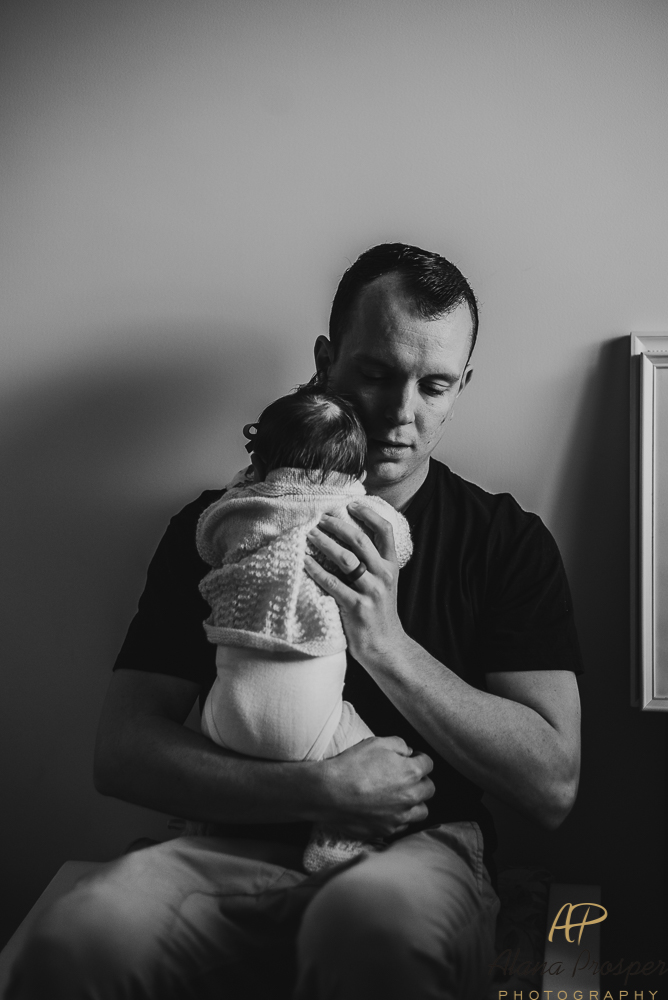
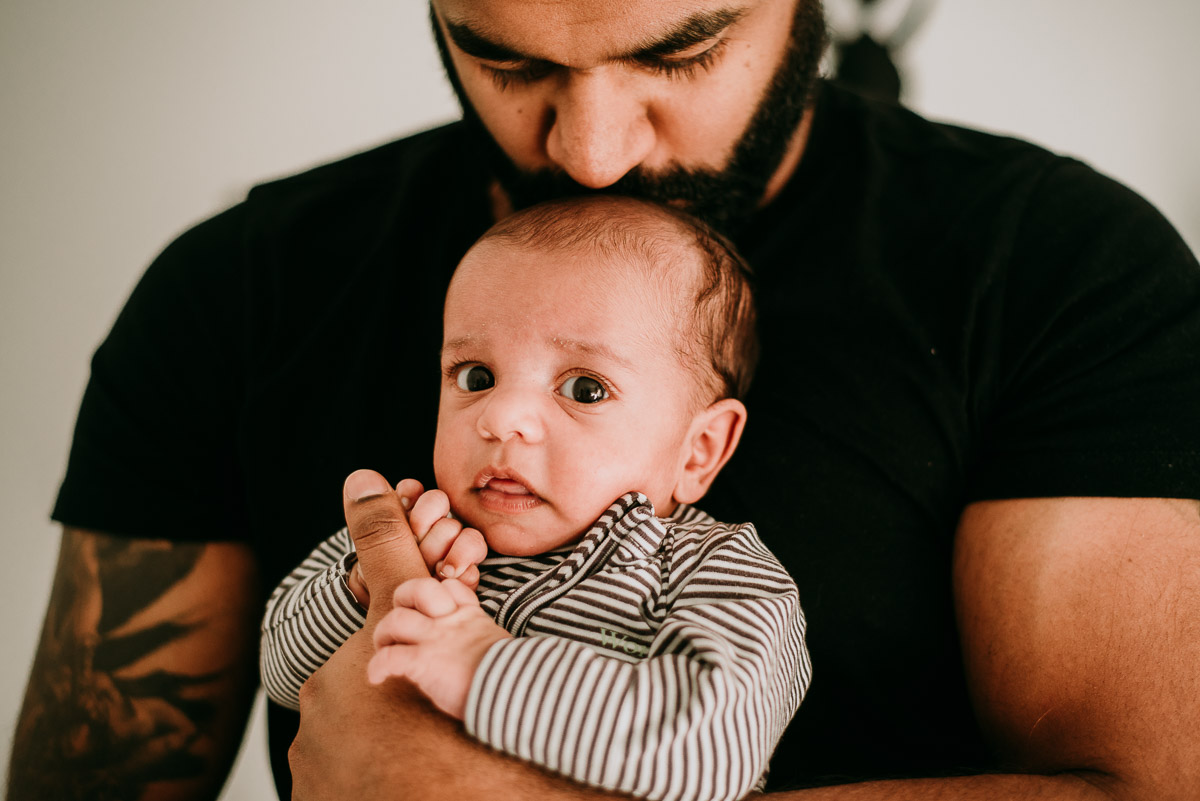
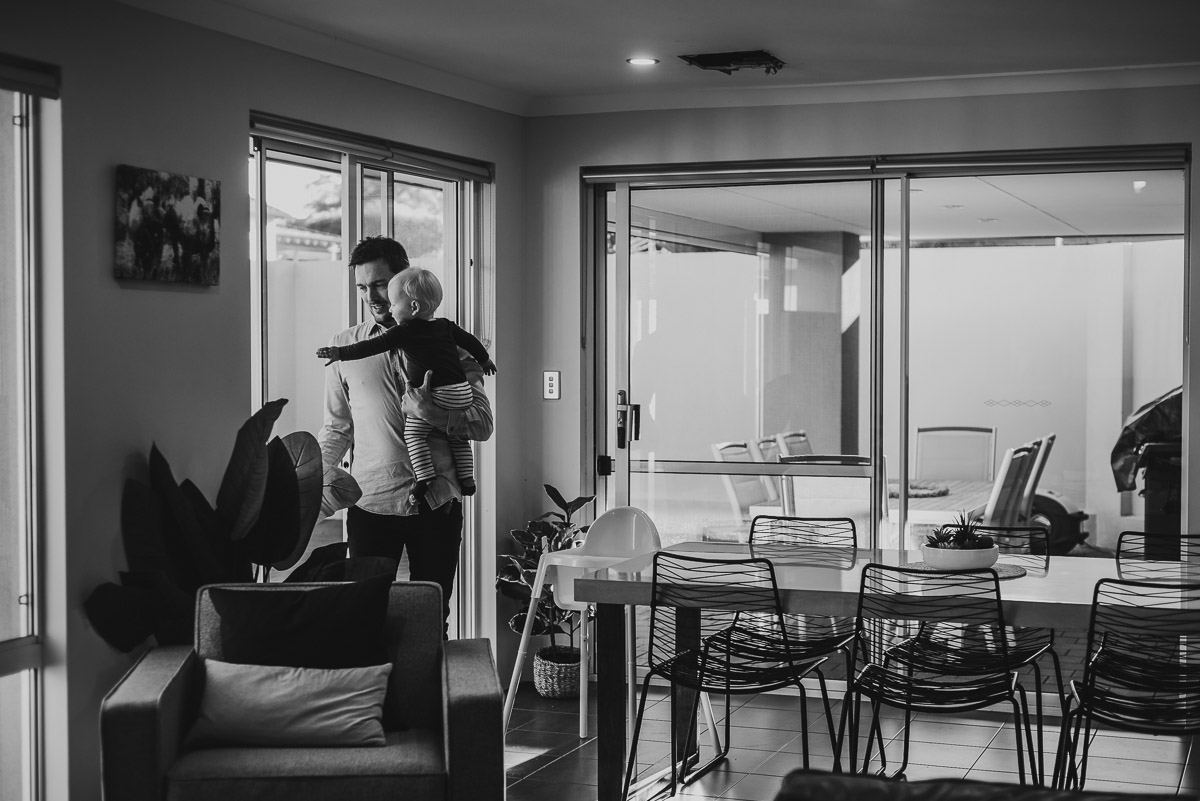
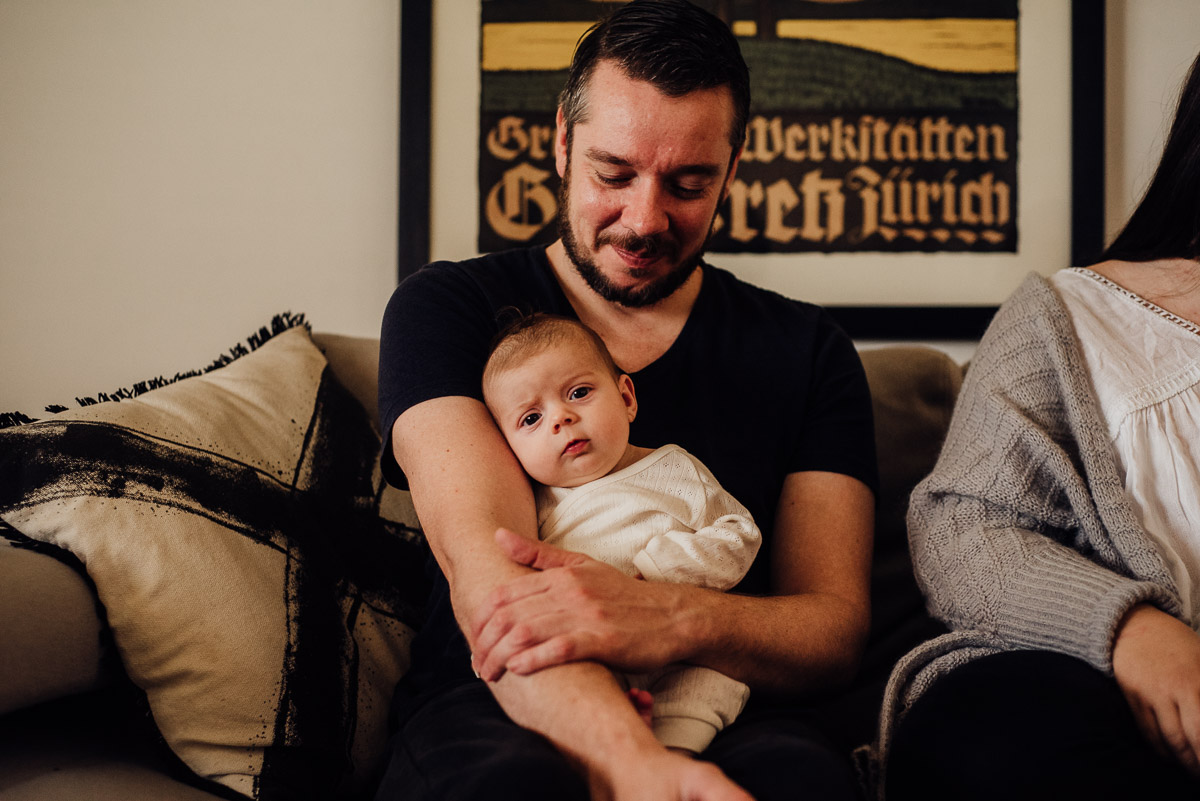
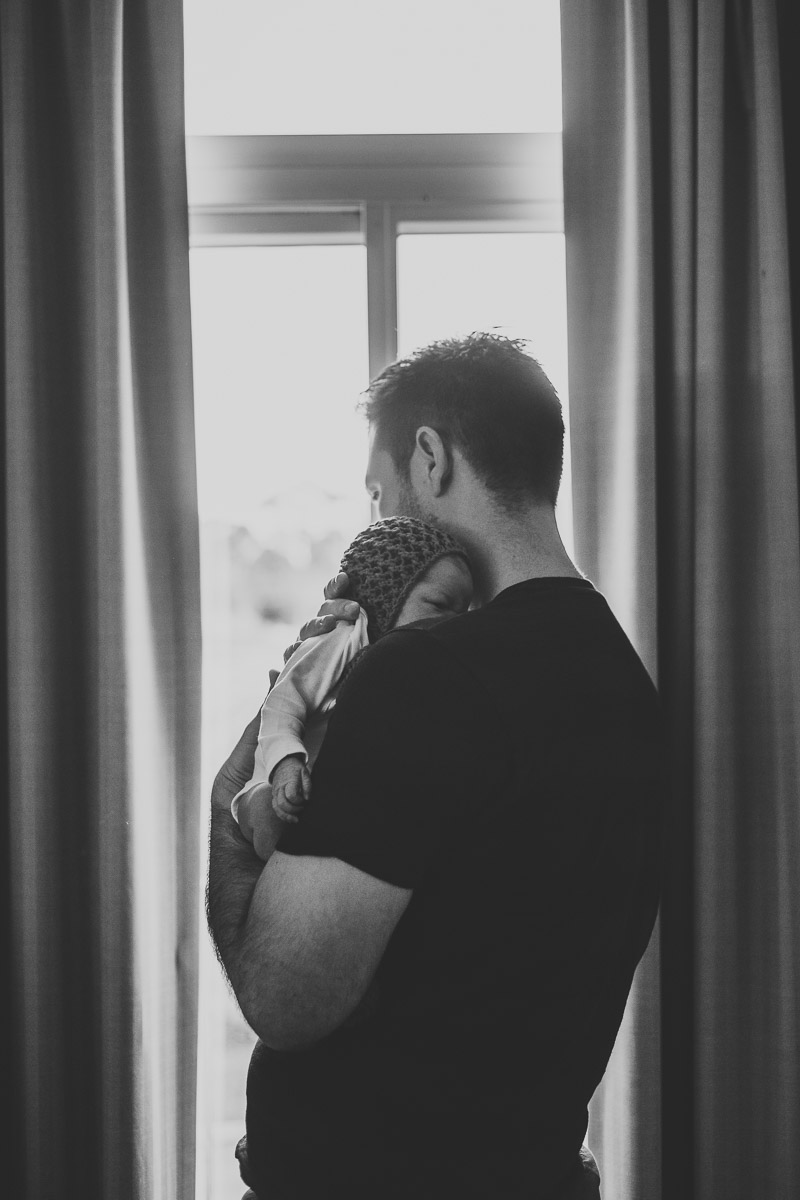
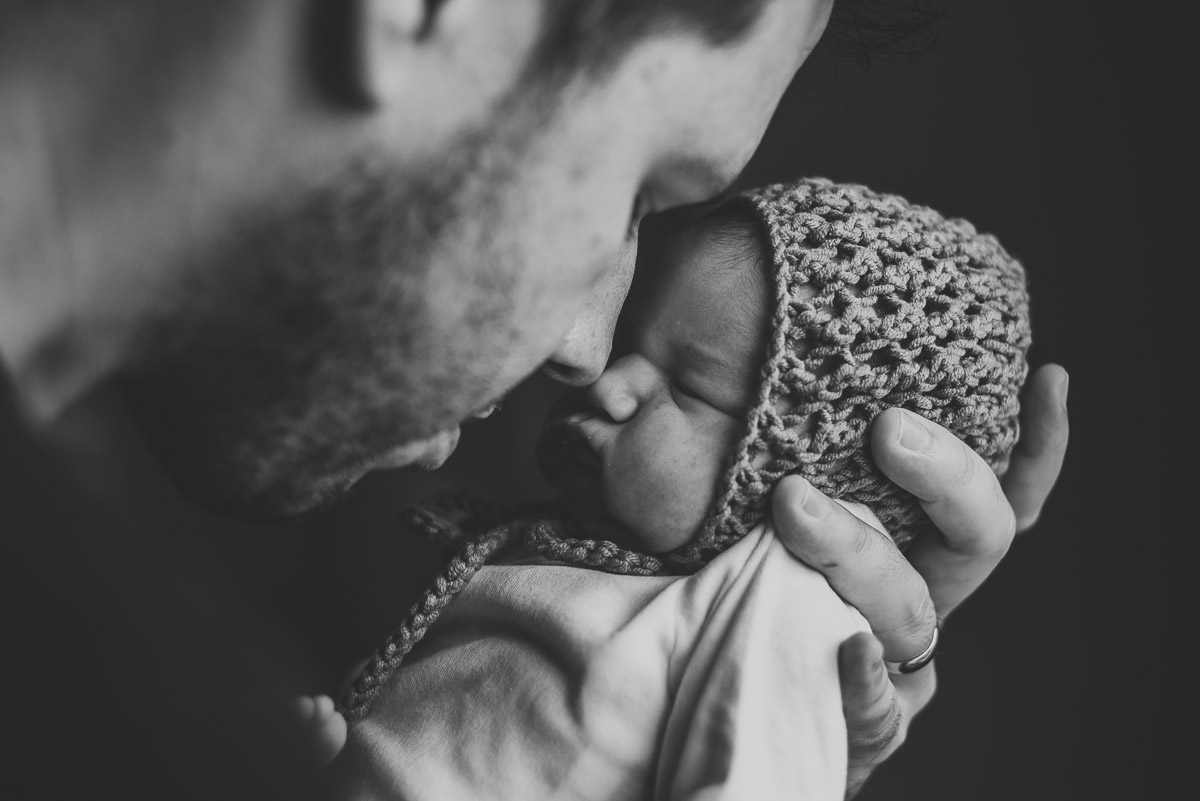
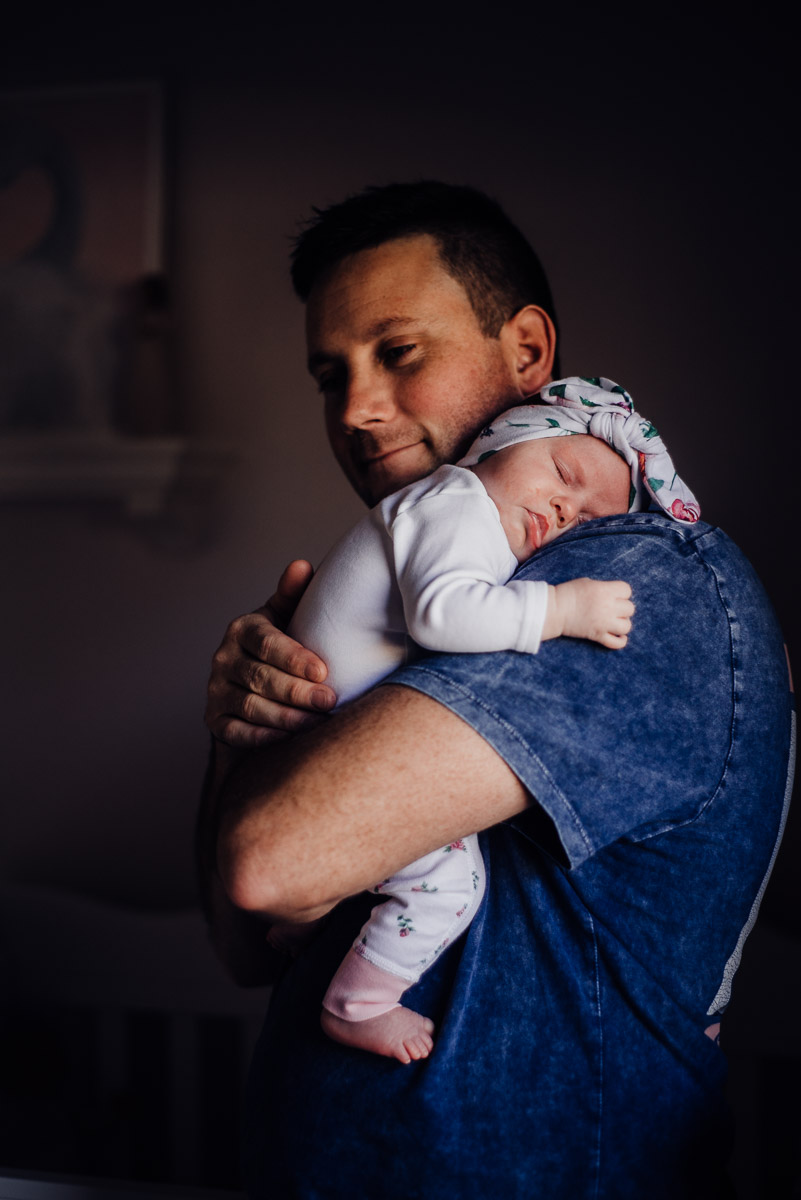
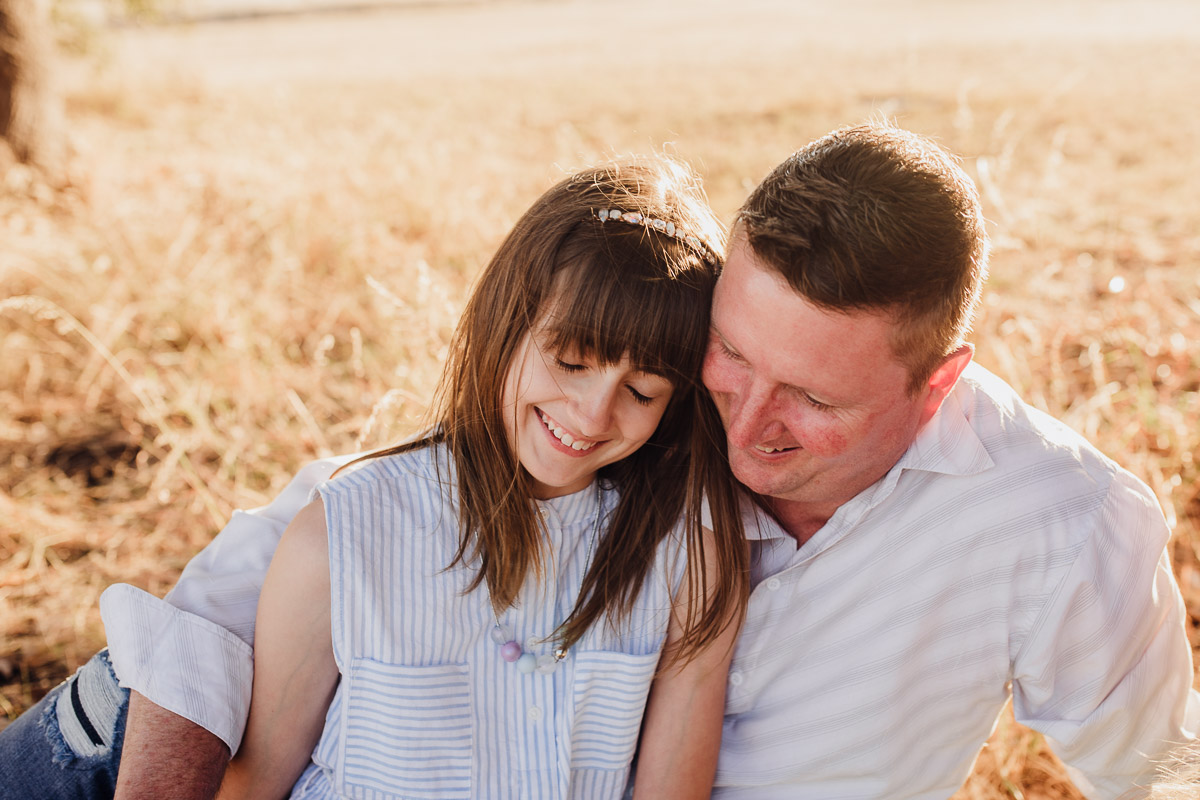
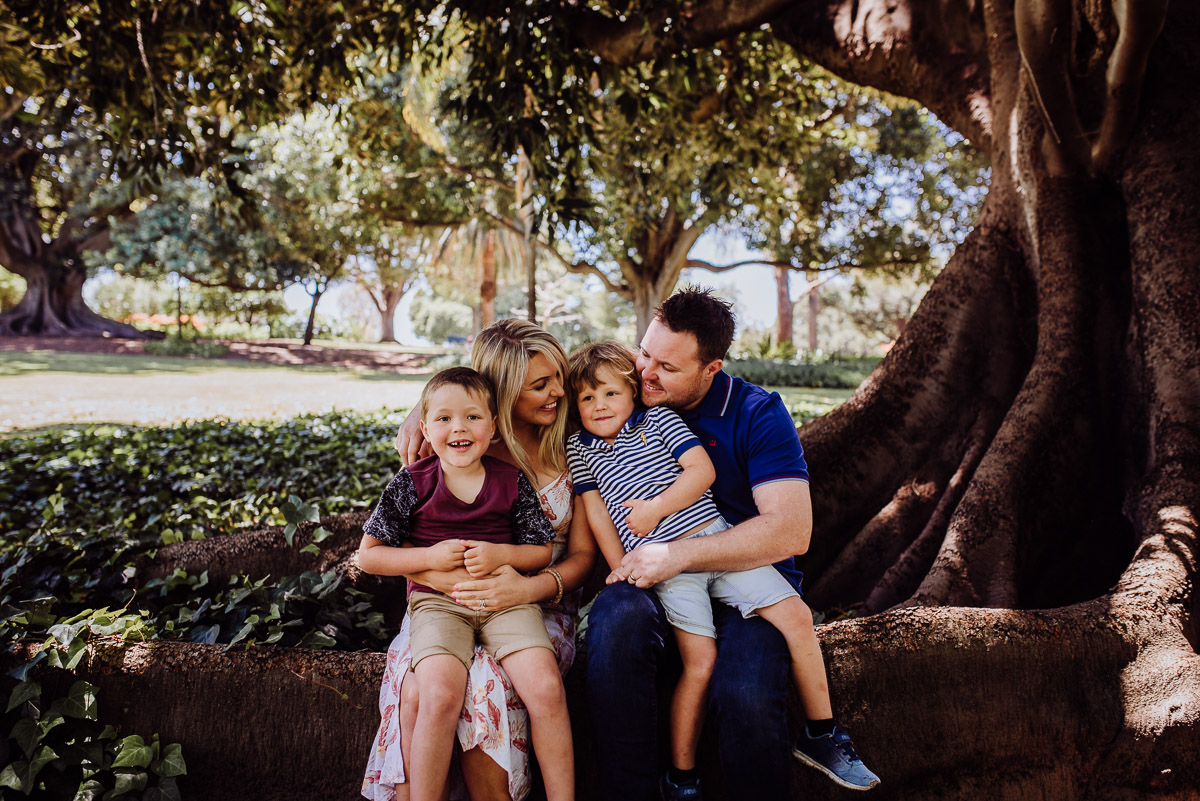
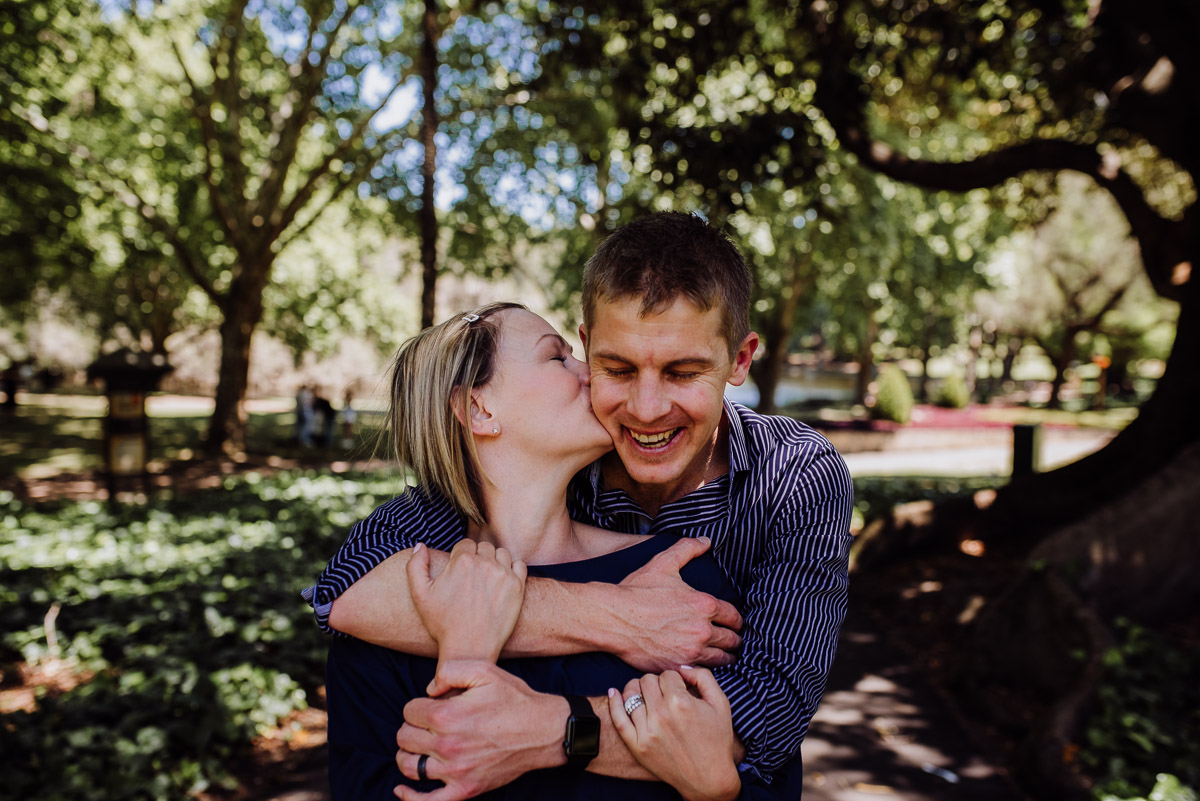
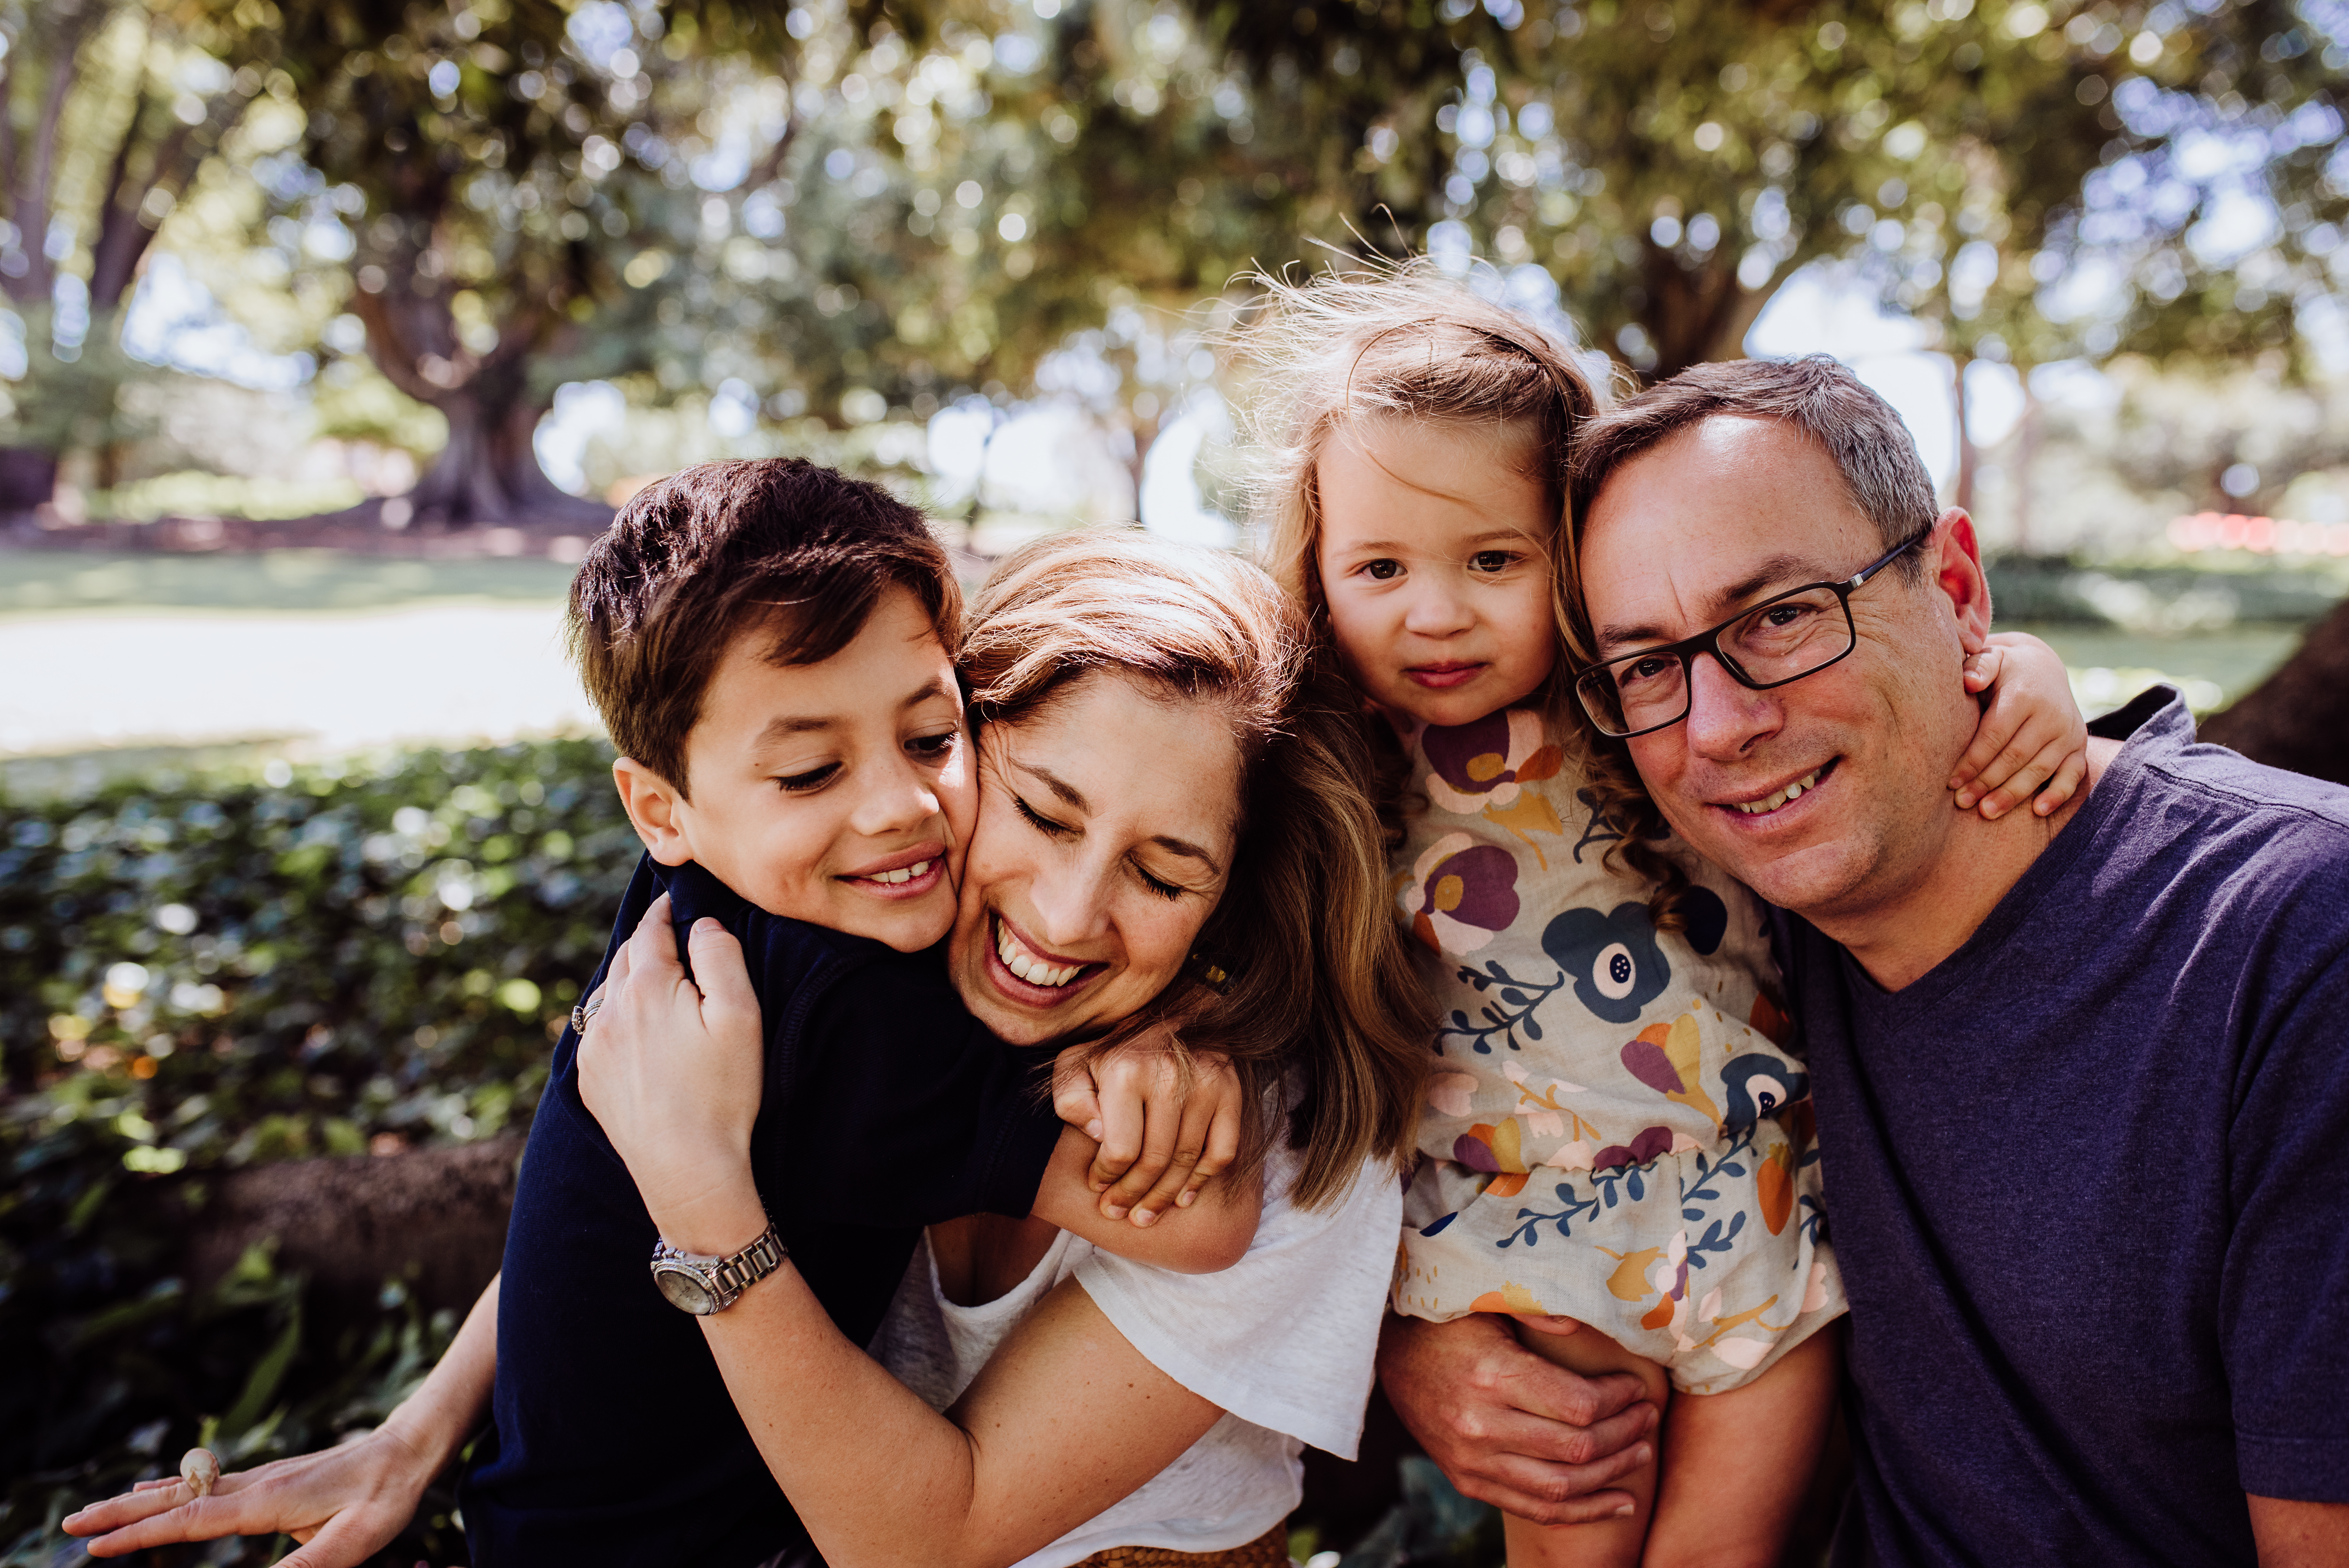
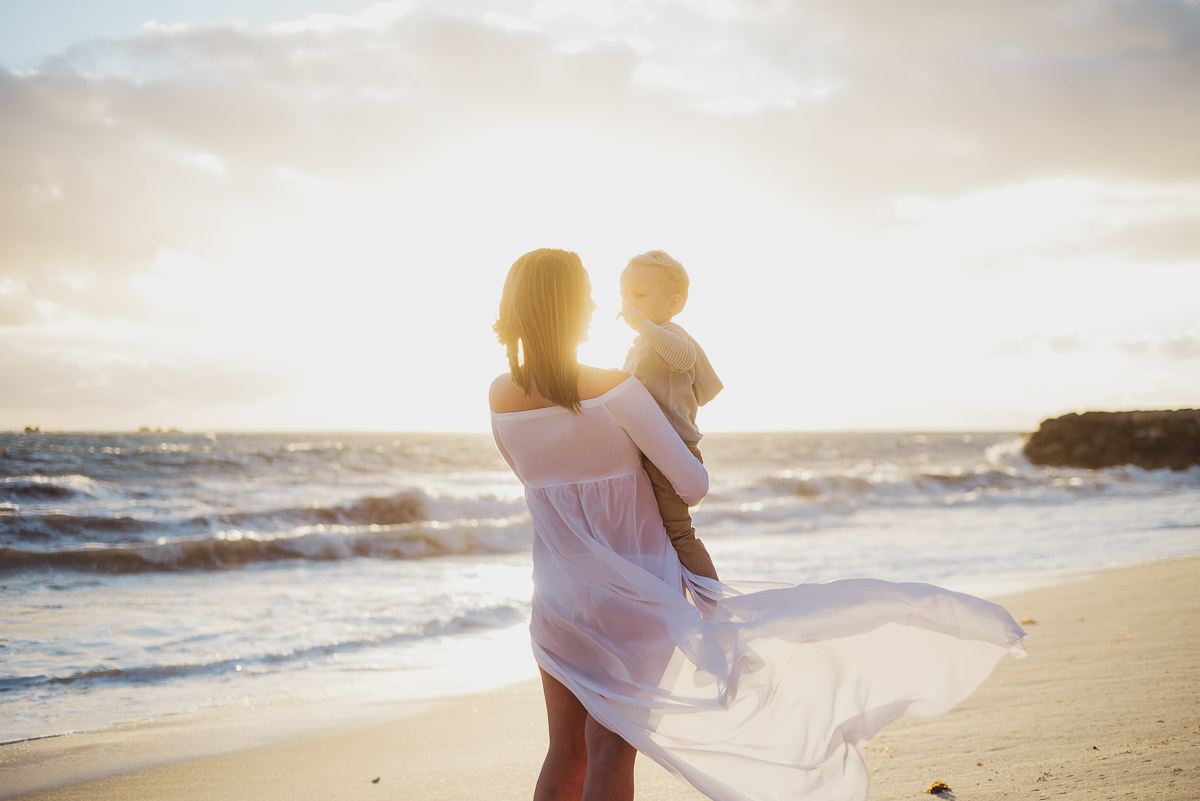
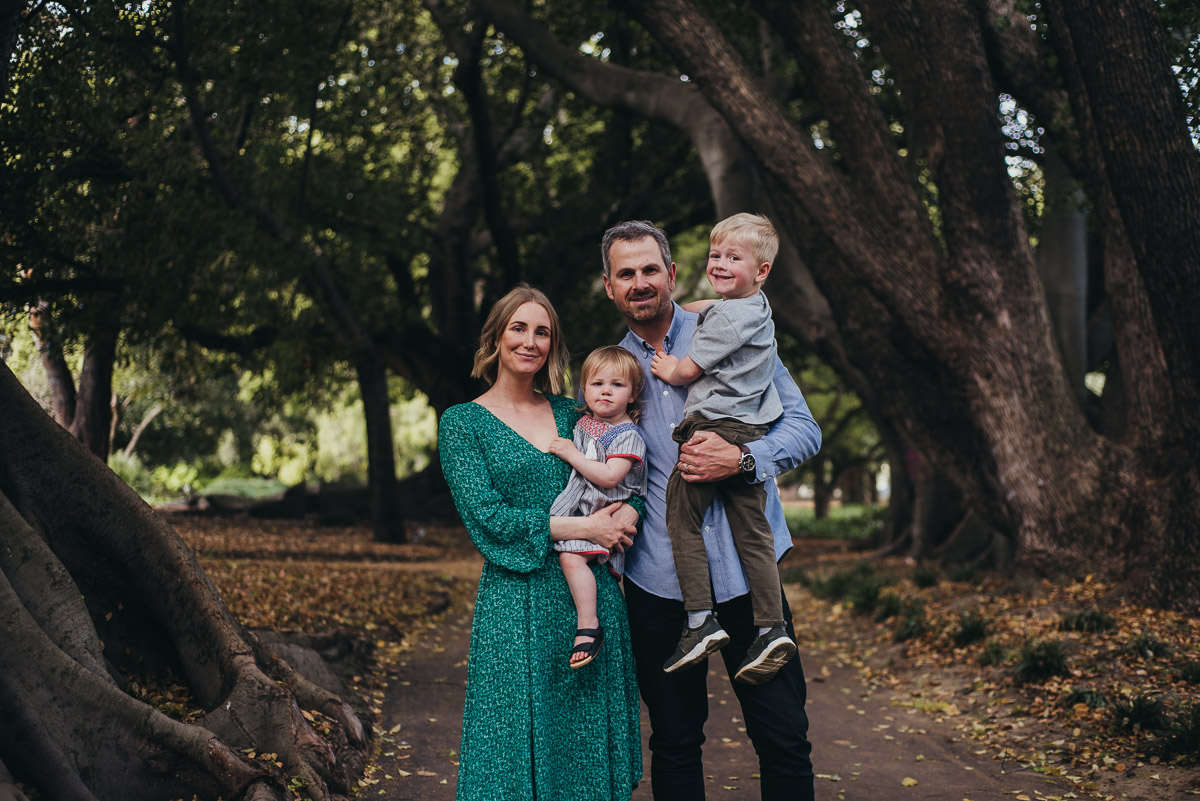
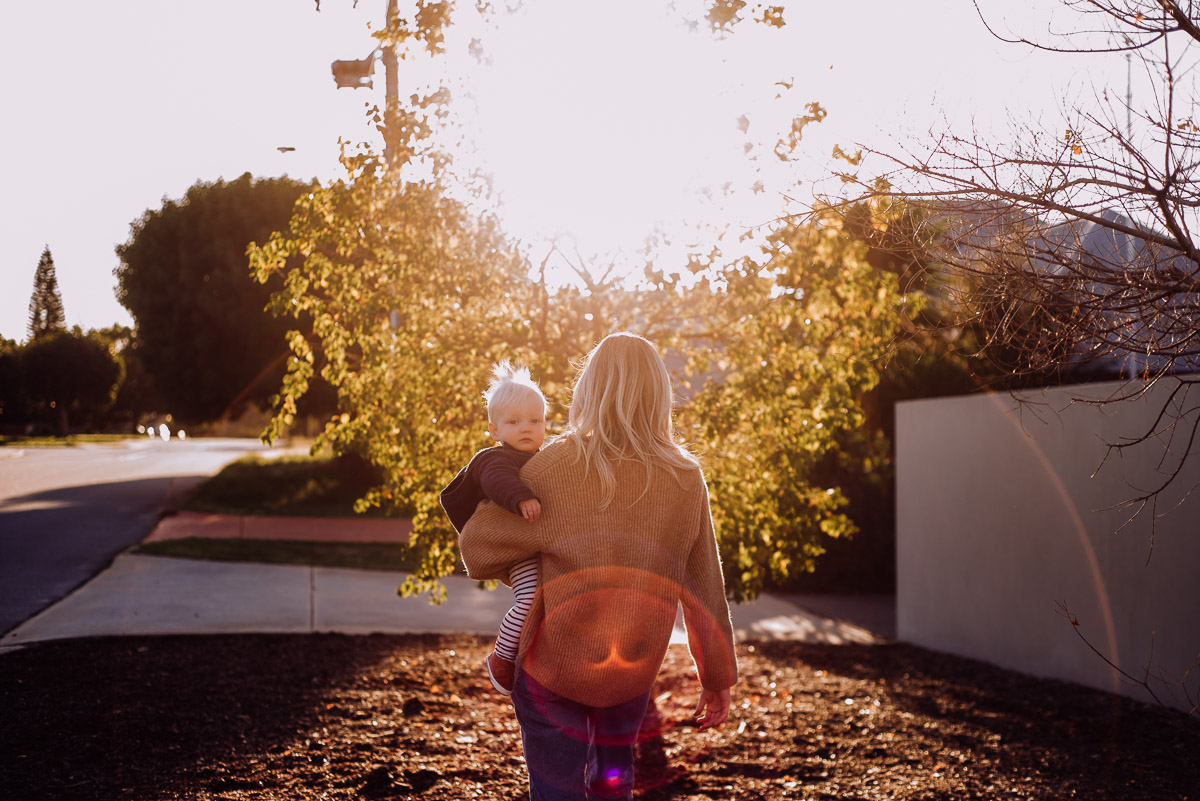
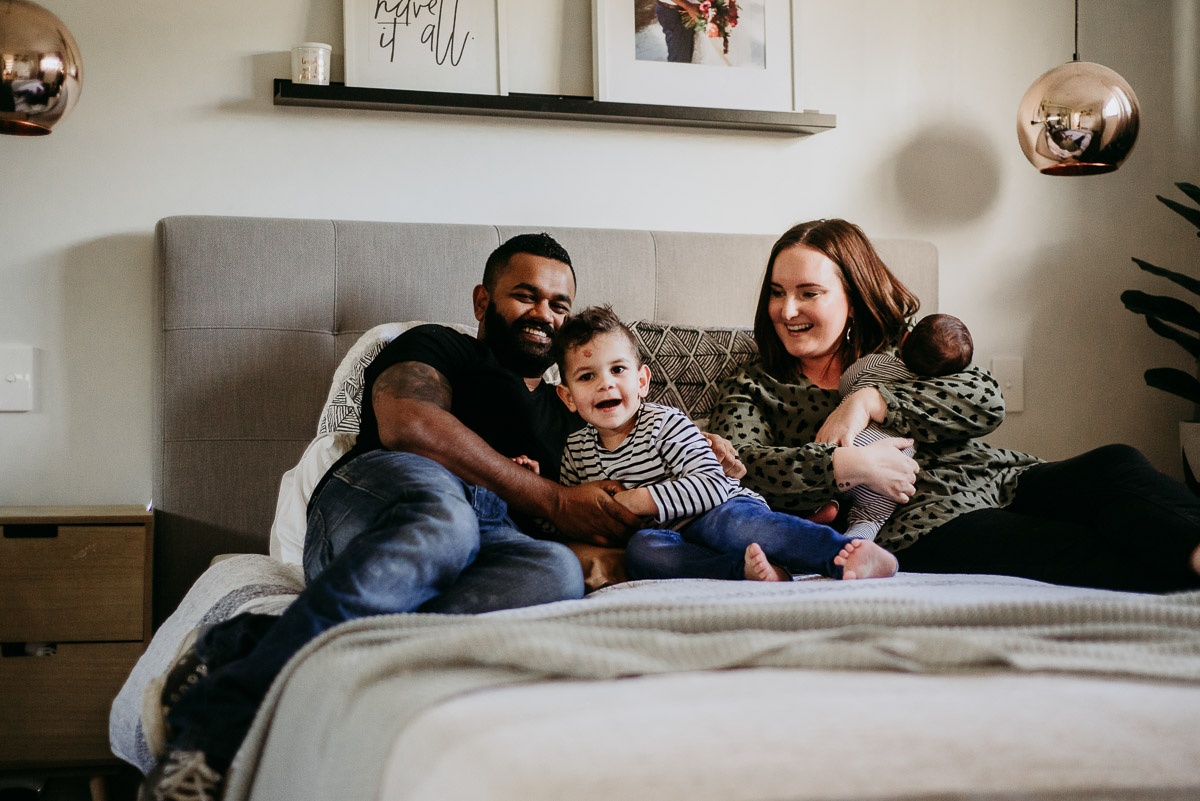
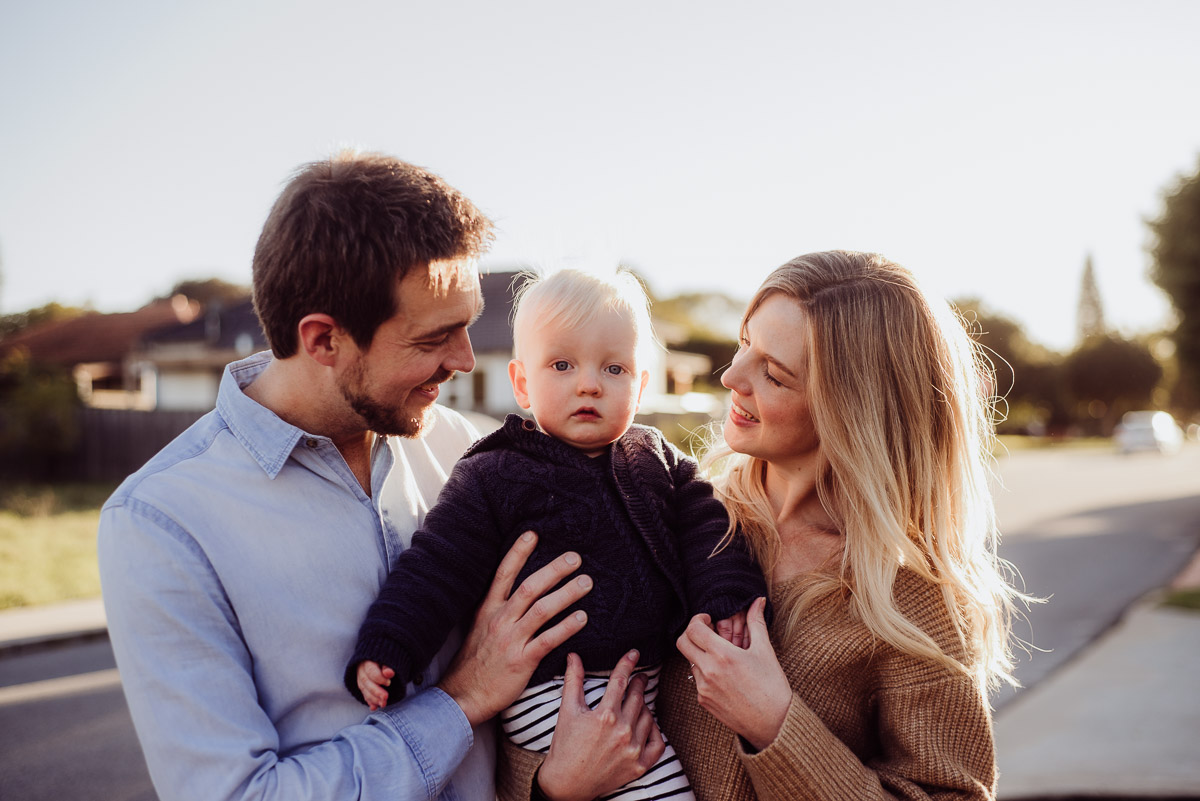
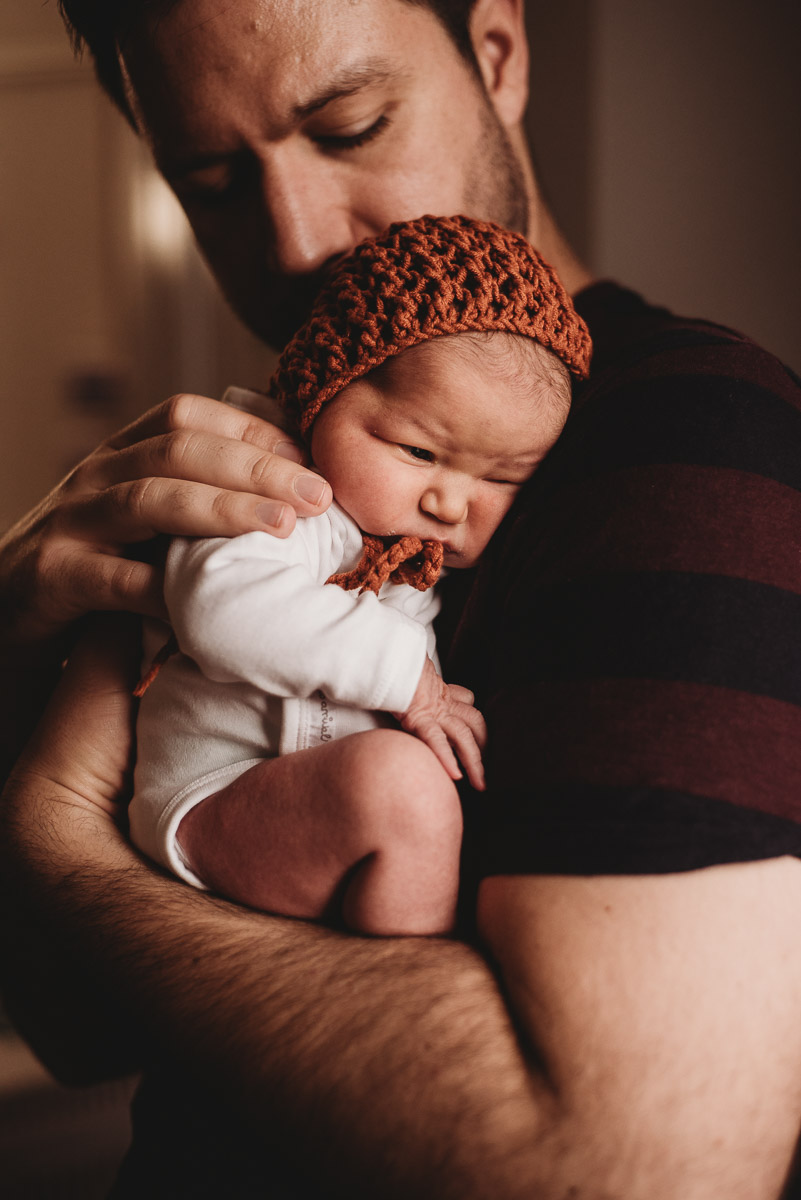
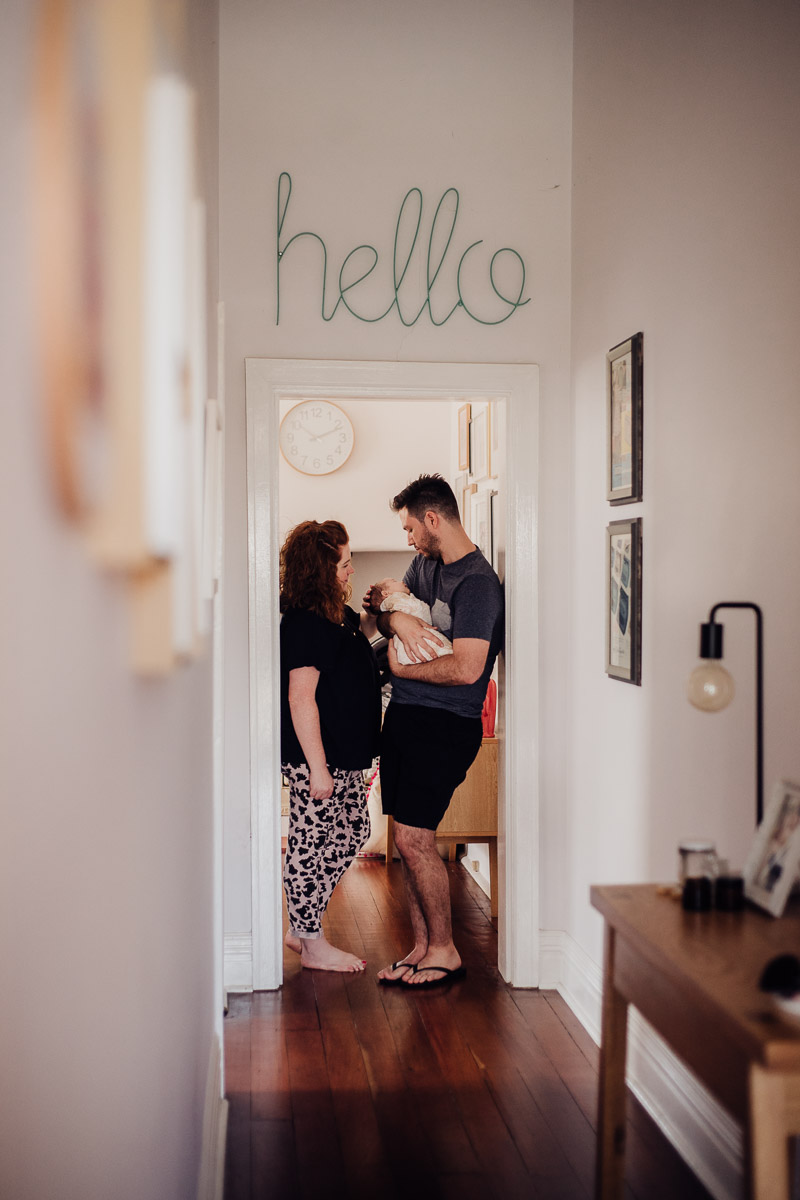
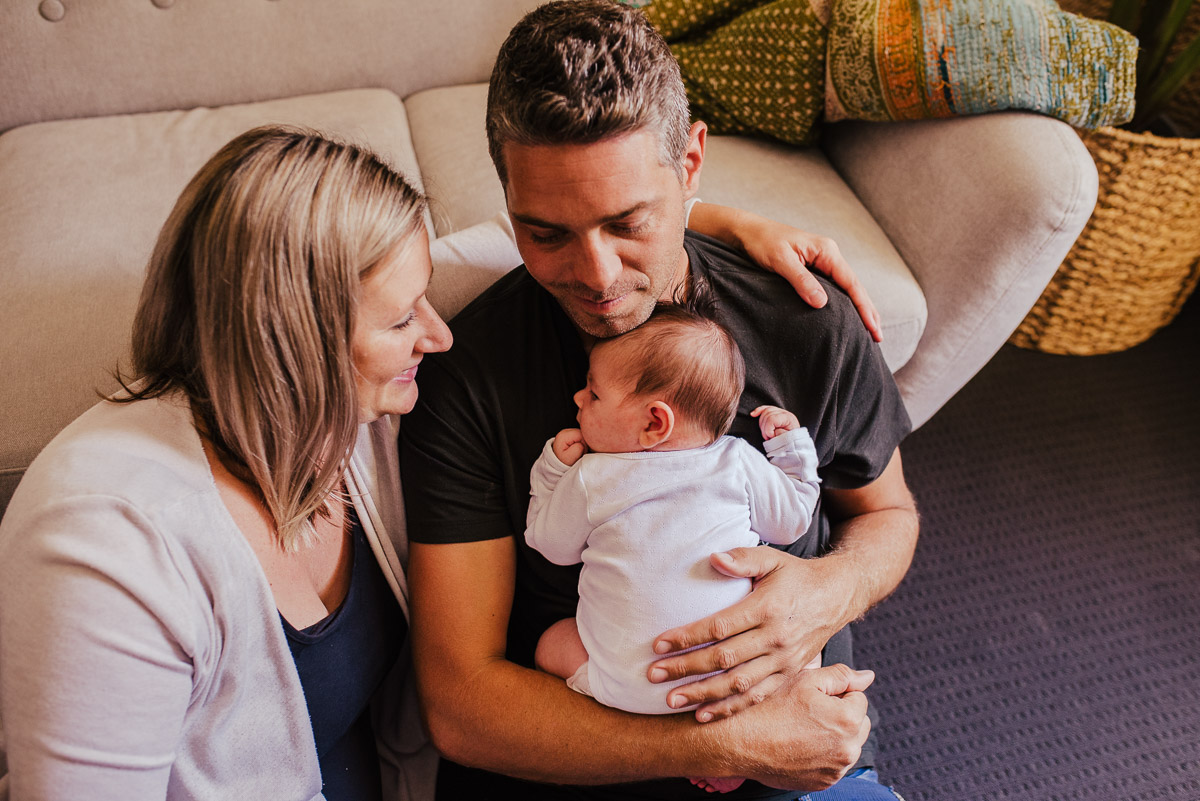
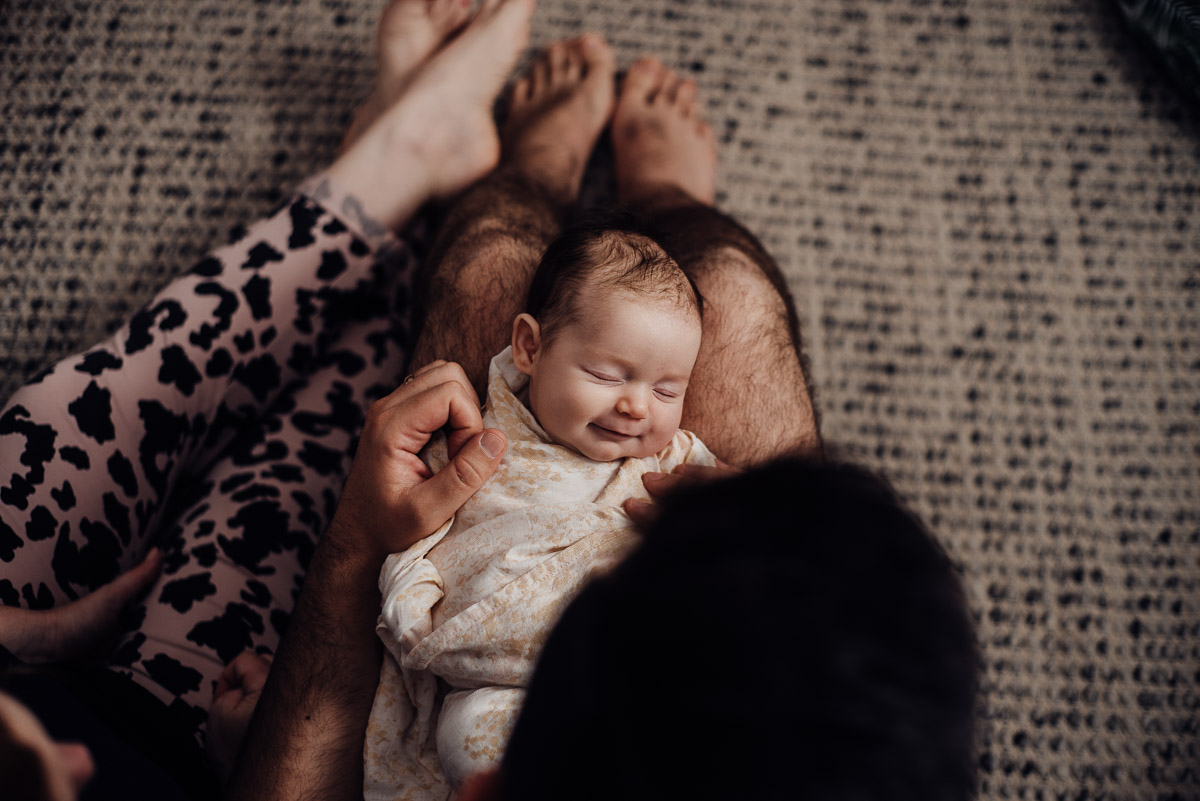
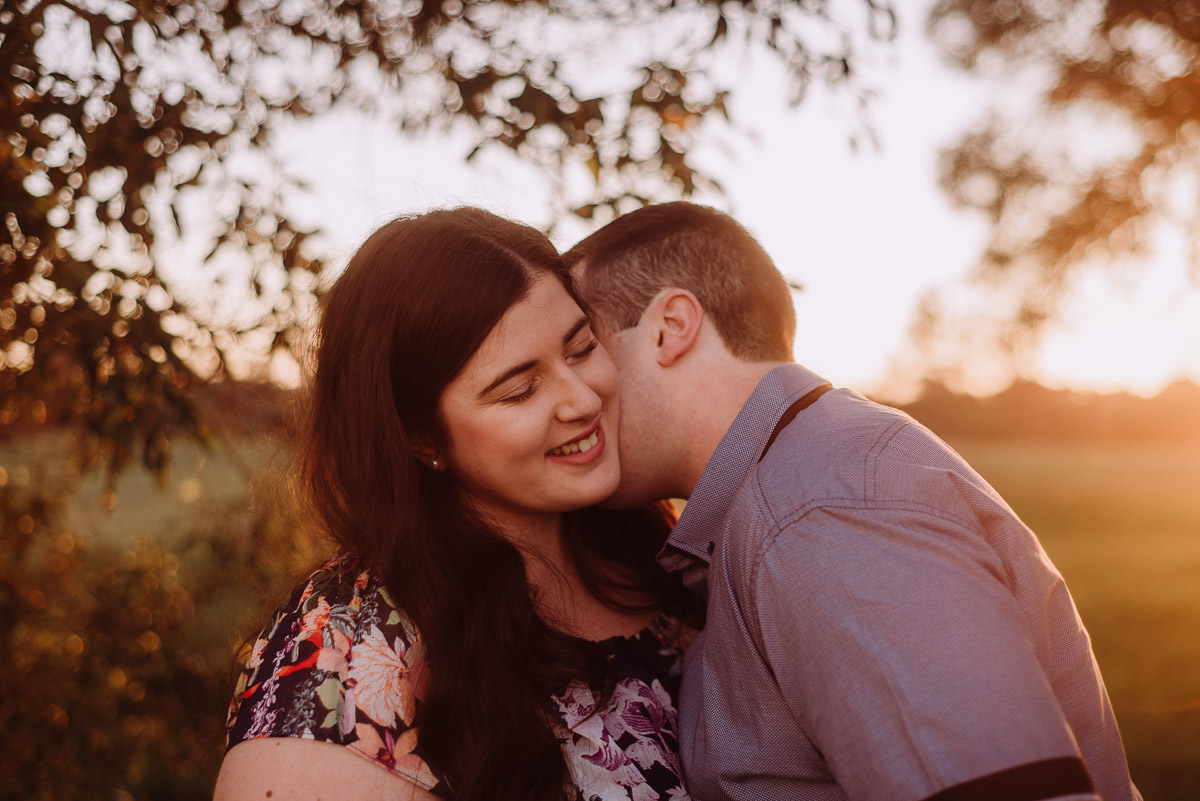
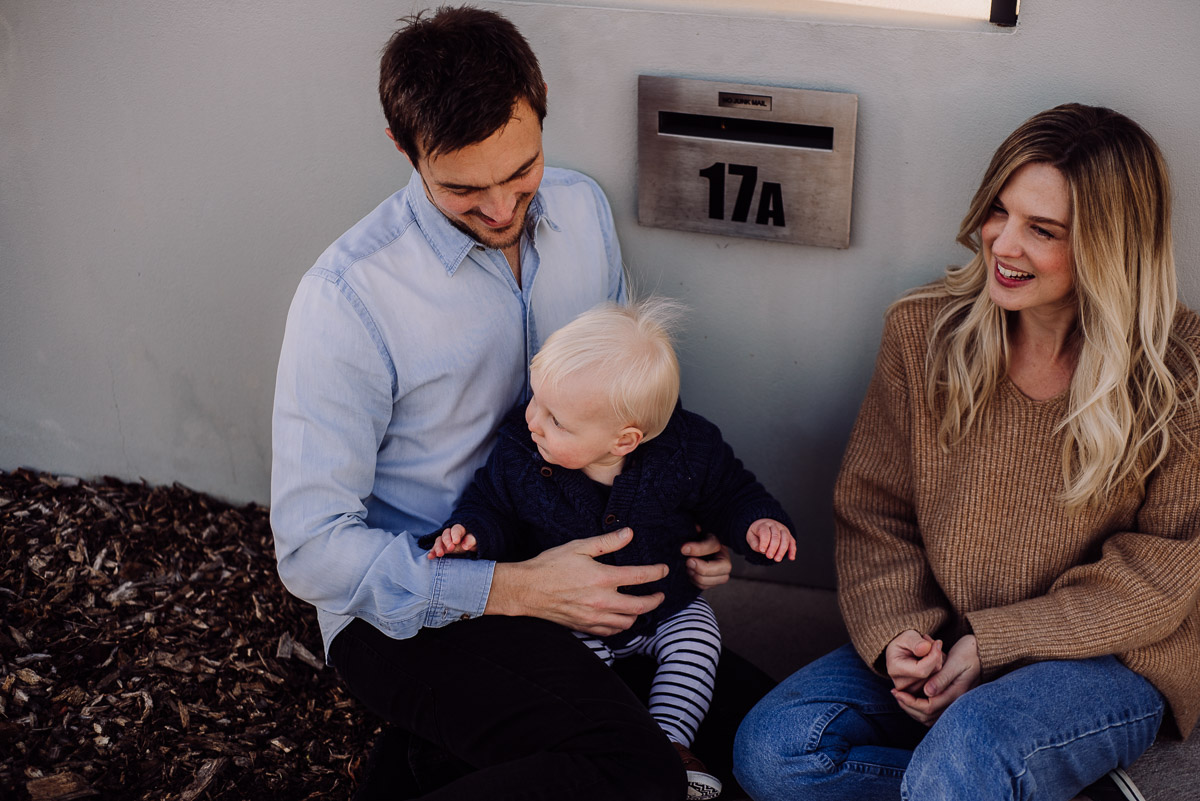
Usually it’s the mum’s who are inspired to organise a family photo session, and the dad’s are generally not overly excited about the idea. Sometimes their resistance means that they don’t even want to attend the shoot, as they don’t want to be in any photos. I truly believe that it’s so important for both parents to be in some images with their kids (and even just with each other as a couple, which I do at most family sessions). Your kids love YOU, and one day these photos will be their memories too. They want to look back on photos with their dad and remember the way you looked as they were growing up – remember the way you used to carry them on your shoulders, or let them wrap their arms around your neck. They want to remember the top you used to love to wear and the way you used to laugh. These will be so important to them. Photos have always meant so much to me, as I grew up without my dad after he died when I was a baby. The only things I have left of him are some photos and a couple of videos, and they mean so much to me. It’s the way I can connect with him and remember a life I don’t even remember having. Just as it’s given me a passion for photography, it’s also made me absolutely love the connections I see with dads and their children, and I truly love being able to capture that. My family sessions are not stiff and formal – there’s no need to look at the camera and smile awkwardly (although you can if you want to!) – I simply just want to capture interactions, and that includes with dads. So lift your child on your shoulders, grab him by the hand, or wrap her arms around your neck and spin her around – and get in the photos too dads!! Your kids will love those memories one day too – and who knows, you might even have fun in the process!
Here are some of my favourite images with dads during some of my sessions. To view more family sessions, check out my Family Portfolio. To book a session, or gift a session to someone, Contact me here.
by Alana | Aug 21, 2018 | Burns Beach, Couples, Family - Location, Hyde Park, Information, Maternity, The Wanneroo Pines, Uncategorized
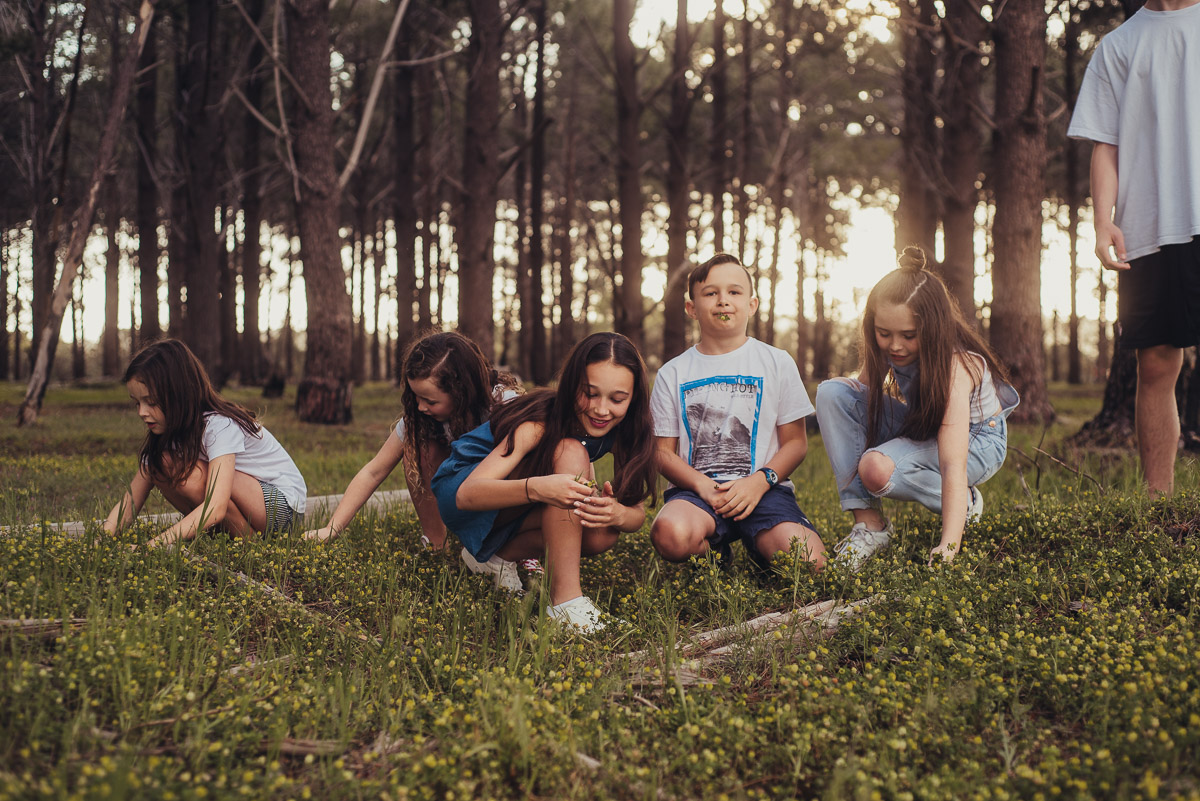
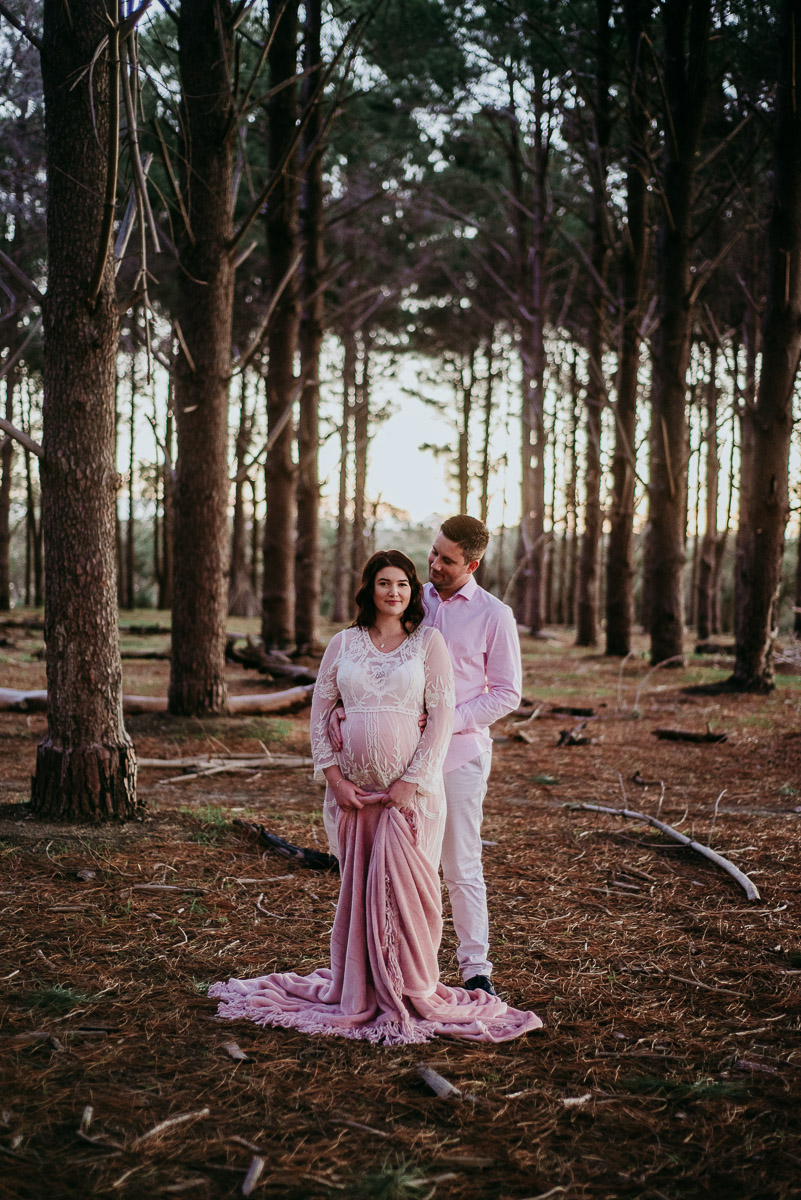
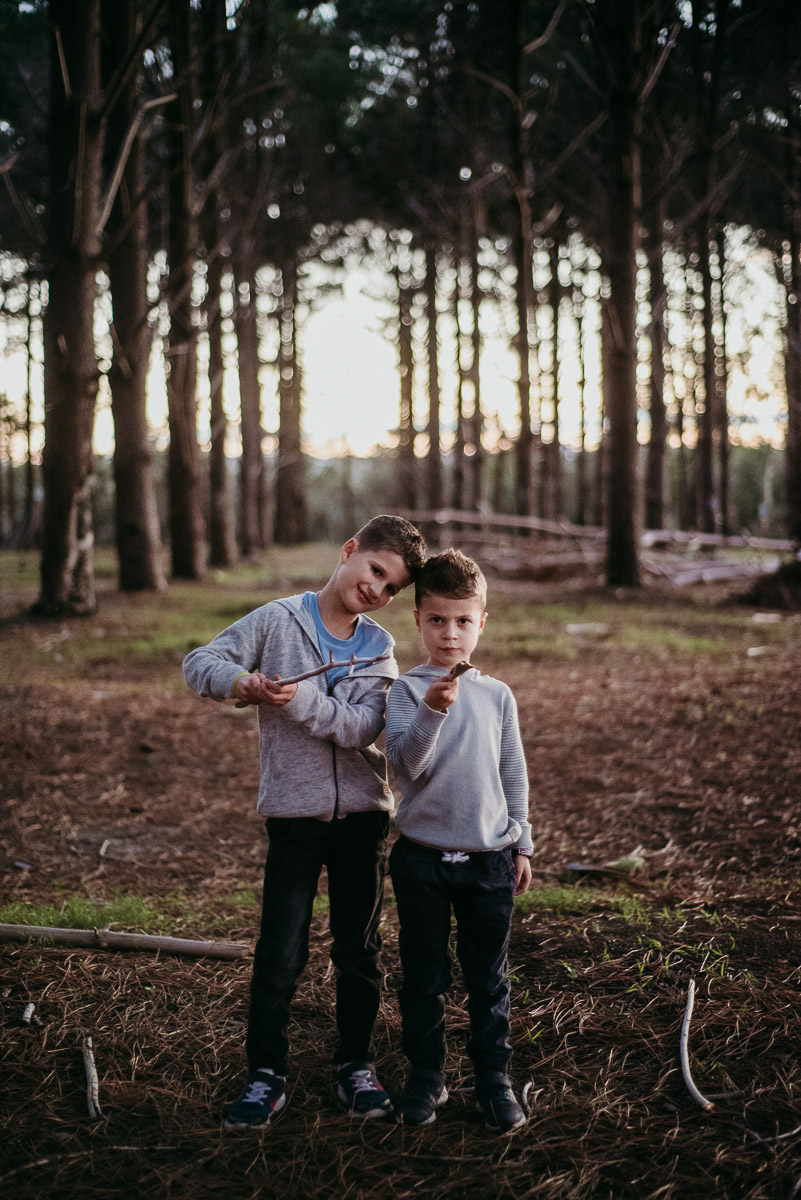
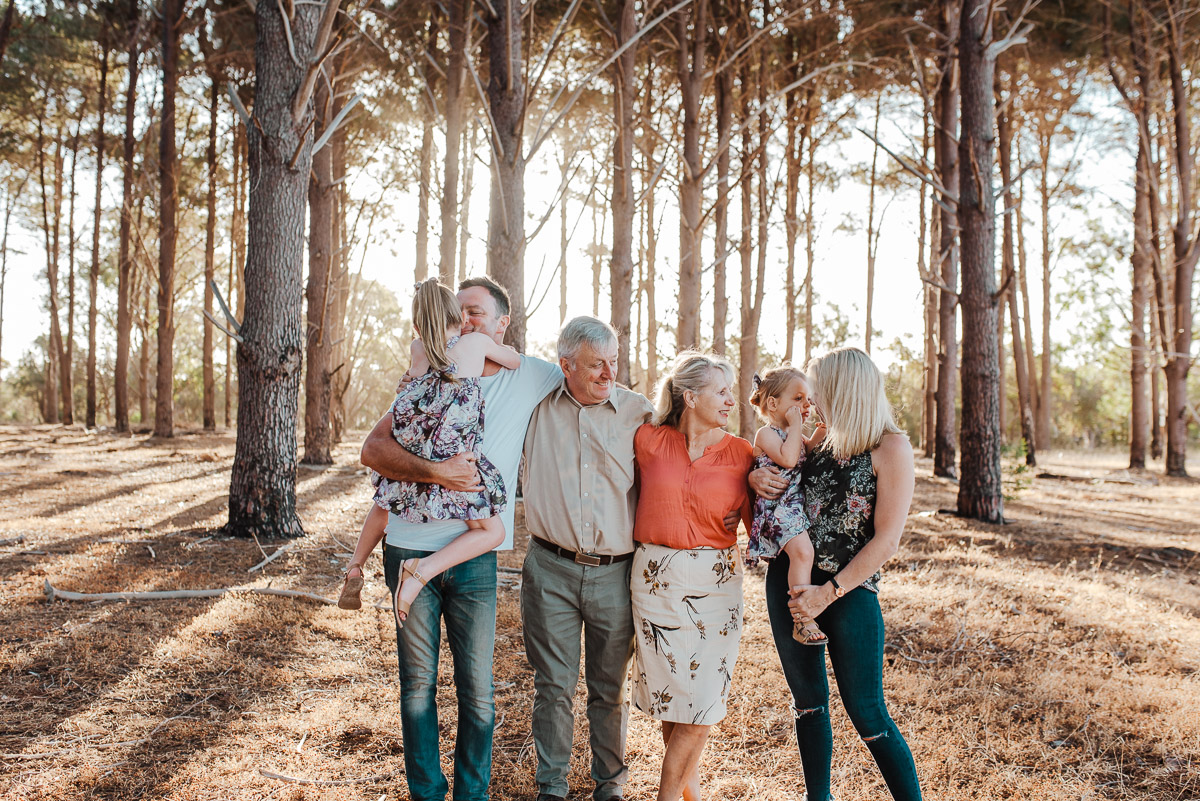
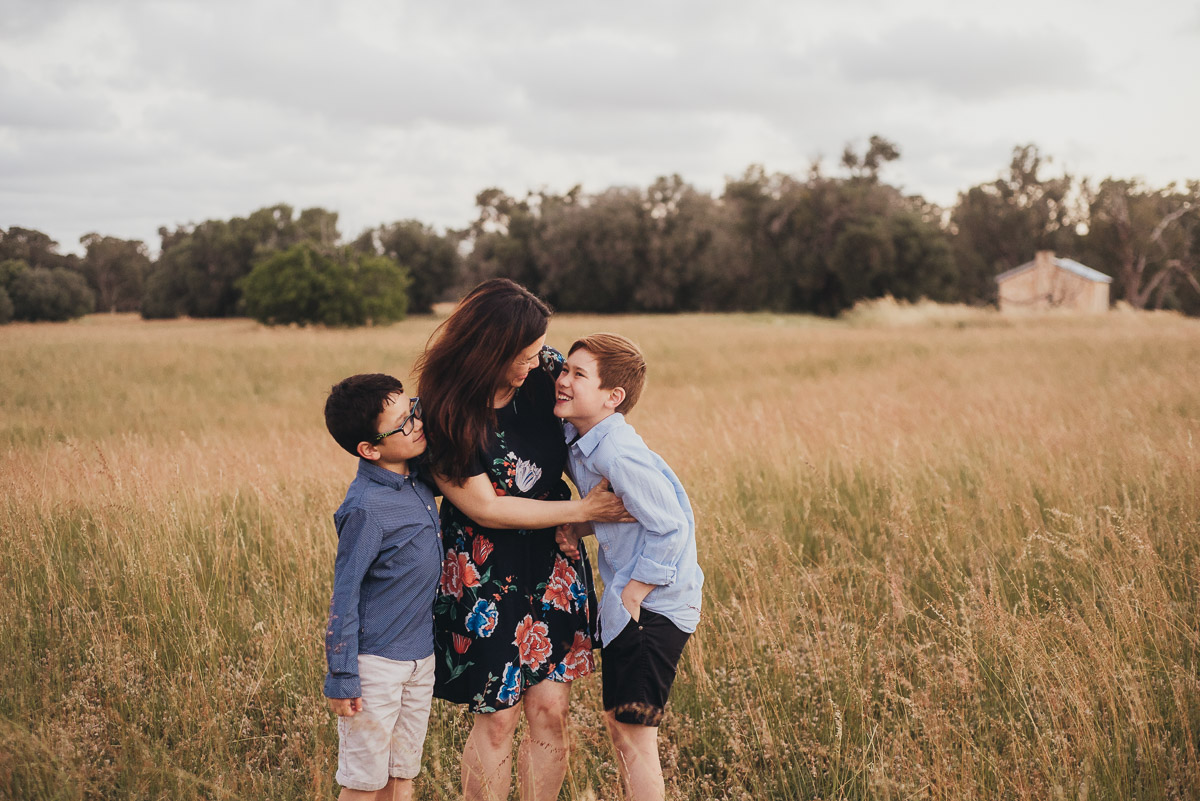
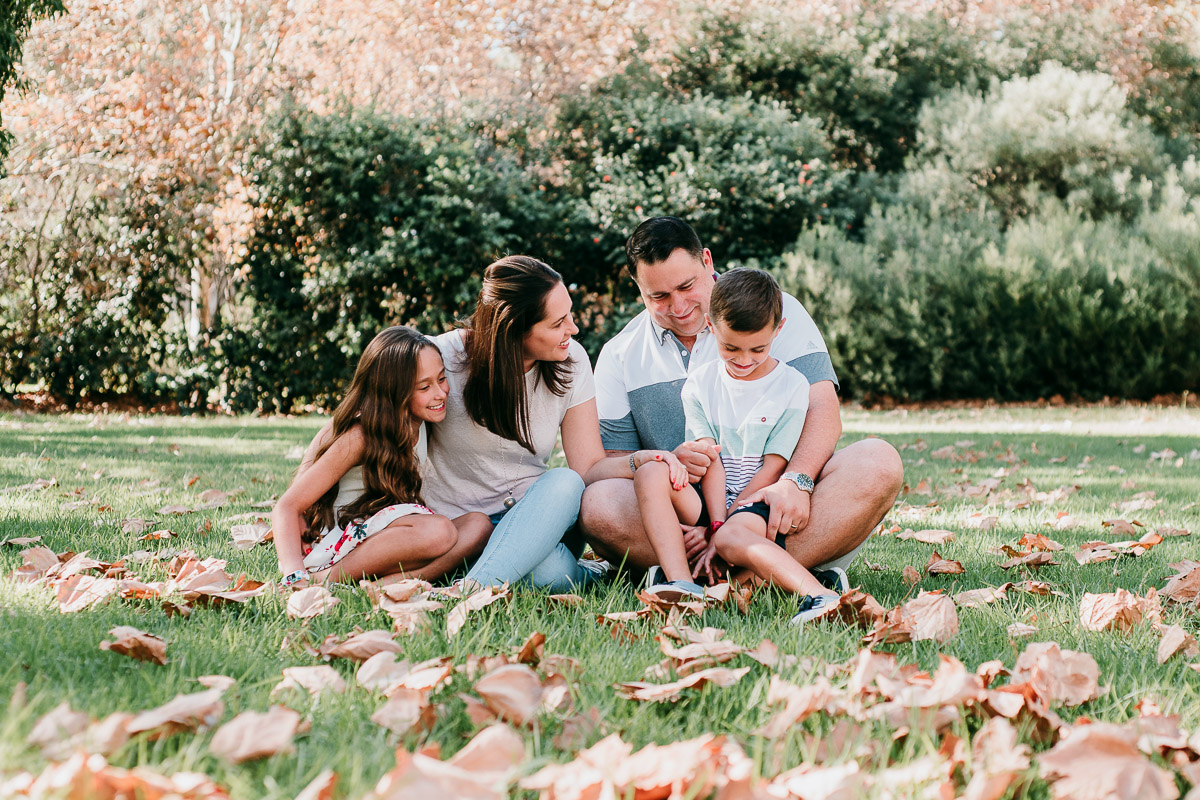
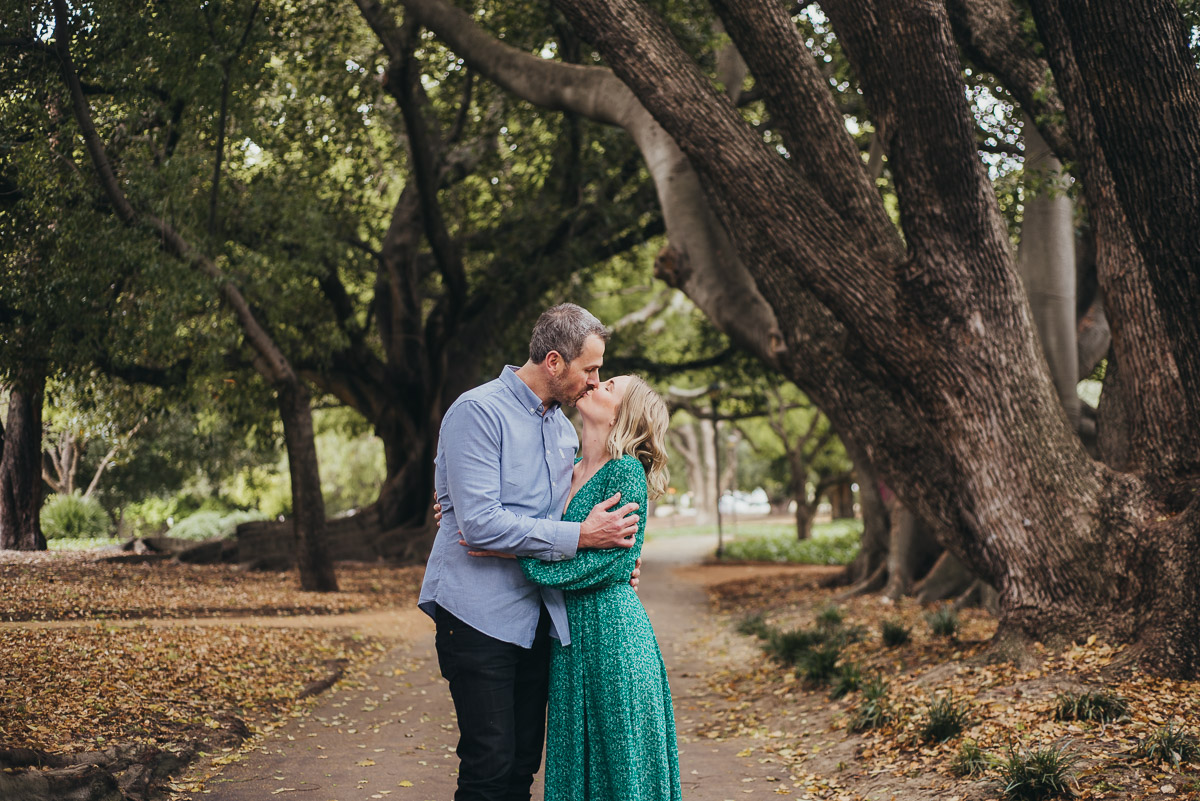
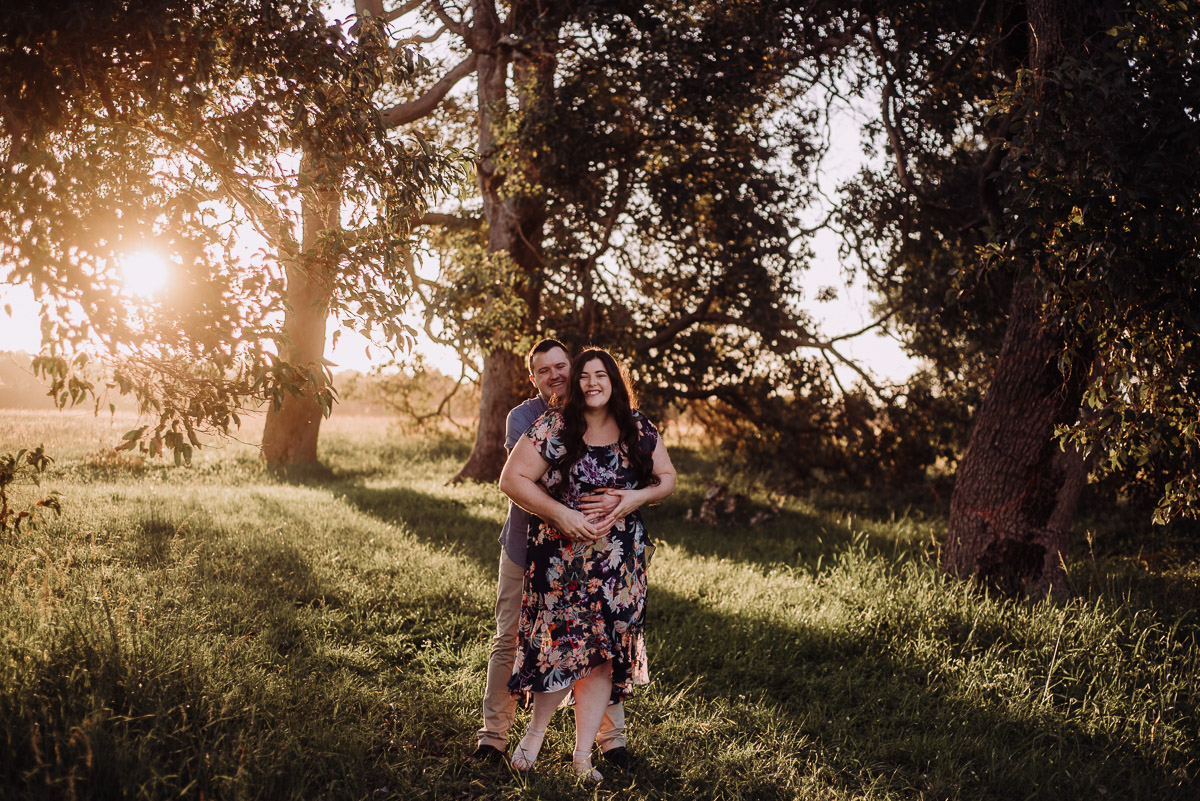
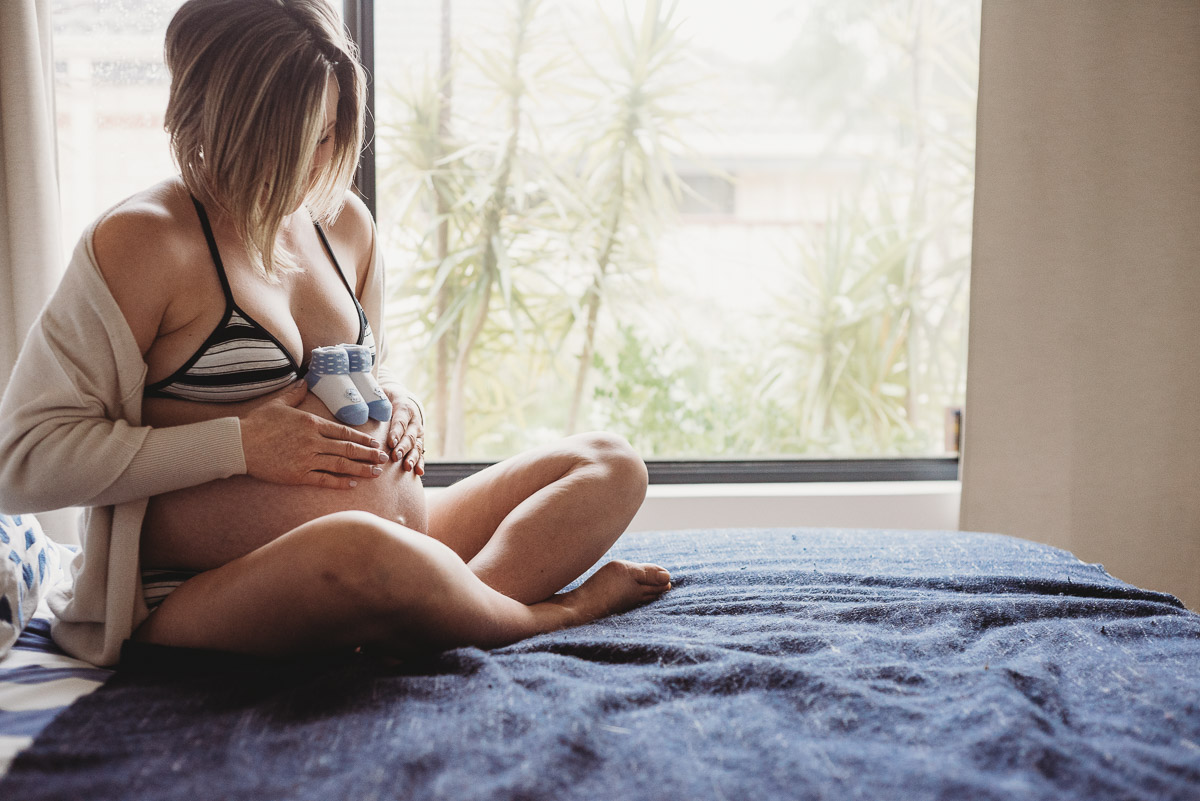
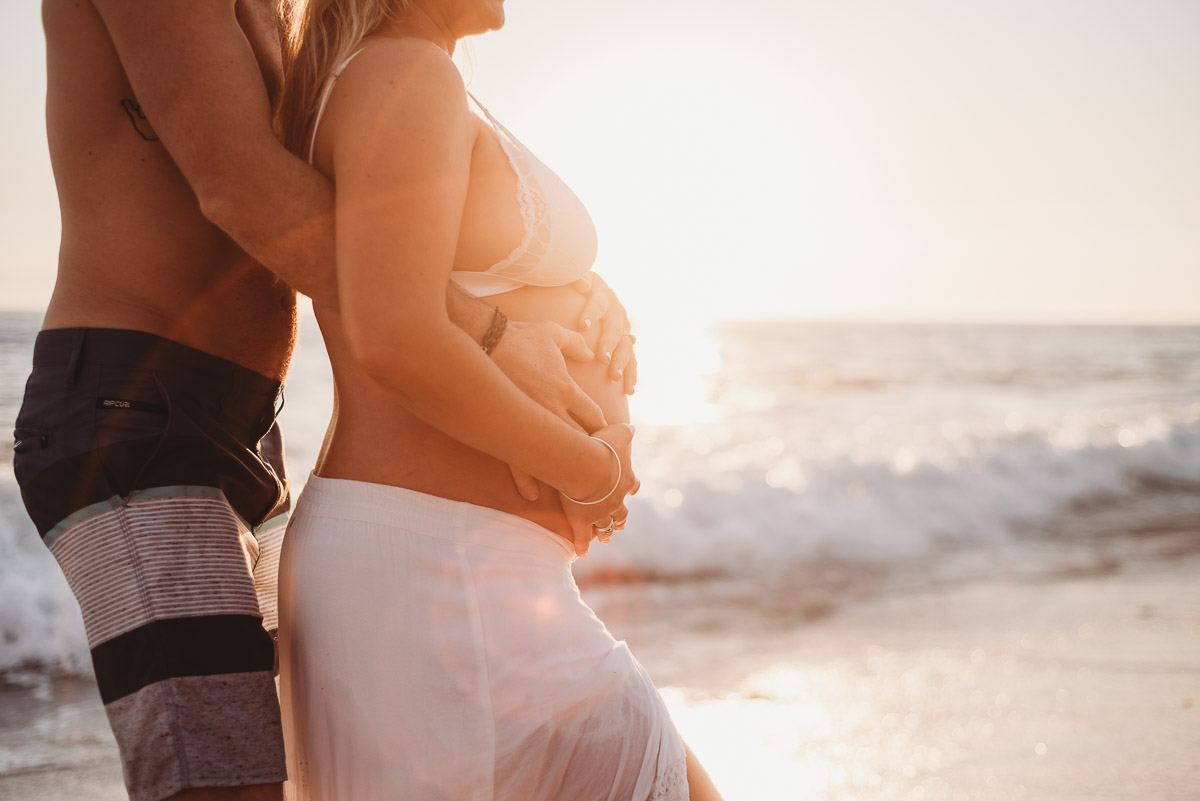
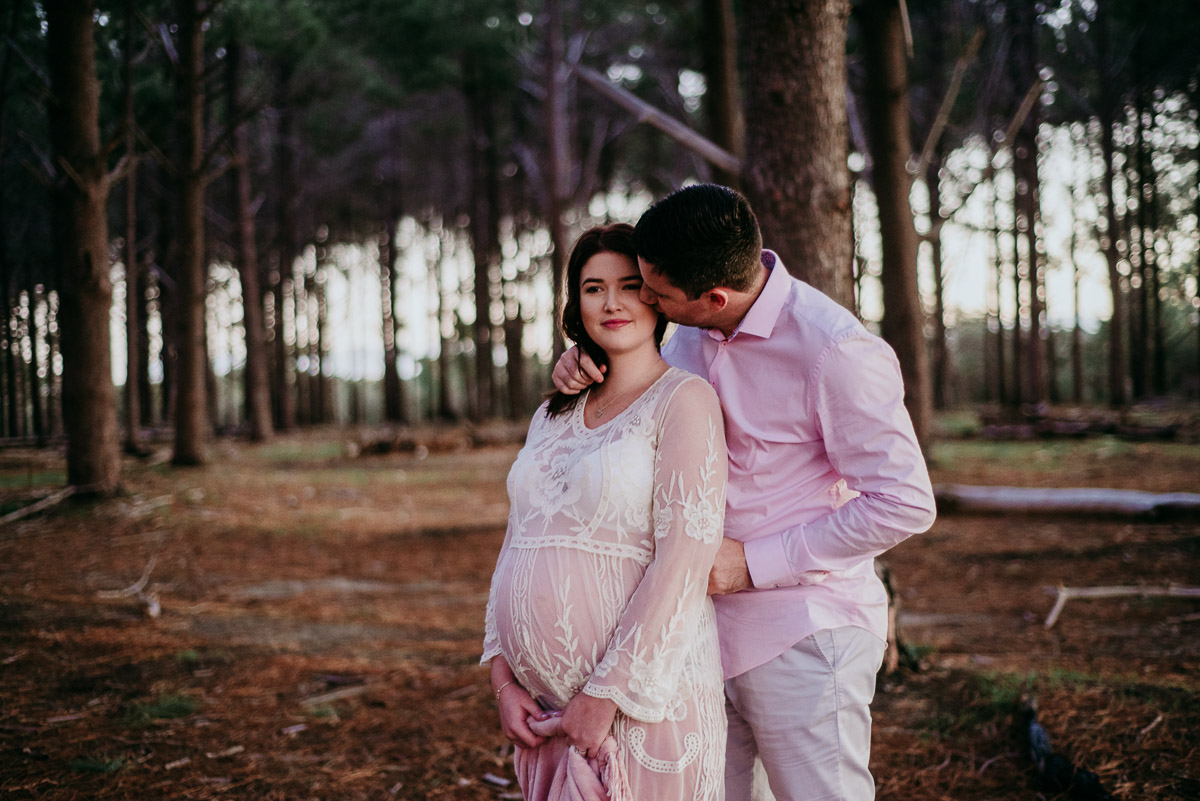
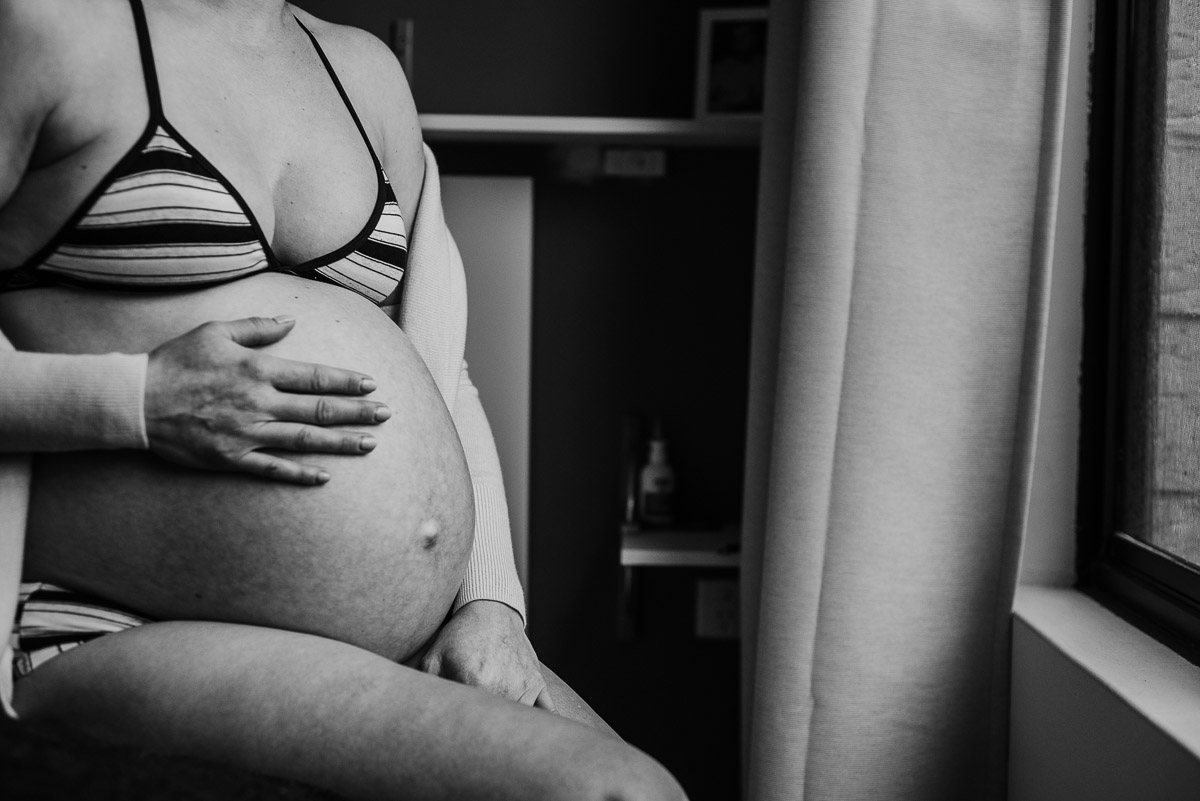
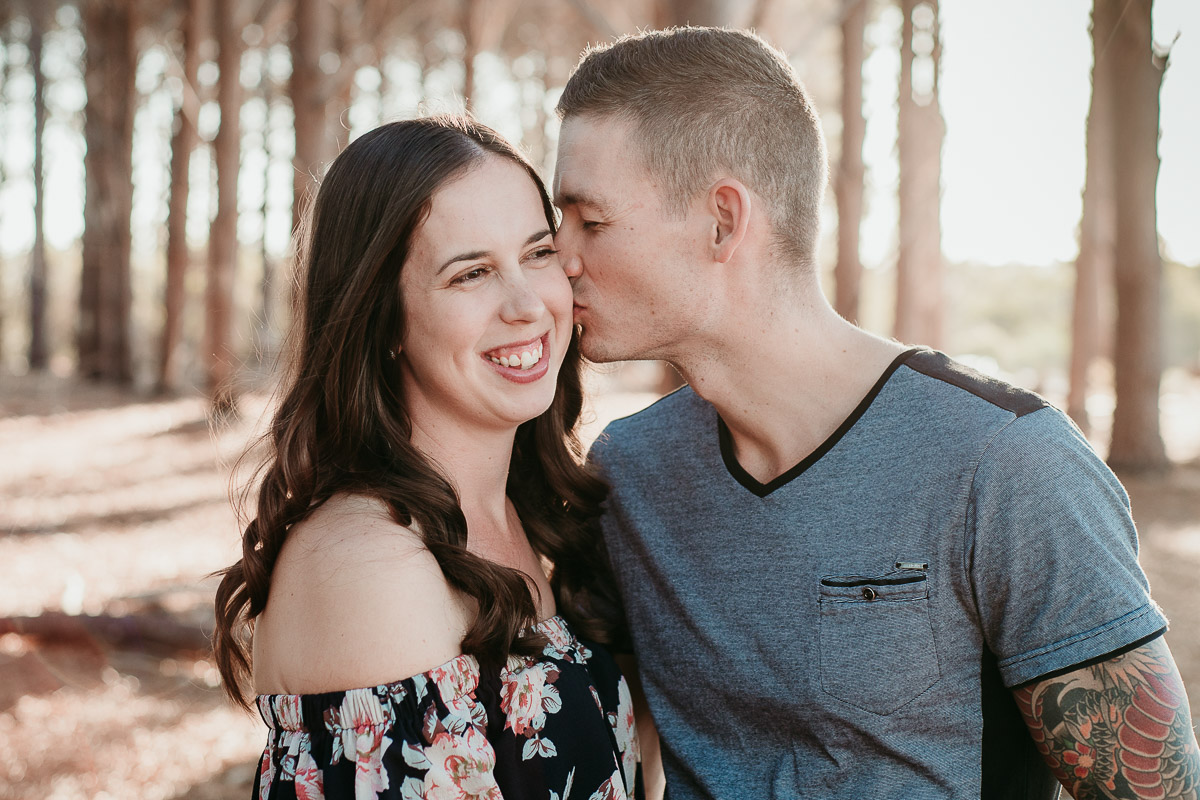
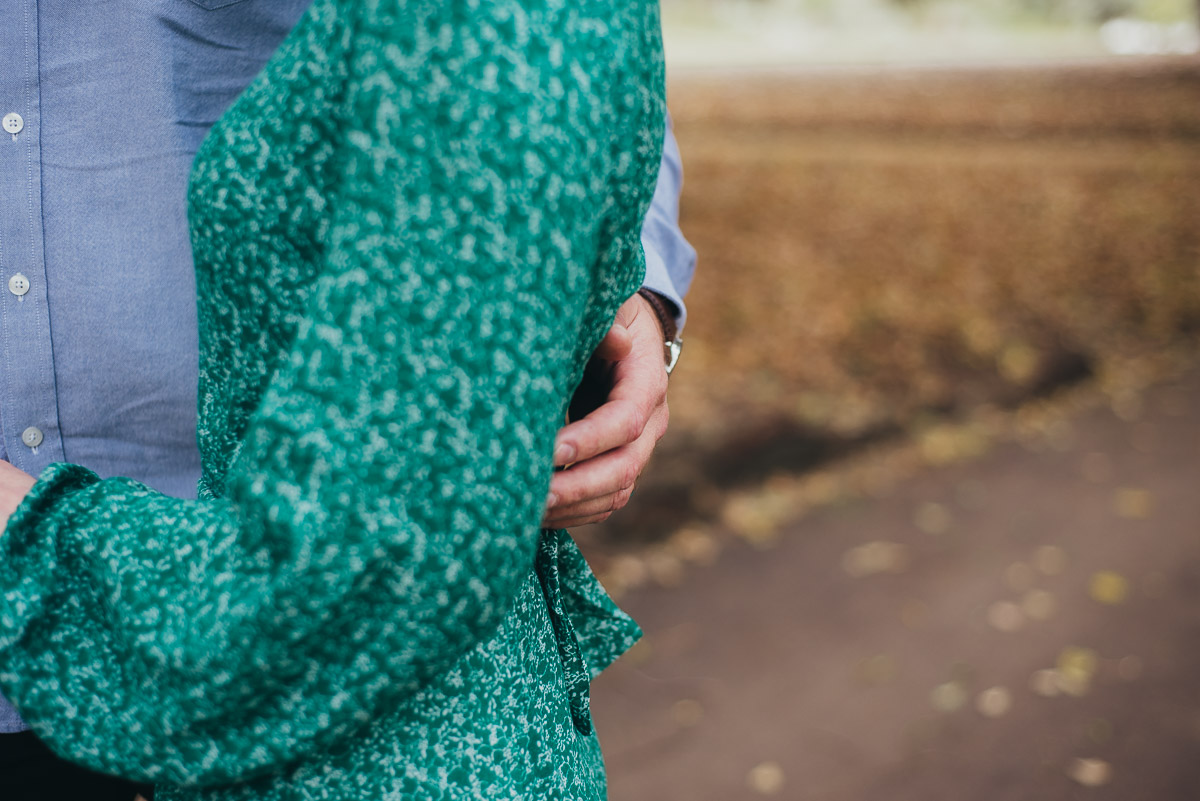
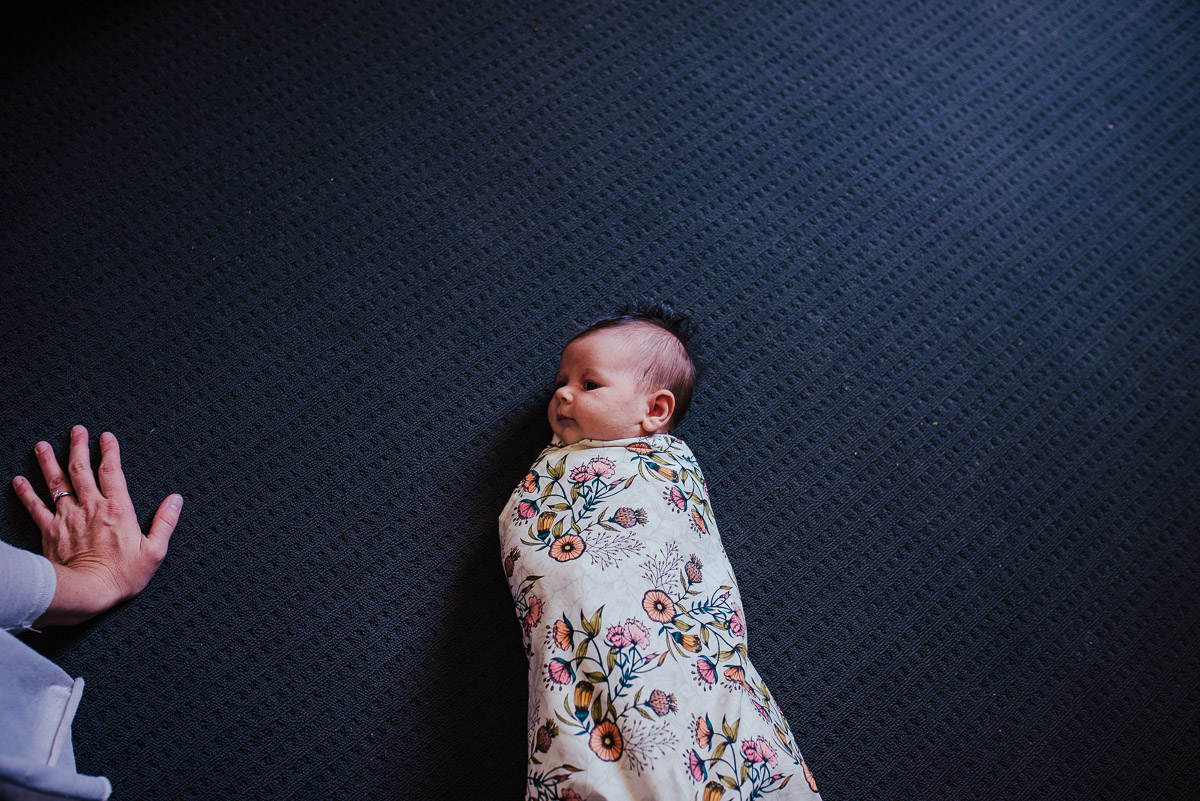
You’ve decided to book in a photo session to capture some memories – perhaps you’re investing in a family shoot to remember your family as it is now; a couple session to celebrate your relationship; or a maternity session to celebrate your beautiful growing baby bump. In all of my sessions my main focus is on capturing the connections between you, and the little details. To do this, I usually place you close together on a rug. The aim of this is not to get you to all smile towards the camera – the aim is just to get you CLOSE. From there, it’s quite common for me to be running around and capturing you all from different angles – above, below, left, right, behind and in front. It can feel like you’re staying in one spot for a long time, but because I’m moving around a lot, I’m capturing you from all different perspectives. I’m also looking out for those little details – your little one holding onto your hand; a stray curl of hair blowing across your face; a beautiful expression on your face. The fact that I move a lot also has the added benefit of ensuring that you’re not tempted to always just smile at the camera – because the camera keeps moving! For this reason, the actual location isn’t always important. However, it’s always nice to be in a location that you feel represents what you want to get out of the shoot. As I’m based North of the River, I’ve put together a few locations I regularly shoot at. This doesn’t mean you can only choose from these locations – as I’m always open to new suggestions or places that are important to you – but these are just the places which are regulars for me.
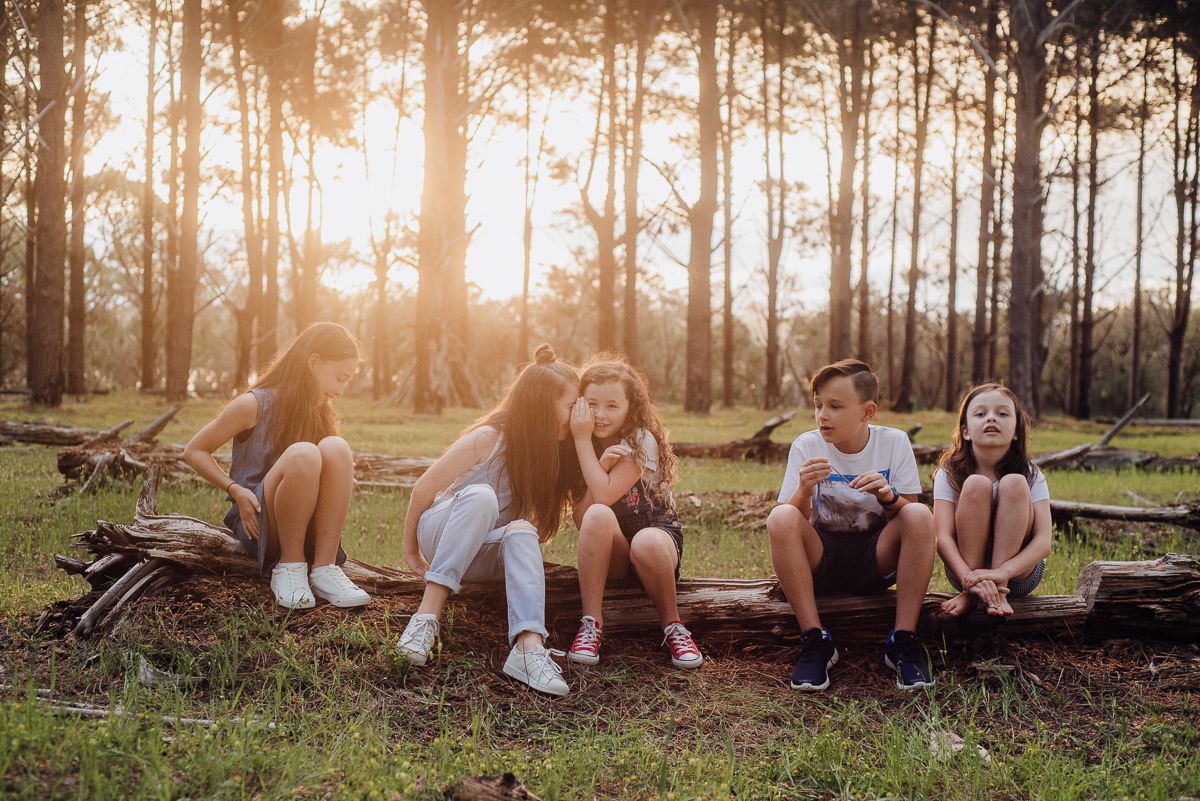
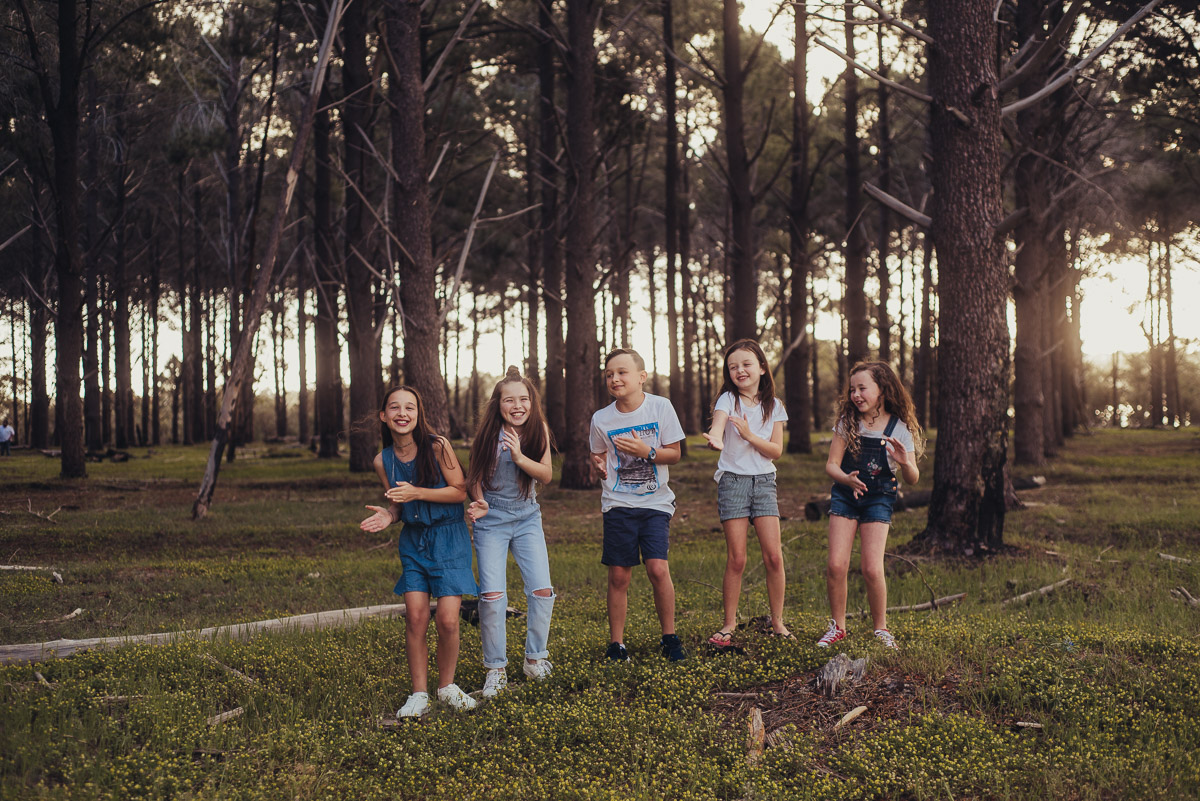
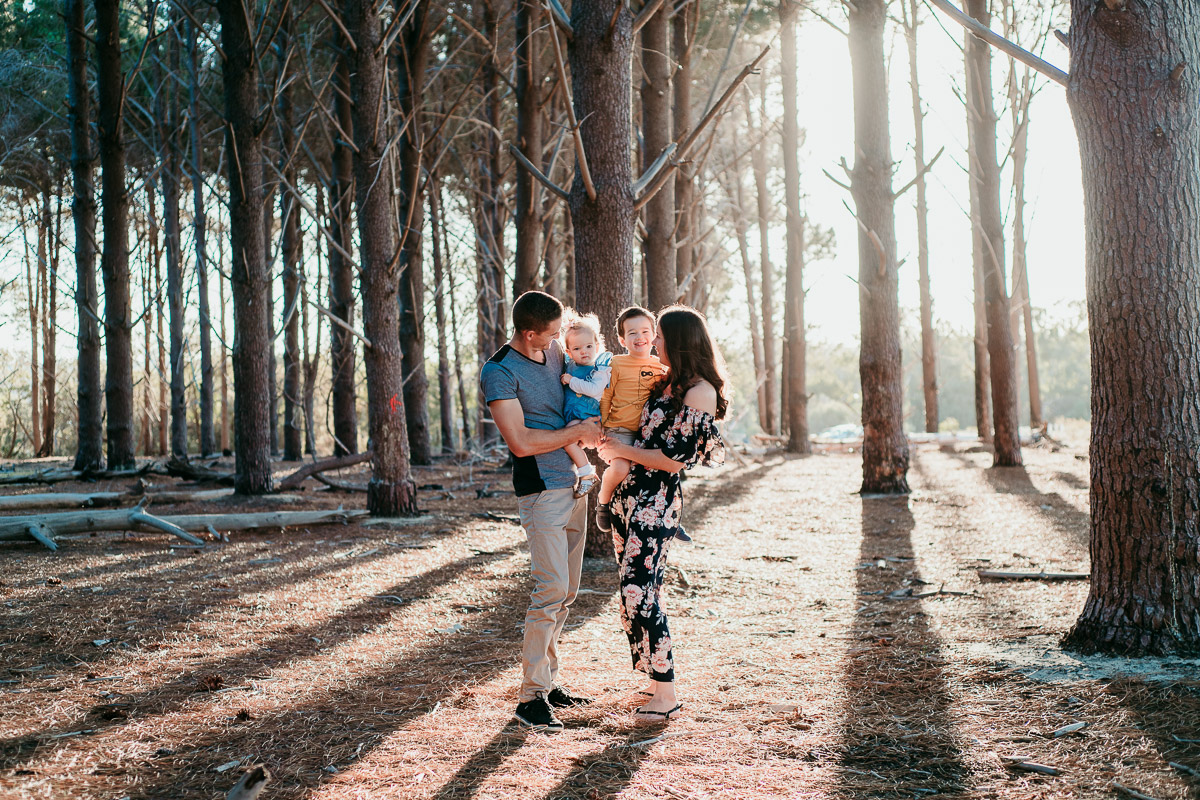
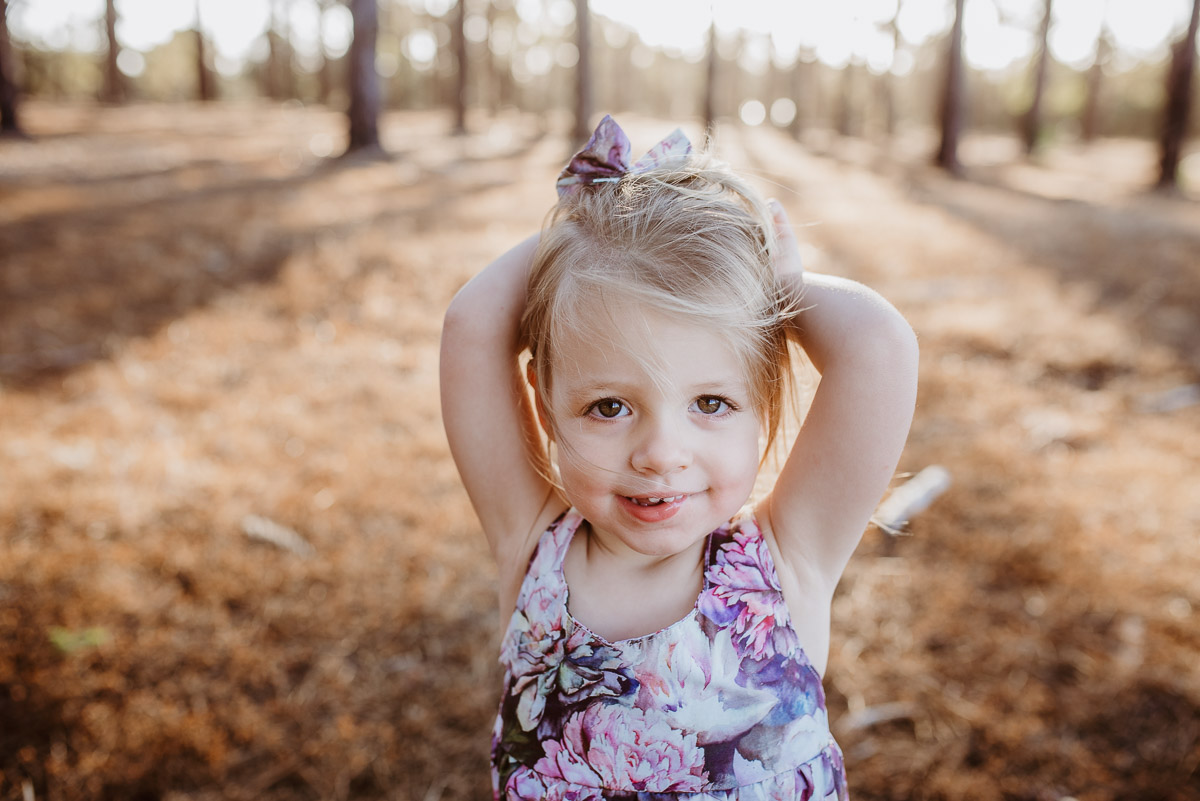
- The Wanneroo Pines. This place is great to go to with kids, as they love to explore amongst the tee pees made of sticks, play with said sticks, and jump on the logs. This allows them to burn off some energy between shots – or capture some candid images of them playing. These candid images often result in those genuine smiles and fun energy kids have when they’re free to play. While kids are playing, I can take the opportunity to get some images of mum and dad. It’s also a beautiful location for maternity shoots – the tall trees make a beautiful backdrop to show off your pregnancy. It’s always most beautiful to go here (as it is with most locations) in the hour before sunset. The glow from the setting sun gives off a beautiful magical feel – especially when it peaks between the trees. If you’re unable to book your shoot during Golden Hour (that hour before sunset), then the trees do provide a decent amount of shade, making it an option for daytime shoots as well.
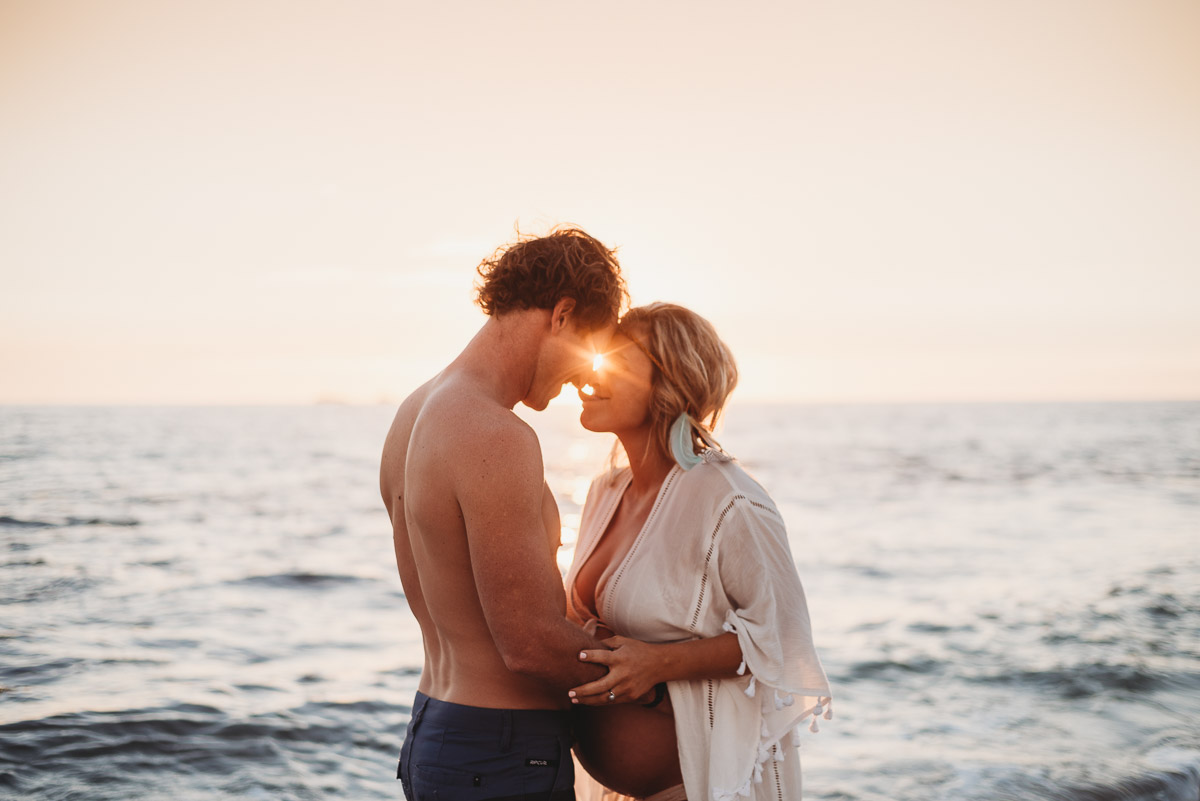
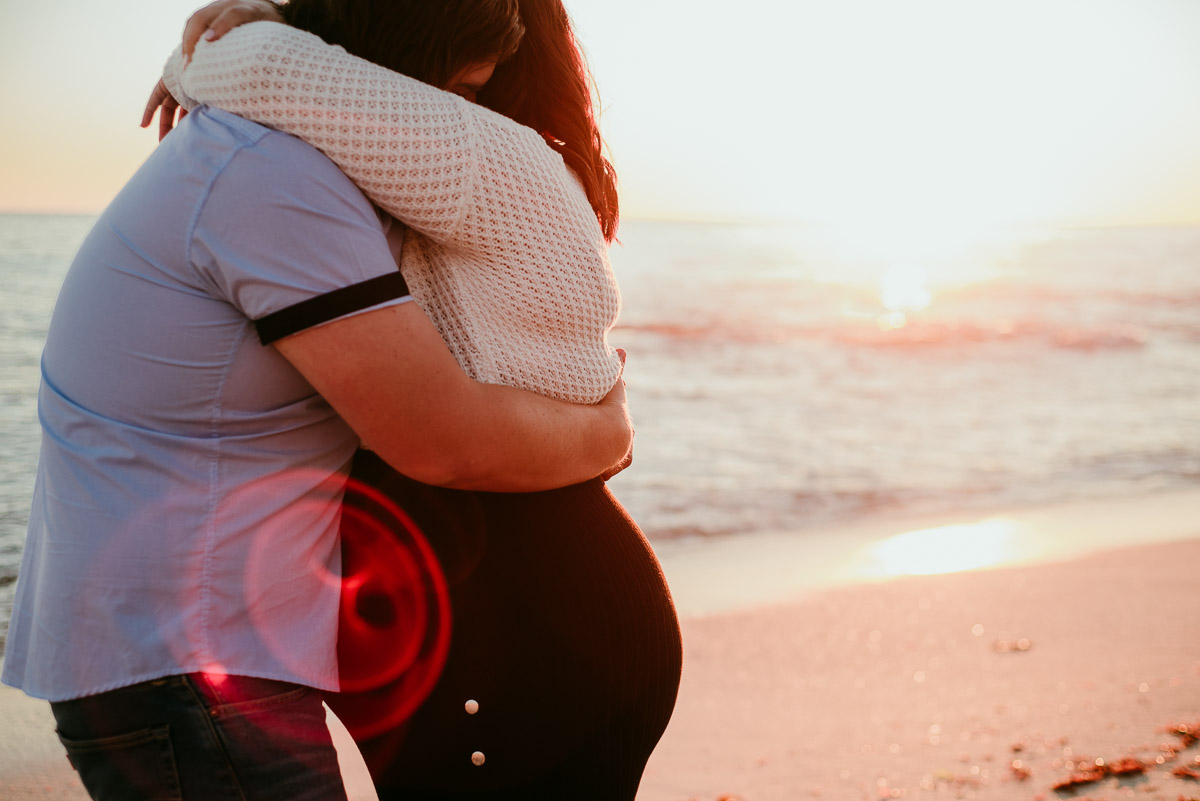
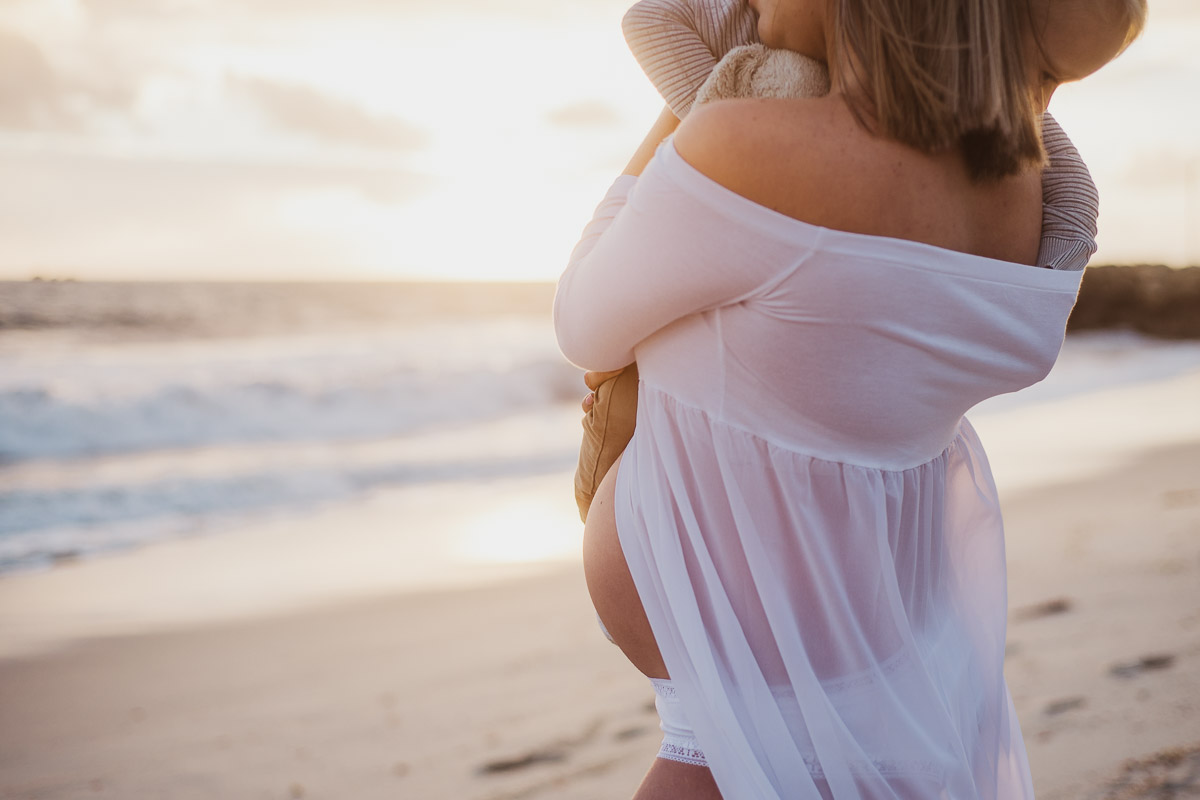
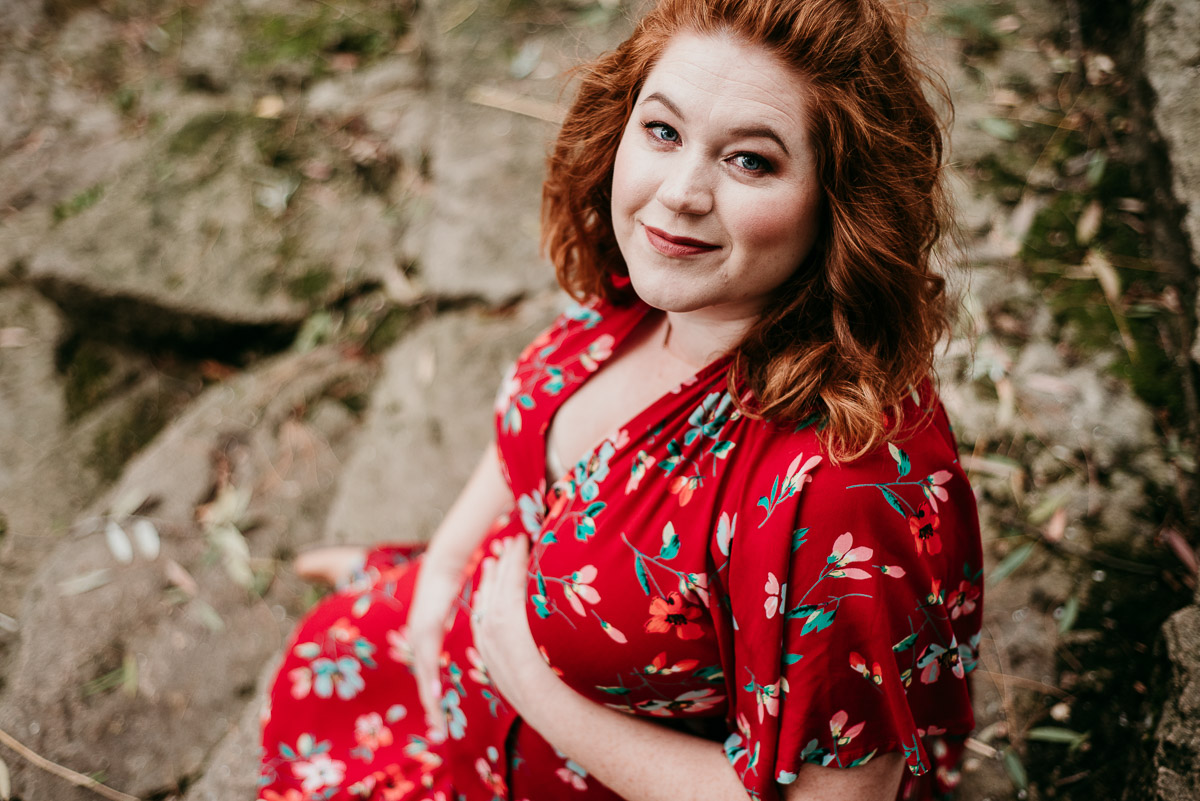
- Burns Beach. This location is most popular for maternity shoots. It can be more challenging with family shoots depending on ages of the children, due to the water. Burns Beach is beautiful as it also provides some rocks and greenery as a backdrop, without needing to solely rely on the water backdrop. The absolute best time of the day for a beach session is the Golden Hour – the hour before sunset. I generally don’t like to shoot here outside of those hours unless the day is particularly overcast, or if timing wise the shoot needs to be at another time. Maternity sessions here are beautiful – the setting sun makes a great backdrop to a pregnant tummy.
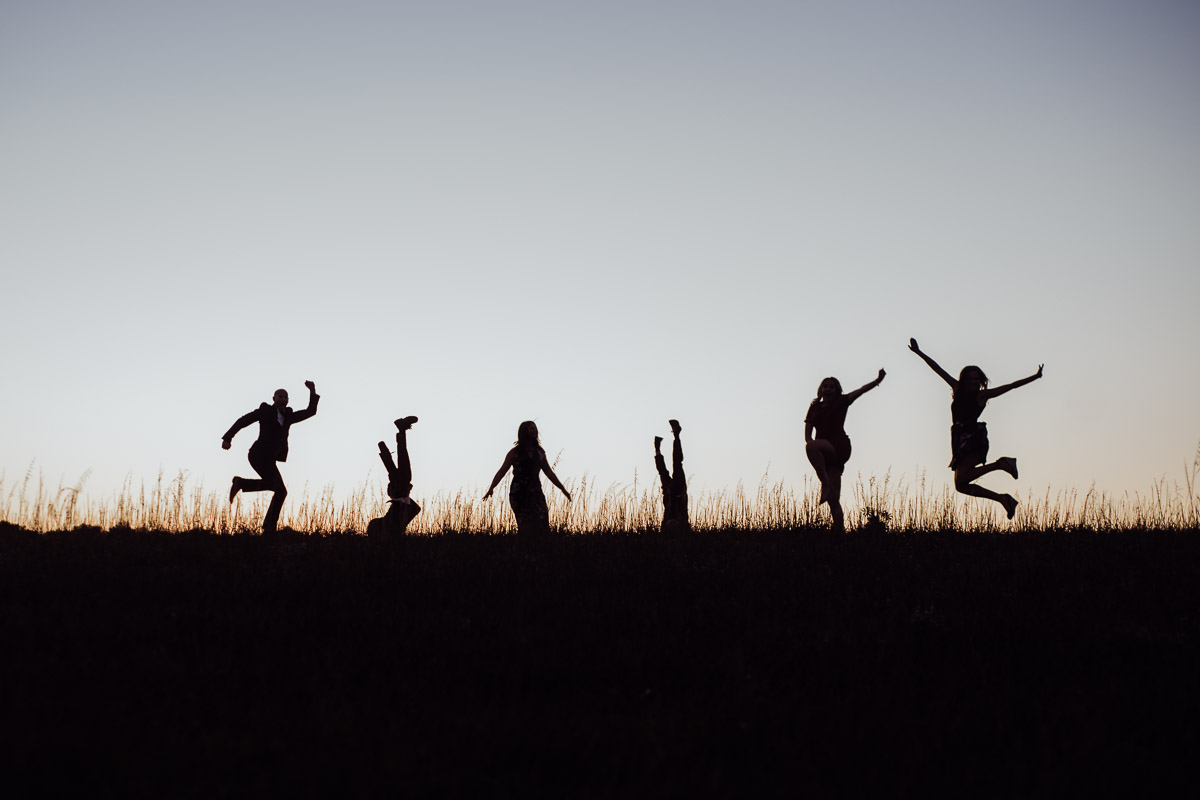
- Perry’s Paddock. This is another location which is best towards golden hour, as there’s a lot of open space. This is one of my favourite locations to shoot at, as we can utilise the trees while the sun is still quite high, and then move to the open field once the sun starts to set. This is where I get some silhouette shots which is always a fun way to show off your family! This location is pretty much perfect for any type of shoot – there’s a lot of space for kids to run around, an abundance of gorgeous light, and the sky always looks beautiful once the sun has set. There’s also a beautiful old white building which can be used as backdrops.
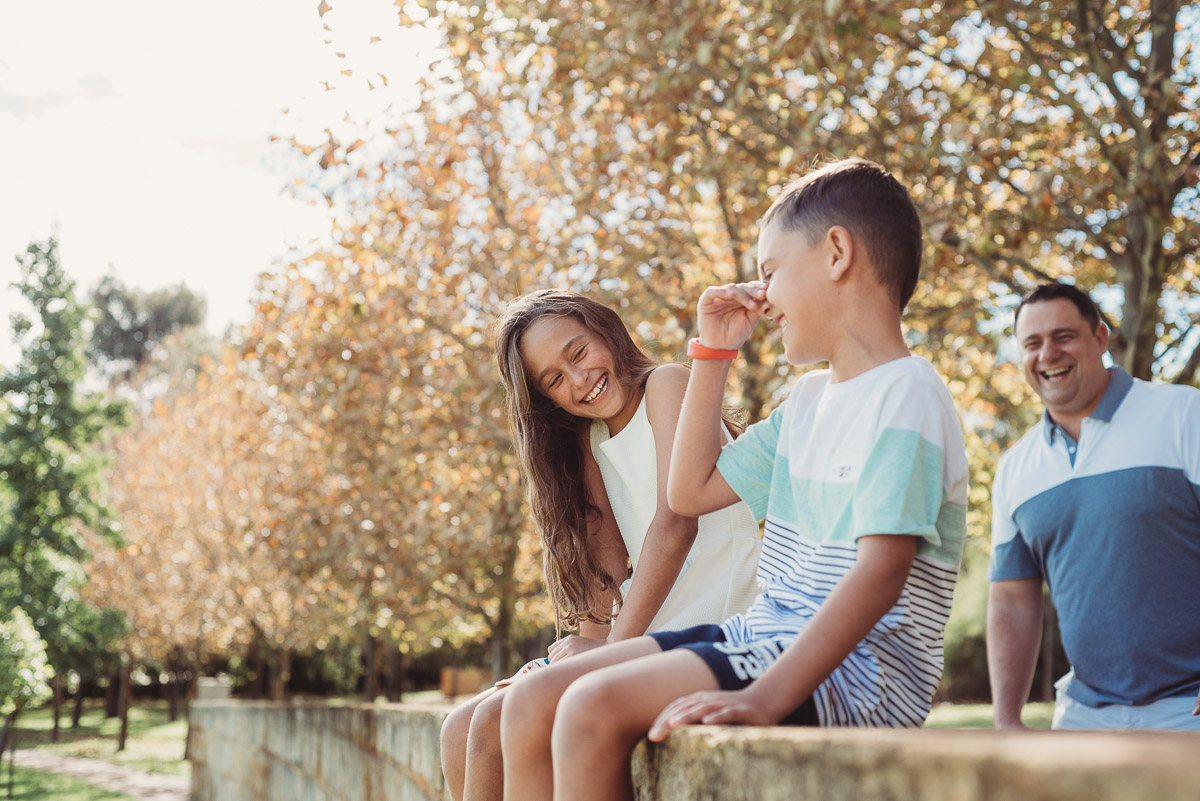
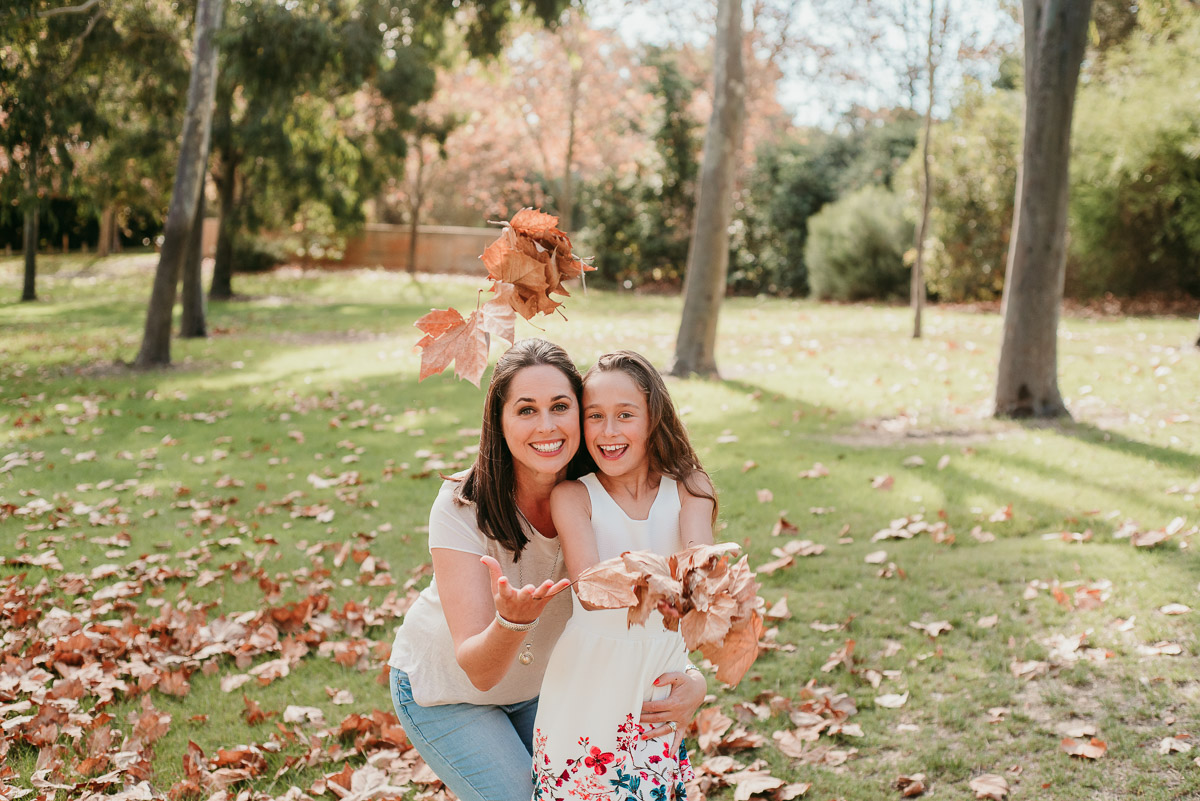
- James Spiers Park, Wanneroo. I love this park for the variety it brings to a session. It’s particularly beautiful in Autumn with the leaves fallen on the ground. This park offers a beautiful area with trees and greenery, a staircase, a wall for people to sit on, as well as a basketball court with a wall that is great for backdrops. There’s a lot of choices at this park, and also a lot of shade options for when shoots can’t be scheduled for golden hour.
- Hyde Park. I love this location, although due to additional travel, I do charge a small travel fee to go here. There are so many choices at Hyde Park, and is another one which offers a lot of shade so is a good spot if we can’t schedule a session for the golden hour (although that time of day is always best no matter the location).
These are just some of the options of places for your shoot. If you’d like to organise a location shoot for yourself, or as a gift for someone else, please Contact me. You can view more family sessions in my Maternity Portfolio or Family Portfolio.
by Alana | Aug 16, 2018 | Information, Styling
It’s so common to worry about what to wear to a photo shoot, especially when you’re trying to coordinate your family. It can be overwhelming and can be hard to know where to start. I’ve created a Styling Guide, but often people need a little more help. I’m more than happy to help clients with choosing their outfits – you can send me images of clothing you’re considering, and I can help you along the way. In the meantime, I’ve also decided to create this blog for some visual assistance. When starting to look at outfits, I usually recommend picking one outfit that you love, and then work all others around it. This might be your own outfit, or one of your children’s outfit – but just start somewhere! When searching for your outfits, there are a few things to consider. Please note though, that you don’t need to follow ALL of these guidelines – these are simply things to keep in mind when choosing your outfit – but they are not hard and fast rules. They may just help you get started, or may help you if you’re choosing between two items (for example, you might love a plain black jumper or a thick mustard knit – reading these rules may help you choose the mustard knit as you know that texture and pops of colour are great in photos). In general think: Tones, Texture, Pops of Colour and Pattern and ALWAYS include at least SOME neutrals. Main things to avoid are: too much black, uncomfortable and restrictive clothing, clashing colours and clashing patterns. These are some areas to think about when choosing your outfits:
- Location – you want your clothing to suit your location. There’s no point wearing heels and a tight dress on the beach, just as you wouldn’t wear a bikini in the park. Your location will determine the overall ‘mood’ of your outfit choices. For example, if you’re at home go casual to reflect the fact you’re at home – but not your oldest tracksuit! If you’re at the beach, think light and floaty, and if you’re at the park think about something you might wear to a nice barbecue or birthday party.
- The location can also help you determine colours used. You want to be able to stand out from your background, whilst also looking like you belong there. At the beach it’s nice to wear lighter clothes in the tones you would see at the beach such as blues, whites, creams and pastels. This also runs the risk of blending into your background, so floaty clothing or clothing with some kind of movement or layers will help. Avoid too much black at the beach as it’s quite a harsh contrast to the softness of the environment. You want to stand out from your environment, but you still want to look like you belong. If you’re in a park with a lot of greenery, then wearing greens, oranges and browns will often cause you to blend into the background rather than stand out from it. Think about using pops of colour to help you stand out from your background, or lighter, pastel clothing. One colour to avoid (as well as too much black), is fluro or overly bright colours – deep, strong colours work much better than bright fluro colours.
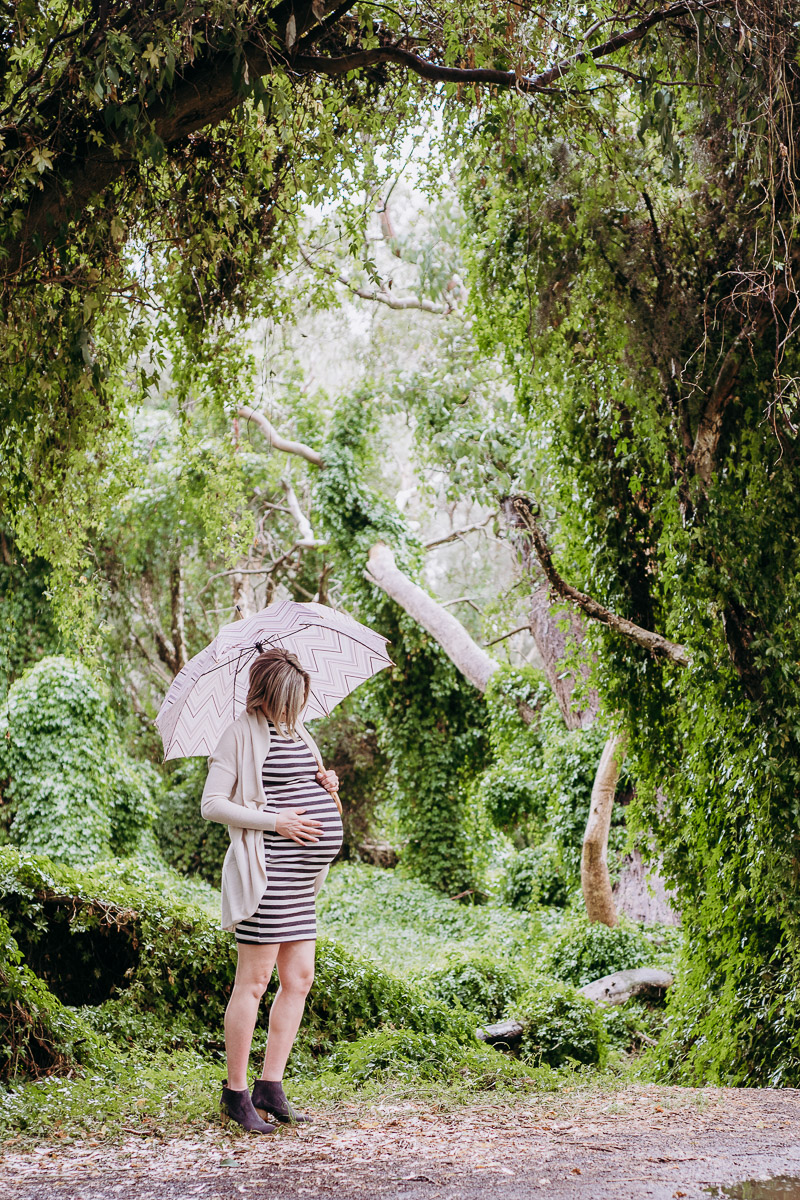
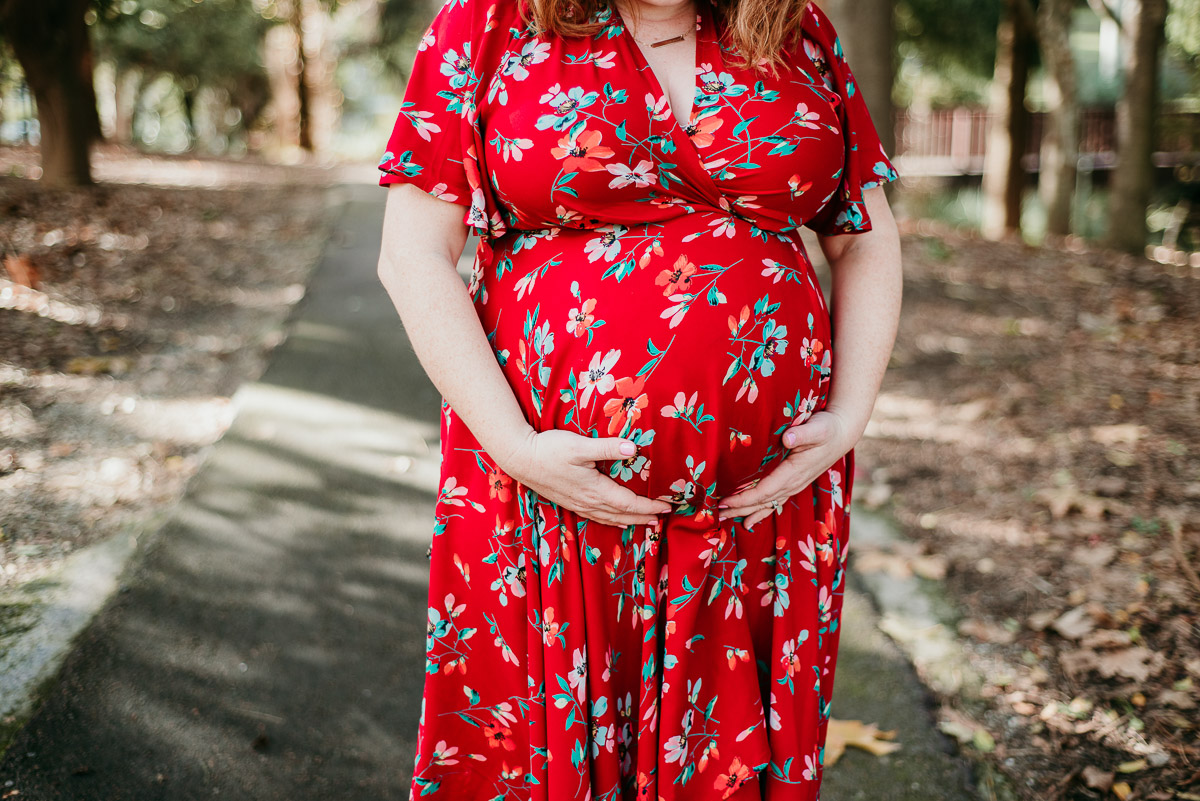
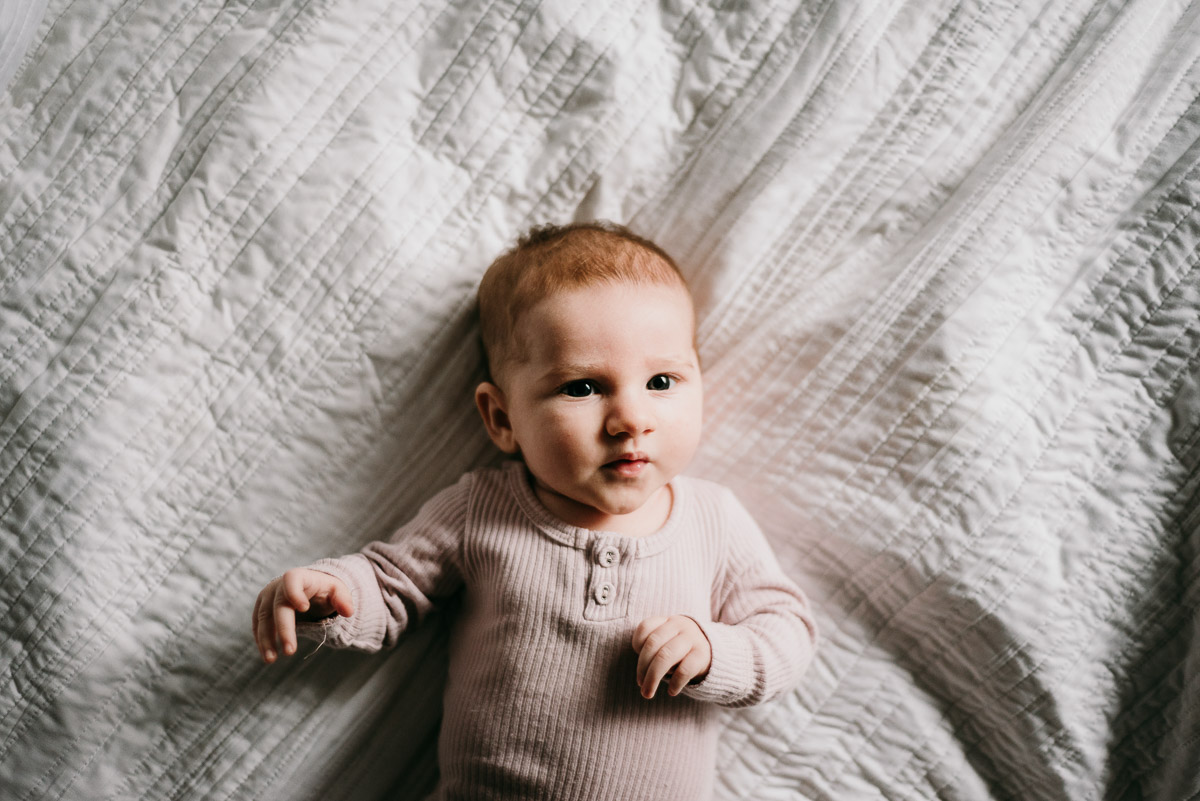
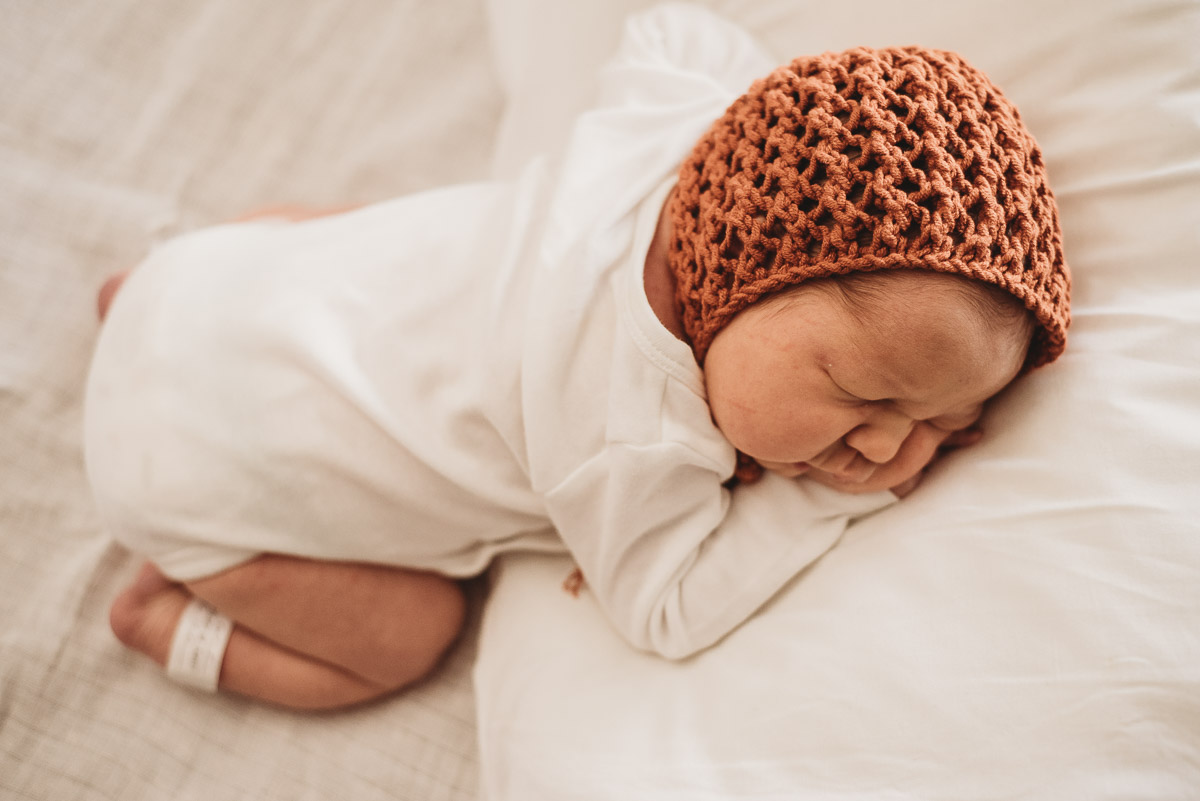
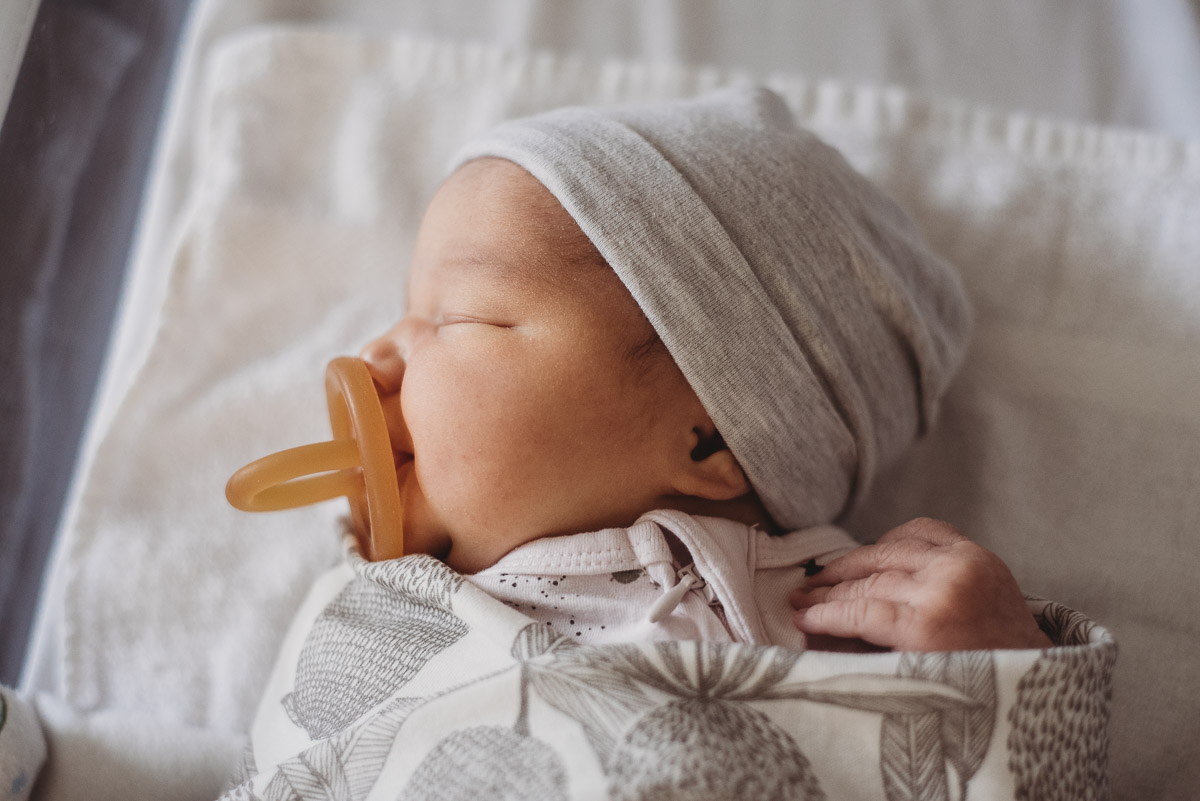
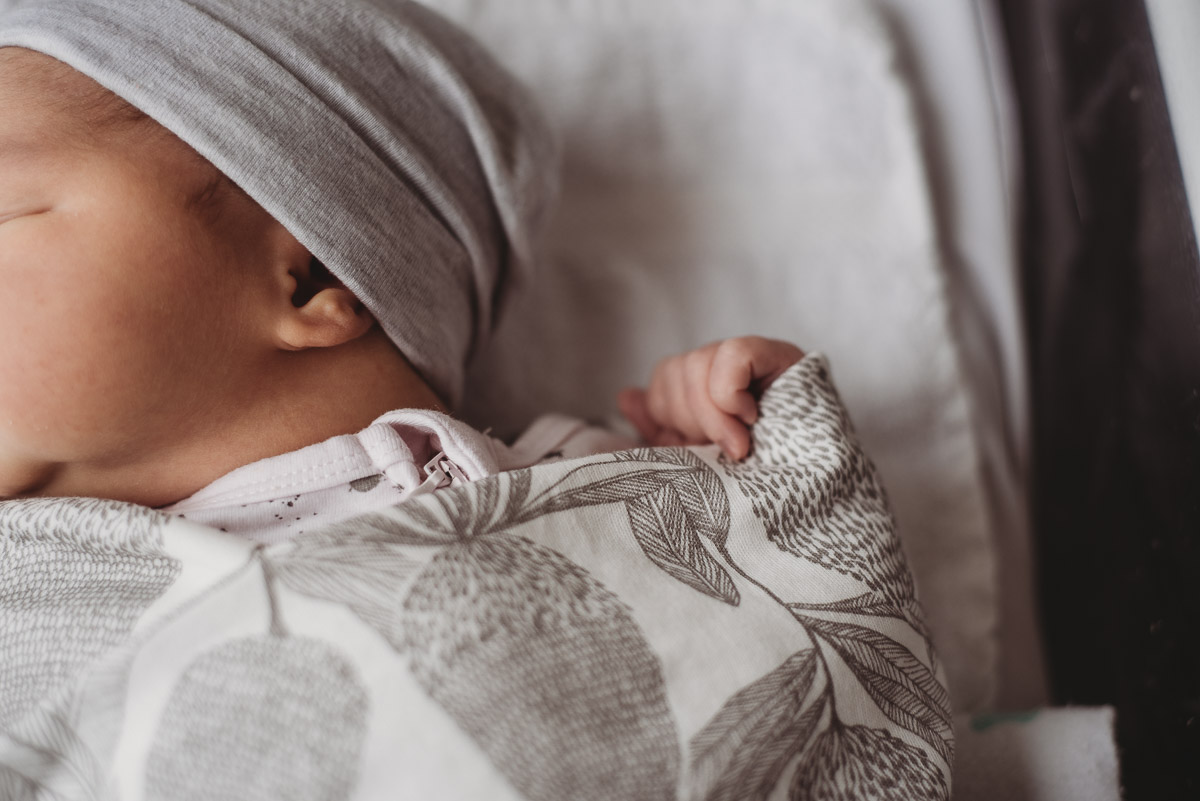
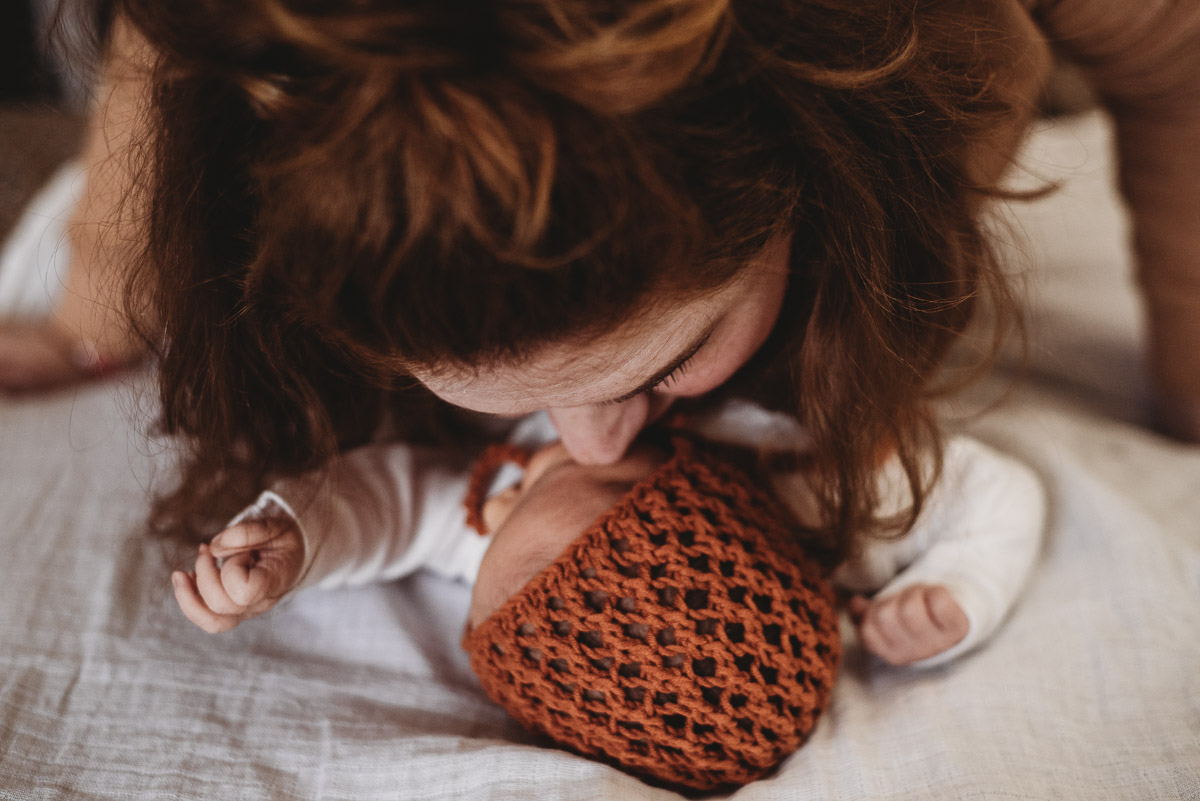
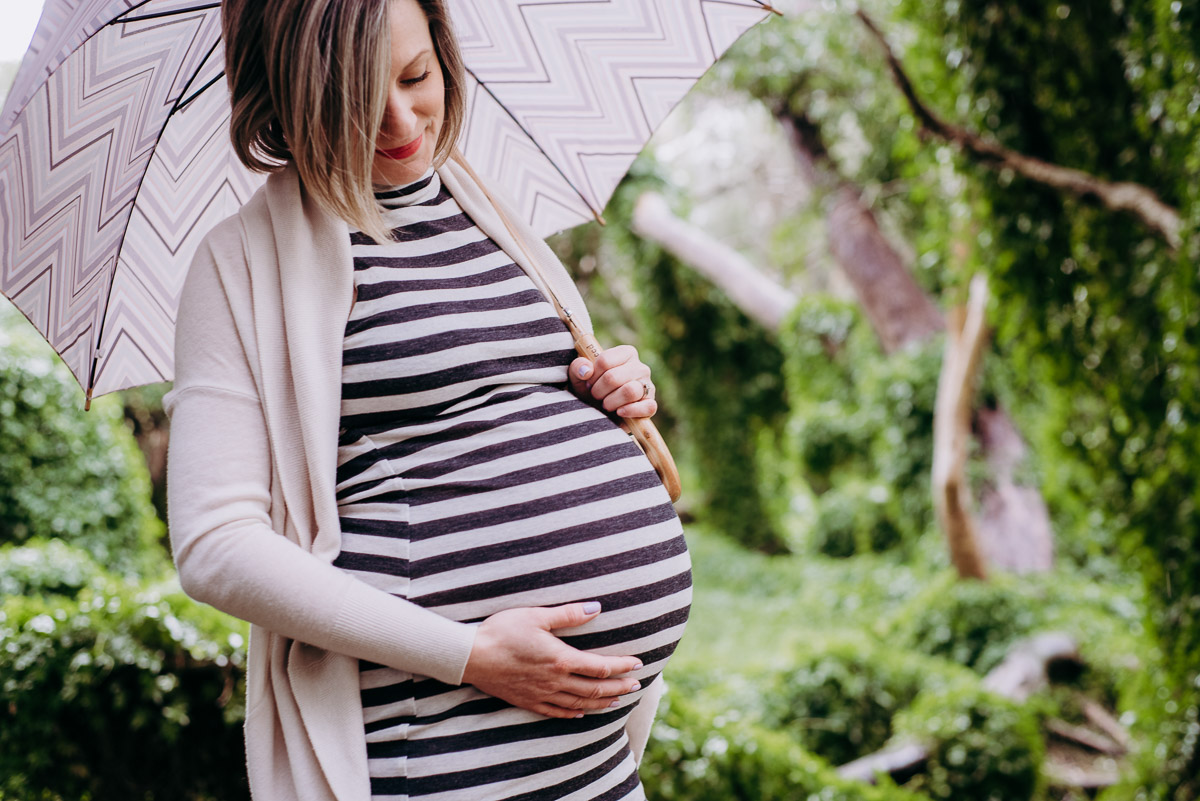
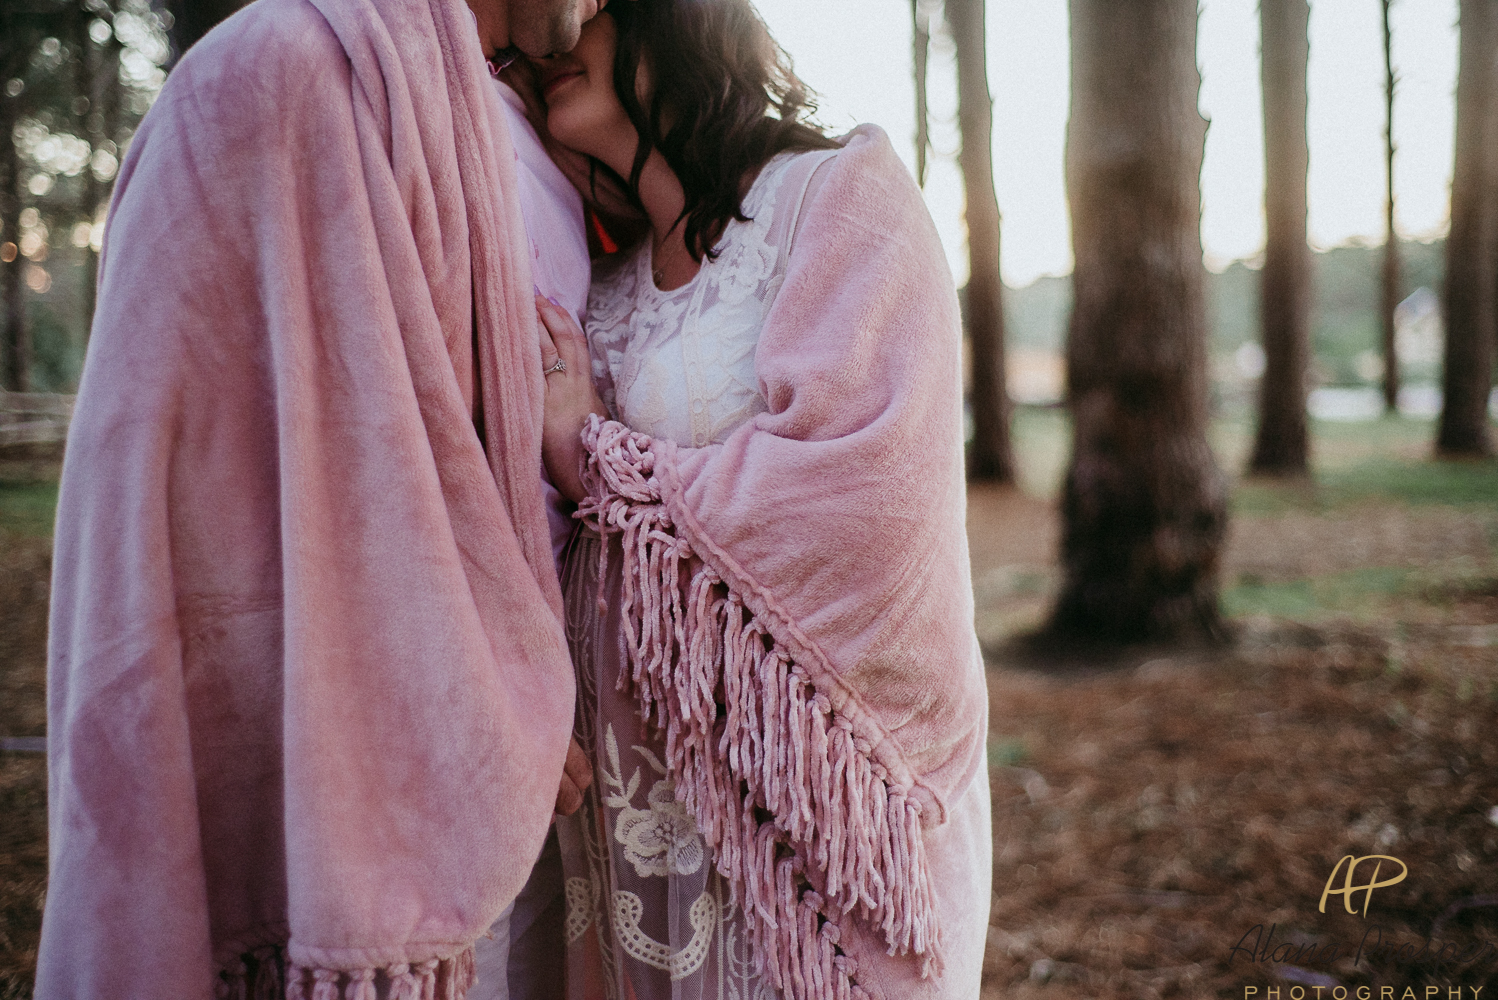
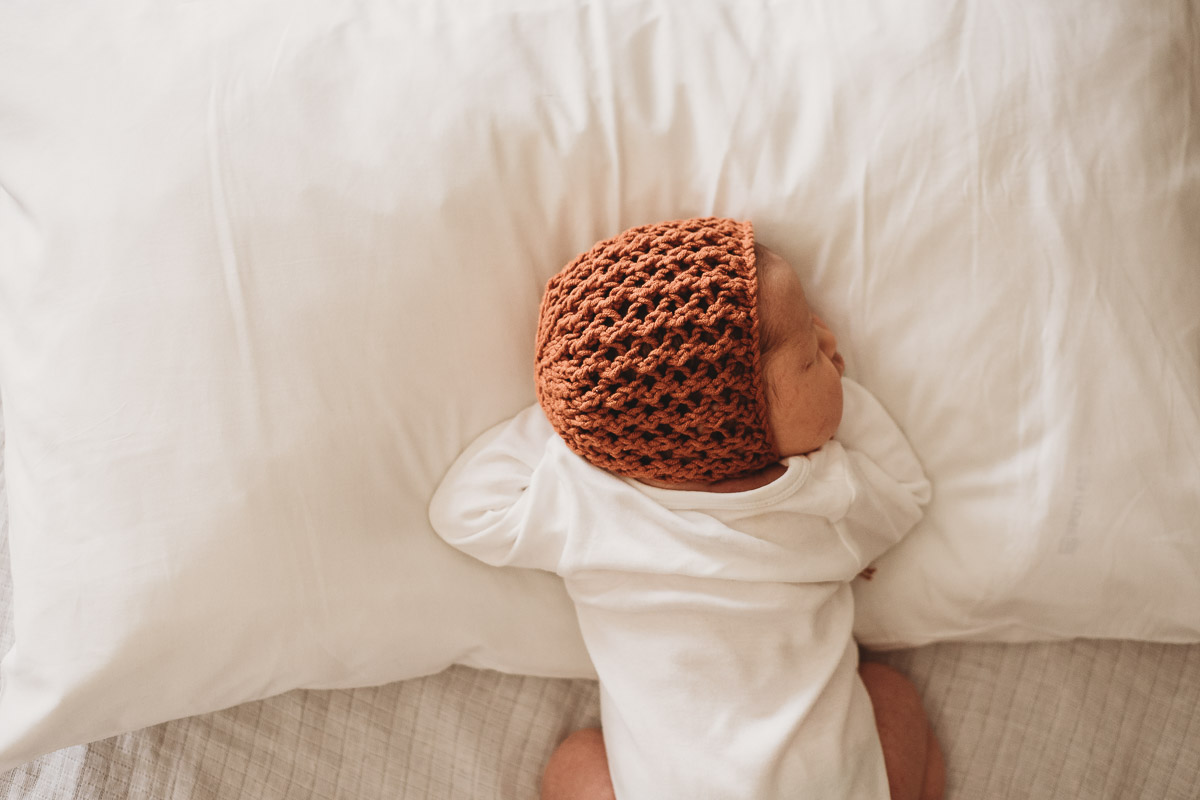
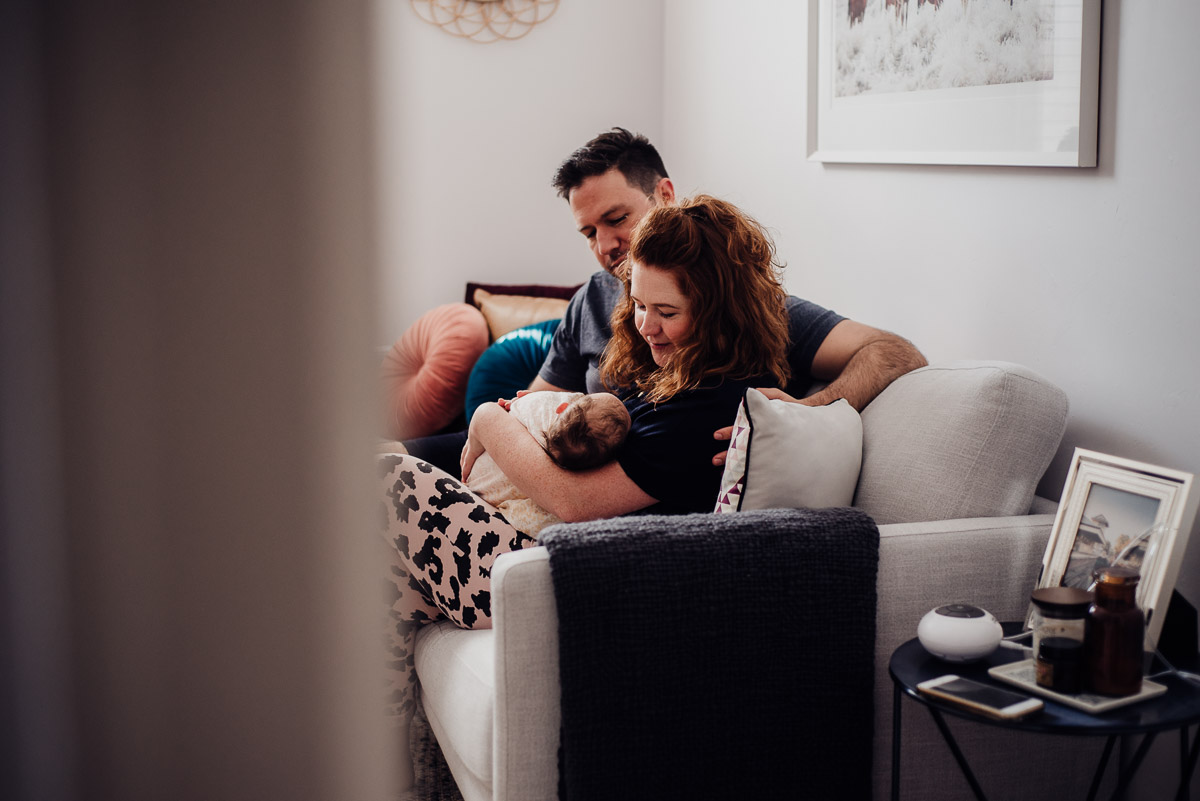
- Type of session. If you’ve booked a maternity session, you want to be able to show off your baby bump. This is the perfect time to find a beautiful lacey or flowing outfit, but can also be achieved by wearing tighter fitting clothes or a two piece outfit which shows off your bare belly. Try to avoid black over your stomach, as this can hide the tummy rather than enhance it. If you’ve booked a newborn lifestyle session, try to dress your baby in simple clothes. Plain onesies work beautifully to enhance gorgeous baby features. You can always add interest with a gorgeous textured beanie, booties, wraps, blankets or headpiece. Try to avoid two piece outfits on little babies as they can bunch up and detract from your little baby.
- Texture is the perfect way to add another dimension to your images – I love texture!! Texture can be added through knitted jumpers, kimonos, long thick cardigans, or in accessories such as beanies, scarves, umbrellas and blankets. Layers add texture to outfits, as does any type of movement in material (such as flowing dresses or skirts, ruffles and interesting details on tops, long earrings, or ribbons in your hair).
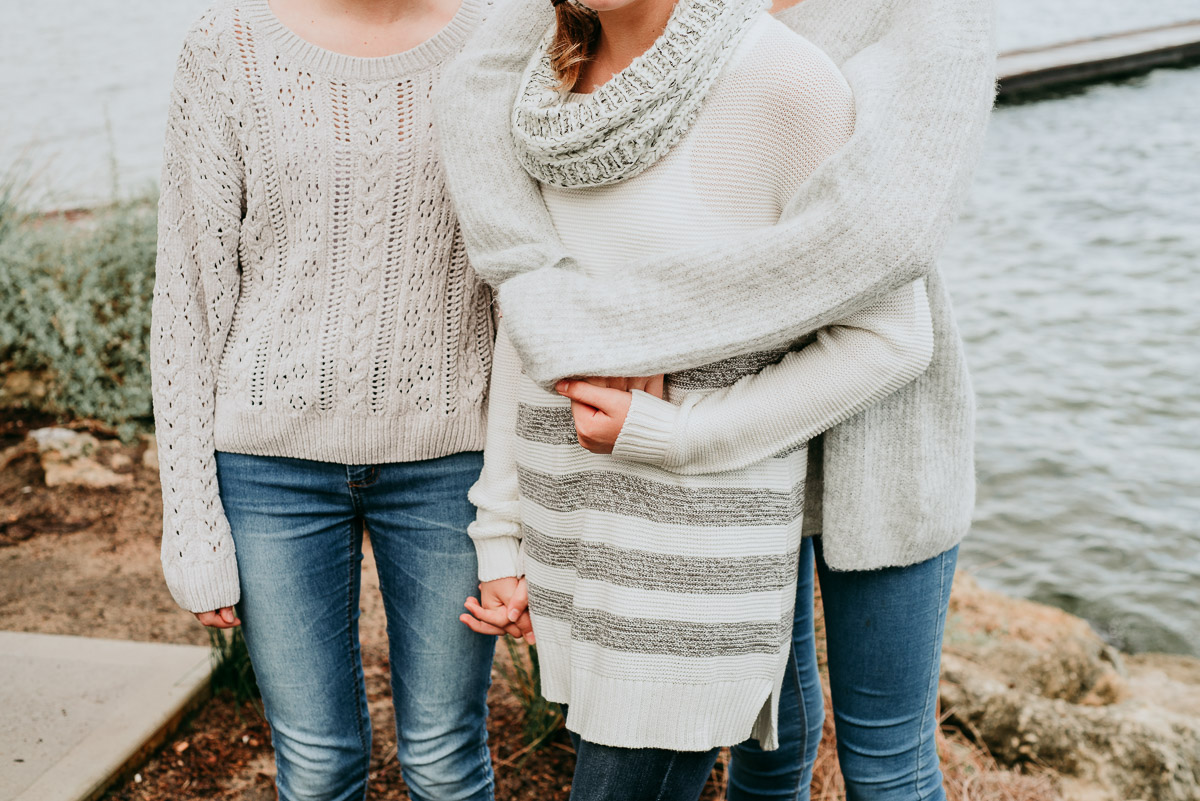
- Tones. When you have more than one person in your shoot, you want to keep in the same tones without overly matching. For example – avoid everyone in blue jeans and white t-shirts – we want something a little more interesting than that! You want to be in the same colour palette – that means you don’t want some in bright colours, some in all black, and some in all white. In fact, try to avoid too much black overall – especially if others in your group are wearing lighter colours. Some black is fine, but just try to avoid it being the overall colour of your outfit (for example stick to black pants or black cardigan, rather than a black top AND black bottoms). If you do want to wear black, then adding colour and texture with accessories and layers is a great idea to break it up. It’s good to have a neutral colour base, and then add in some pops of colour in the same colour palette (perhaps through a patterned kimono, coloured cardigan, textured beanie or colourful skirt).
- Patterns. I actually like patterns! (As long as not EVERYONE is wearing them!). I think they can add interest and texture to your images. I particularly love florals, and stripes or spots. More than one person can wear a pattern as long as they’re in the same tone. Patterns can be added with leggings, jackets, dresses, kimonos and through accessories. Patterns do no mean logos! Avoid logos!
- Pops of colour. If there is a nice neutral base of colours, it can be nice to add some pops of colour. This can help you to stand out from your environment, and create interest in your images. Strong, deep colours, or soft pastel colours work better than bright fluro colours. If you google ‘Complimentary colour wheel’, you will see which colours tend to go well together to create a colour pop as they create visual interest and contrast, whilst still remaining in the same tone (yellow and purple, green and red, blue and orange). When adding colour, it’s always a good idea to add enough neutral tones (such as creams, greys, denim) in order to break up the colour. Also avoid everyone being in a strong colour where possible. You can add a colour pop through a coloured cardigan, headpiece, belt, skirt, or even through jewellery or lipstick.
One of the most important things to remember when styling for your photo shoot, is that you want to be comfortable, and you want the clothing to be a representation of you and your family. And as for things to AVOID, try to steer clear of these:
- Avoid too much black – black is fine as long as you’re not dressed ALL in black (break it up with some colour, texture or layers).
- Avoid bright fluro colours. Strong, deep colours work well, as do soft pastels. Bright fluro colours tend to cast their colour over your skin, which doesn’t result in a very appealing skin tone in photos. If you want to add bright fluro colours, do so in small bursts such as through a small accessory, or one small part of a colour in a pattern
- Avoid logos – this means front and back of your outfits. A small logo can sometimes be okay, but large logos which take up a large amount of space on your clothing is definitely to be avoided when possible
- Avoid clothes which make you feel uncomfortable. You don’t want to constantly be fixing your strap or pulling down your skirt – you want to be comfortable and unrestricted
- Avoid clashing patterns. As mentioned, patterns can be great, but you don’t want everyone wearing them. If more than one person is wearing a pattern, you want to stick to the basic rules of styling, and ensure that the patterns are in the same tone as each other.
- Avoid newborns in too many layers or bulky clothing. Keep it simple.
- Avoid being too hot or too cold – think about the weather when planning your shoot. This is also where layers are great!
I know it can still be overwhelming. The best advice is to step back for a moment and ask yourself these questions:
- Where will my shoot be? (Home/Park/Beach) The answer will determine the style of clothing you’ll be looking for
- What season are we in? This will determine whether you’re looking at summer or winter clothes, or if you need to think more about layers (Layers are great all year around!)
- What type of shoot is it? (If it’s a maternity shoot, you want to find clothes that show off your tummy. If it’s a family shoot, you want to find clothes that suit you as a family)
From there, you’ll have an idea of the type of clothes you’ll be looking for. Look in your wardrobe first (or your kids wardrobes), and find one outfit that you love and want to include in the shoot (or even part of an outfit, such as a skirt, a pair of shoes, or a scarf). Once you’ve found that, work the rest of the outfits around that item, keeping in mind all the tips above regarding tones, patterns, texture and colour. Try not to stress about it, and please feel free to contact me for any additional advice (I often have clients send me images of outfits they’re considering, and I’m more than happy to help you too!). I also have a Pinterest Board which can give you some visual ideas on great combinations!
If you’d like to book a session, or gift a session to a friend, Contact me. I’d love to help you!


